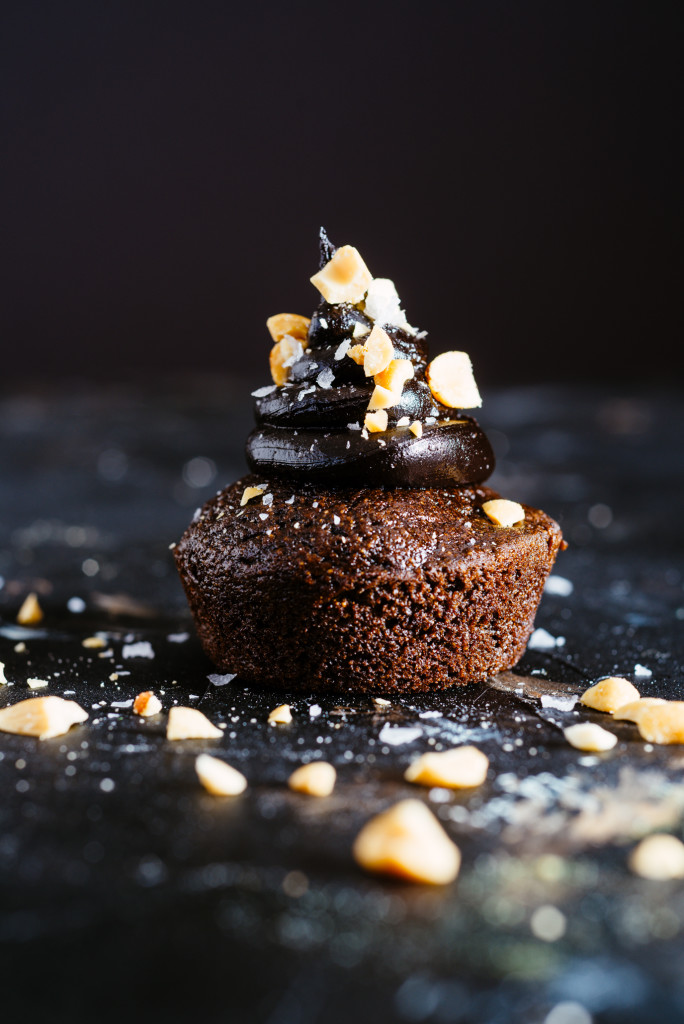
Chocolate Avocado Cupcakes with Chocolate Peanut “Buttercream”

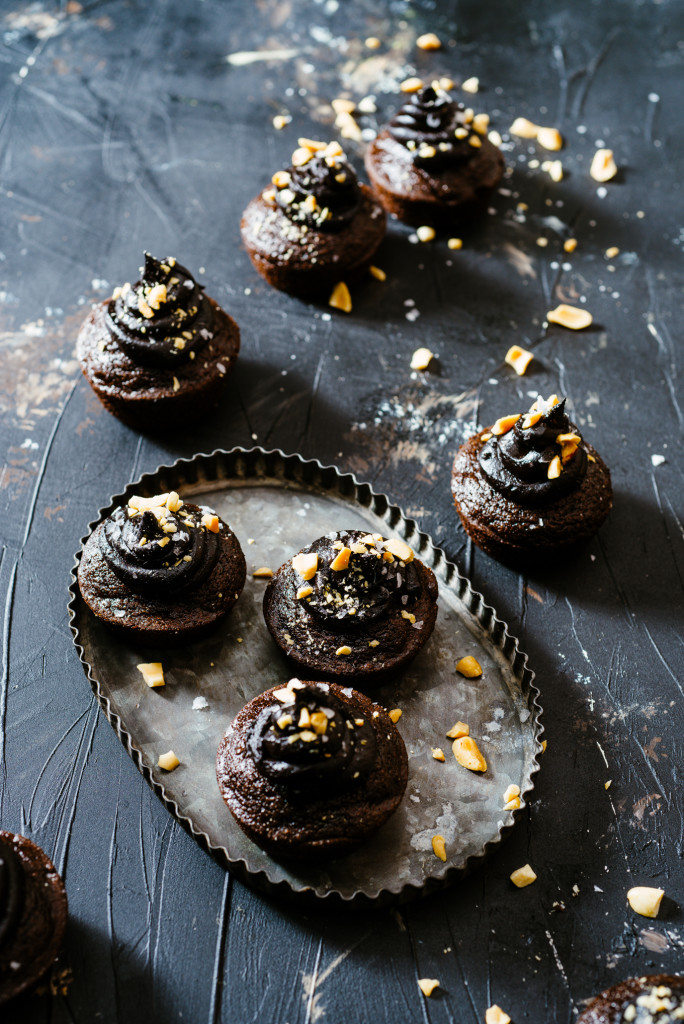
Chocolate-Avocado-Cupcakes-with-Peanuts-023 Glory hallelujah!! It’s summertime, and all I can think about is avocados. I want avocados on my tacos, in (last week’s) guacamole, in the tacos *spoiler alert* that will appear next week.

But I never thought I would want avocados in cupcakes. That is, until I came across Laura Lea Balanced and clicked on her “Desserts” tab. OH MY GEEZZ the creativity, beauty, and ingenuity of her healthy recipes are phenomenal! Strawberry shortcakes with coconut cashew cream, blueberry lime popsicles, Samoas macaroons, and… avocado cupcakes with chocolate orange buttercream. Brilliant.

I absolutely love Laura’s creativity and how she replaces the typical white sugar and butter found in most cupcakes (and most buttercream recipes) and utilizes avocado. These cupcakes have a fudge-chocolatey texture, but lack the saccharine sweetness of a typical chocolate cake. Plus they are full of nutrients, use spelt flour, and the non-dairy buttercream is so wildly addictive that I wanted to eat it on it’s own.
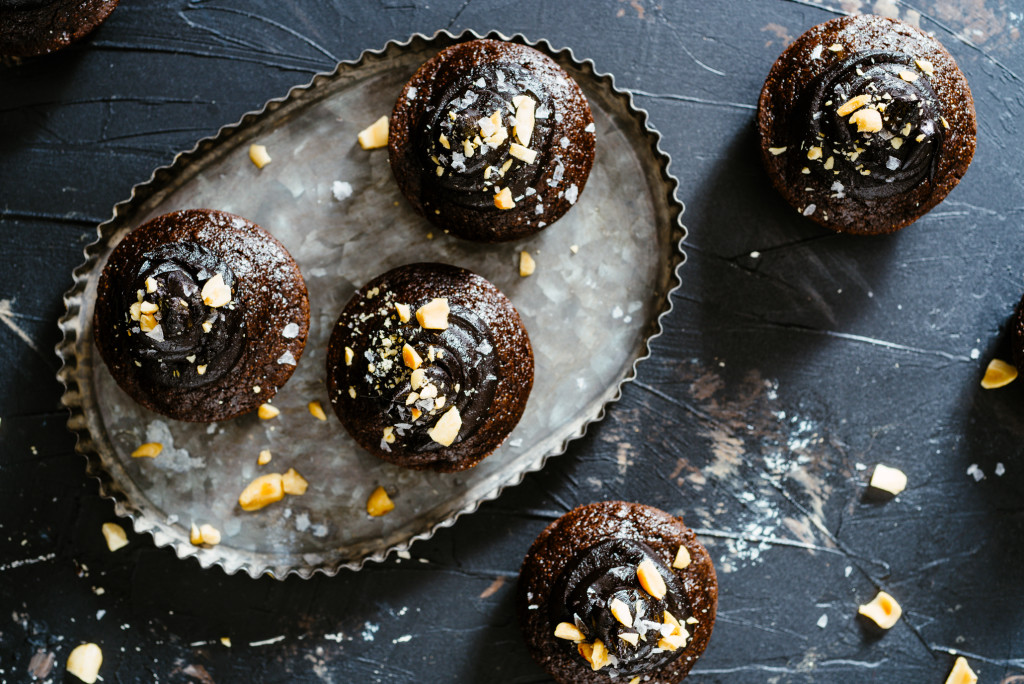
Chocolate-Avocado-Cupcakes-with-Peanuts-037 This week’s recipe is my own small twist on what Laura already developed; putting dark chocolate cocoa powder in the cupcake batter, substituting honey in the buttercream instead of maple syrup (since Jake and I never seem to have that on hand) and adding PBFit powdered peanut butter, plus chopped peanuts, to the top. So, ya’ll, these cupcakes are a MUST HAVE food adventure- especially if you love avocados.
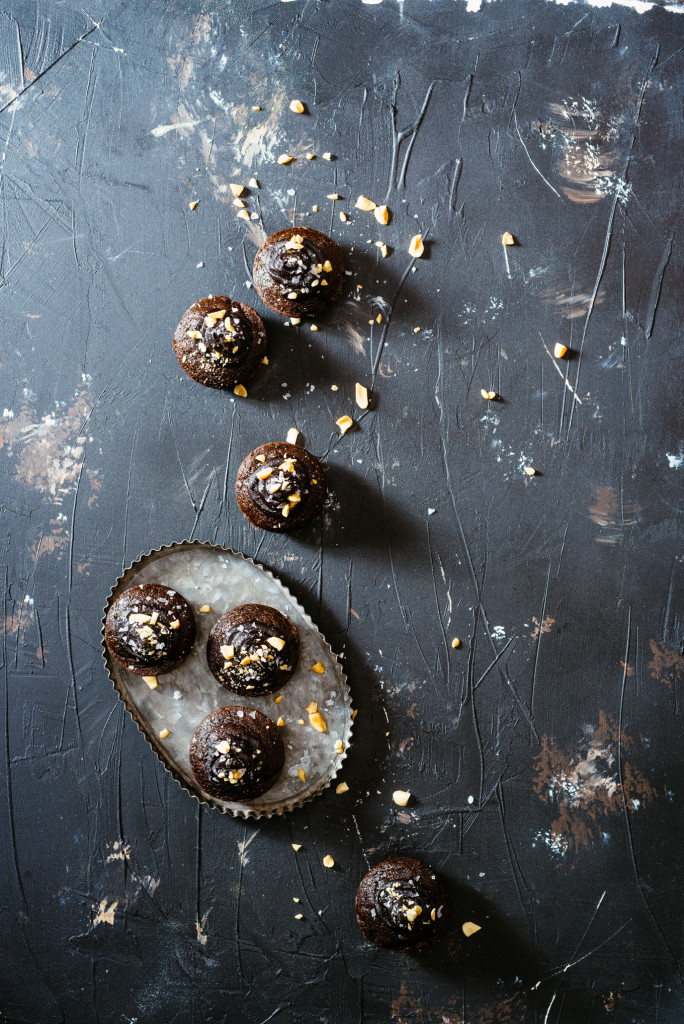
Chocolate-Avocado-Cupcakes-with-Peanuts-028 AND more avocado food styling tips!

Chocolate-Avocado-Cupcakes-with-Peanuts-038 Chocolate Avocado Cupcakes with Chocolate Peanut “Buttercream” (Recipe adapted from Laura Lea Balanced Avocado Cupcakes with Chocolate Orange Buttercream)

This recipe requires a few specific ingredients (like fresh orange juice) but it’s worth the effort! I suggest making the icing ahead of time since it needs to sit for about two hours in the fridge. Plus, if you like orange zest, make sure and check out Laura’s original recipe! 

What You Will Need:

  • cups spelt flour
  • 2 tablespoons dark chocolate cocoa powder
  • ¾ cup coconut sugar
  • ¾ teaspoon baking soda
  • 1/4 teaspoon salt
  • 1 egg, beaten
  • 1 ripe banana, roughly chopped
  • ½ large ripe avocado, mashed
  • ¼ cup coconut oil, melted
  • ¼ cup freshly-squeezed orange juice
  • ¼ cup unsweetened vanilla almond milk 
  • 1 teaspoon vanilla extract
  • Chocolate Peanut Avocado “Buttercream”
  • Salted roasted peanuts, chopped, for topping
  • Flaked sea salt, for topping

What You Will Do:

  1. Preheat your oven to 350 degrees F, and spray a muffin tin with olive oil cooking spray.
  2. In a large mixing bowl, combine flour, cocoa powder, coconut sugar, baking soda and salt.
  3. In a blender, combine egg, banana, avocado, coconut oil, orange juice, almond milk, and vanilla extract. Blend until smooth and no chunks of avocado remain (a minute or two).
  4. Add liquid ingredients to the bowl of dry ingredients and fold (or gently stir) to incorporate.
  5. Scoop about ¼ cup batter into each muffin hole and bake for about 15 minutes, or until a sharp knife inserted into them comes out with no crumbs attached.
  6. Let muffins cool completely in the pan, or after cooling for about 10 minutes, transfer them to a wire rack to cool. Once cool, ice with buttercream and top with chopped salted peanuts and flaked sea salt. Enjoy!

Chocolate Peanut Avocado “Buttercream”

What You Will Need:

  • 1 ½ ripe avocados, lightly mashed
  • 5 tablespoons honey
  • 5 tablespoons dark chocolate cocoa powder
  • 1 tablespoon PBFit (powdered peanut butter)

What You Will Do:

  1. In the bowl of a small food processor, blend avocado, honey, cocoa powder and PB fit until smooth.
  2. Spoon icing out and place into a bowl. Cover and refrigerate for at least two hours. Attempt to resist temptation to eat this once it’s cold!


 

FAB Memorial Day Breakfast Ideas + Gratitude

Raspberry Cream Cheese Sweet Rolls
The Food Charlatan’s dreamy raspberry sweet rolls with coconut cream cheese frosting.

Praise praise hallelujah for America!

With all that is taking place in our 2017 world (largely of which I don’t know about because I purposely avoid watching the news), I’ve grown increasingly more grateful for the opportunity and privilege I have to live, and be, an American. Now that my husband and I own a home and seem to be thinking more and more about the  generations after us- it’s become much more important to show gratitude to the ones we love.

It especially inspires a gratitude for the military names I don’t know. The ones who served in our military, put their own needs aside, and gave their lives- so people like me could live in freedom.

So this week, in honor of our wonderful country, and our wonderful military members and their families, let’s take this weekend to love people with some of the most tasty, patriotic Memorial Day recipes out there. Drum roll pleeeasee…

healthy-berries-cream-fruit-smoothie-02

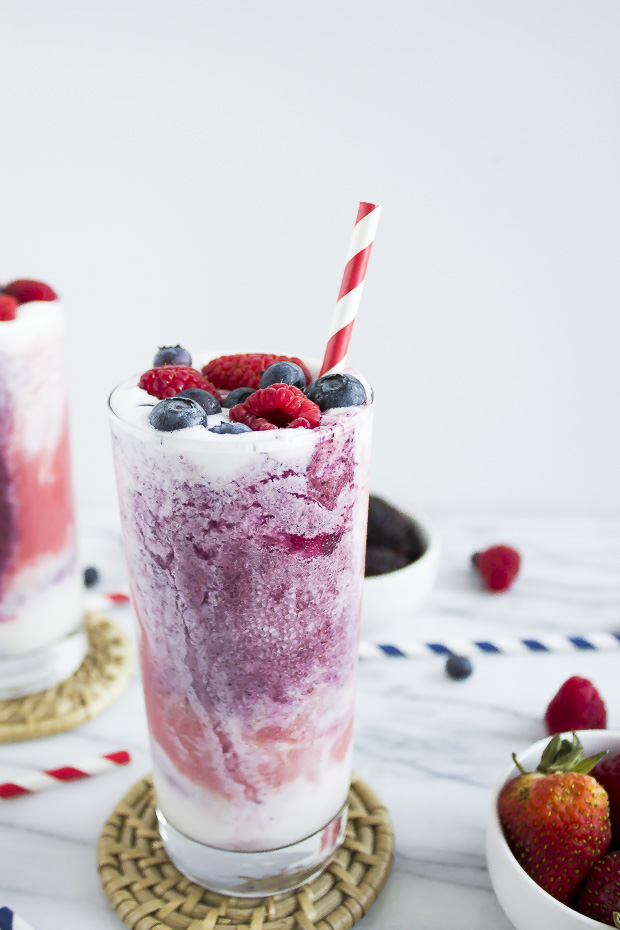
Berries and Cream Tye Dye Fruit Smoothie– This is one of the most beautiful layered smoothie recipes I’ve ever seen. Hot Beauty Health is a fab lifestyle blog and this smoothie does not disappoint! Layers of raspberry pureed with banana, yogurt + milk, and cranberry juice +blue berries + black berries pile high in a cold glass. I wish this was in my hand now. Except I couldn’t type. But I think I could manage with one hand if I got to drink this.


Blueberry-Oatmeal-Marla-Meridith-Photography.1

Blueberry-Coconut-Oatmeal-Marla-Meridith-Photography-IMG_9912

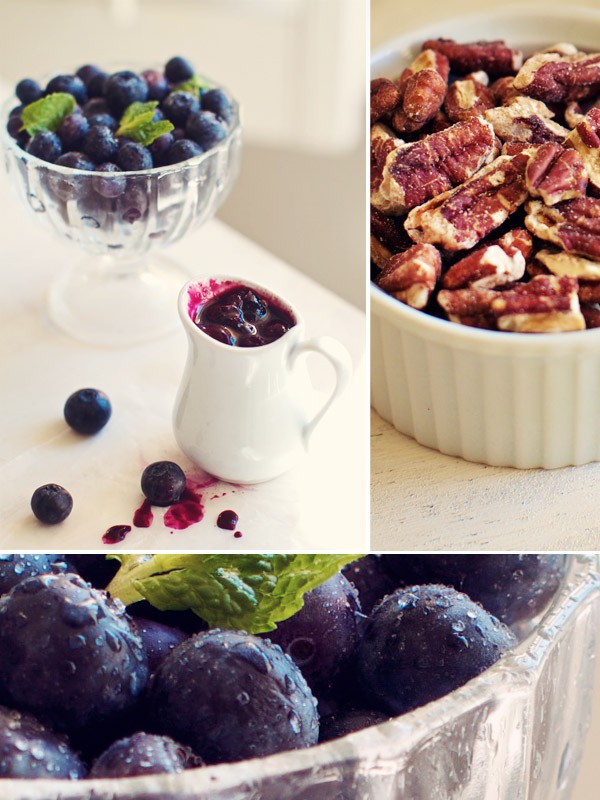
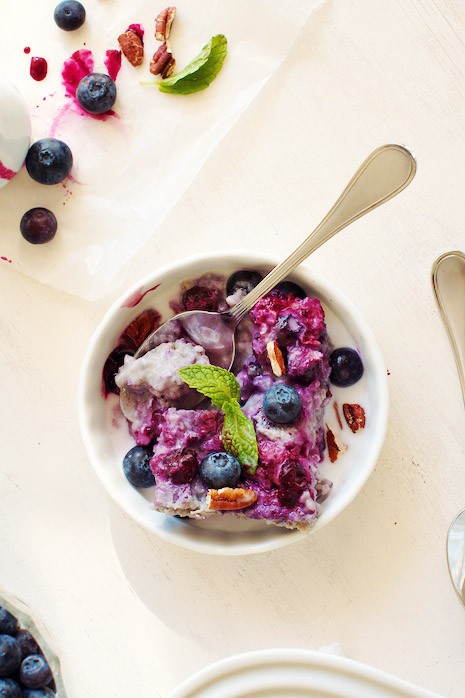
Blueberry-Coconut Baked Steel Cut Oatmeal– Helllooooo oatmeal! I am a huge steel cut oats fan, and this recipe is perfect for a long Memorial Day weekend. MarlaMeridith cooks the oatmeal in the oven ahead of time so the texture becomes even more fantastic as it sits in the fridge overnight. Plus, it’s covered with toasted pecans and extra blueberry sauce. You had me at blueberry sauce.

Sweet Rolls Take 2

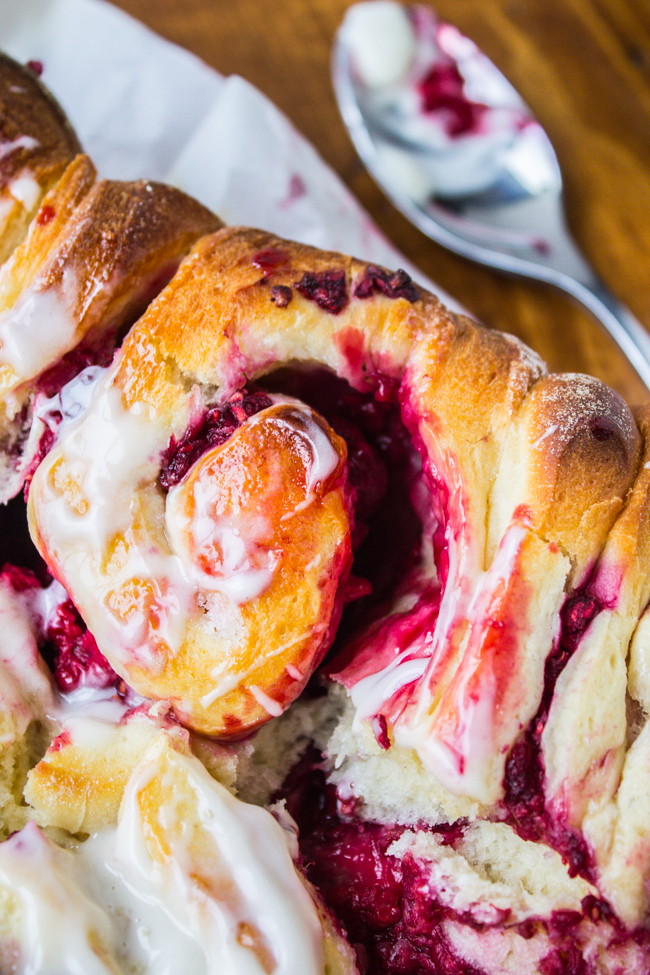
Raspberry Sweet Rolls with Coconut Cream Cheese Frosting There truly are no words for The Food Charlatan’s take on a classic sweet roll. She stuffs these beautiful, homemade dough babies with a little bit of sugar and raspberries, then whips up a homemade coconut cream cheese frosting to slather on them once they are hot out of the oven. I can’t imagine a sweeter Memorial Day treat to wake up to.

Ok and of course, a few Luv Cooks favorites:

Gluten Free Mixed Berry Cobbler-196

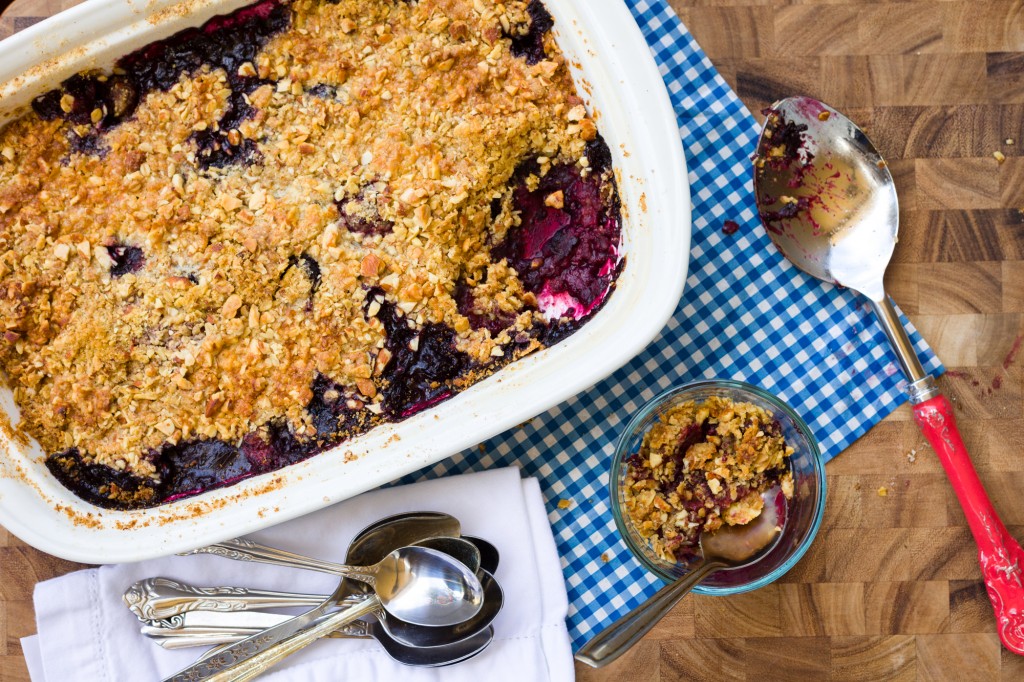
Gluten Free Mixed Berry CrumbleThis gluten-free take on a classic berry crumble would be PERFECT for a Memorial Day breakfast- or picnic! Top it with cold Greek yogurt and you have yourself a breakfast of champions.

The beautiful necklace in the center of the Chai is Jyori's- to see more like it, just visit the Sound of Hope online store.

Coconut Chai Latte Do your friends love chai tea? Then you have to try to make it homemade. This coconut chai tea latte is a fantastic way to drink chai- and continues to remind me of how much I love coconut milk.

Strawberry Frozen Yogurt

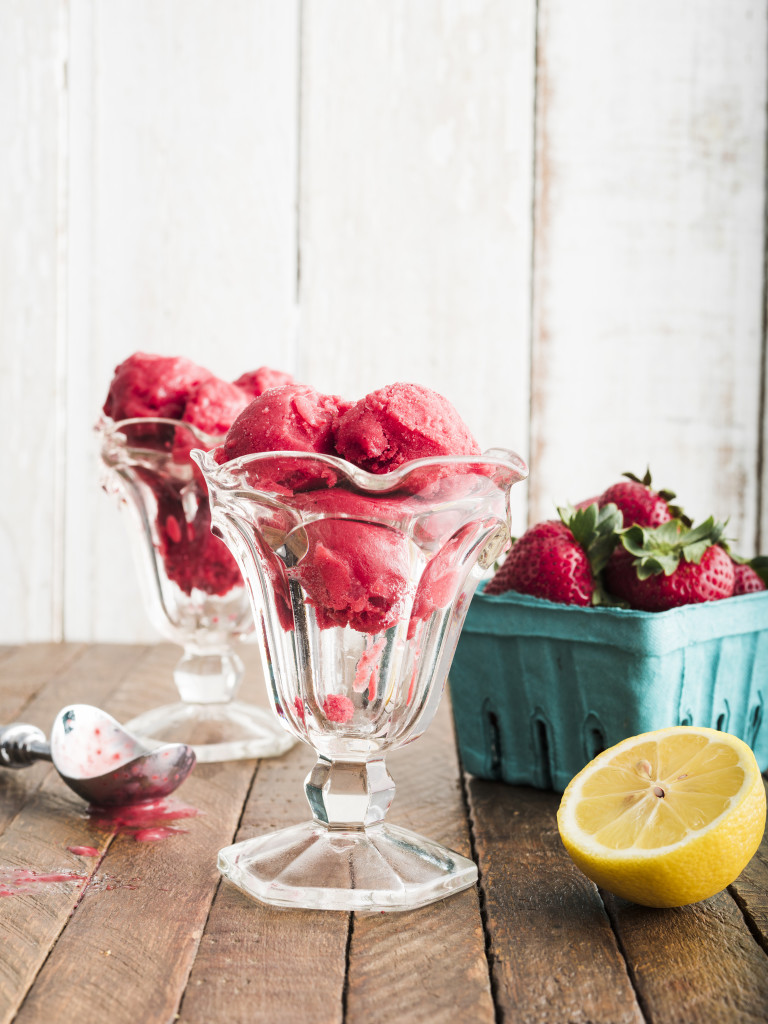
Strawberry Frozen Yogurt I am 100% for eating fro-yo for breakfast, and this incredibly easy recipe has only four ingredients. Count ’em- FOUR!

Plus, not to leave you hanging, the original instructional video!!

So grab your sparklers, tell someone you love ’em, and cook up a sweet breakfast this weekend. From my patriotic heart to yours- Luv Cooks!

PB Fit Crazy Granola + Mother’s Day Breakfast

Crazy-Granola-009

Happy Mother’s Day week!

First of all- umm, how awesome are moms?

Crazy-Granola-020

I’ve been in the sweetest season this year of friends having babies- and watching those babies grow. From my best friend in Alabama’s little girl turning FOUR (oh my gosh how time flies) to my sweet girlfriends in Birmingham having little ones, to my besties in Nashville dreaming of giving birth to new life and seasons- this day feels special and celebratory.

I’ve also been thinking about how grateful I am for my own momma. I was raised by an incredibly strong, intelligent, beautiful, spiritual, courageous woman. She cares more deeply for people than anyone I’ve ever known- and I can’t count the amount of times as a nurse she put other people’s needs ahead of her own. Her life is stunningly beautiful.

Crazy-Granola-027

Crazy-Granola-025

And one of my favorite things we did for my mom as a kid was breakfast in bed. Our game plan: roll out of bed early on Mother’s Day and “cook” her waffles, toast, or bacon and eggs.

However, the reality of this situation was that my dad did most, if not all, of that cooking. BLESS HIM. And, with the most joyful suprise energy my brother, sister and I’s sleepy selves could muster, we would clammer into my parent’s bedroom with a tray full of our foodie creations- fresh flower in a vase for Mom- in hand.

From there the plan was for her to eat breakfast in bed. The reality is most likely that about 5 minutes later she was out of bed helping us put Church clothes on. :)

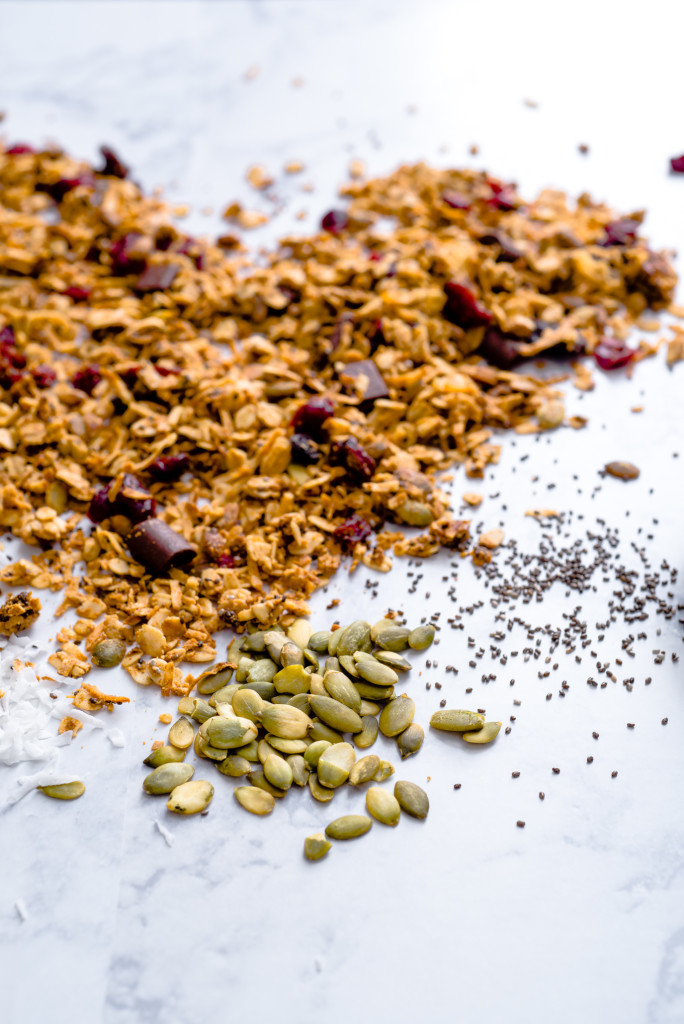
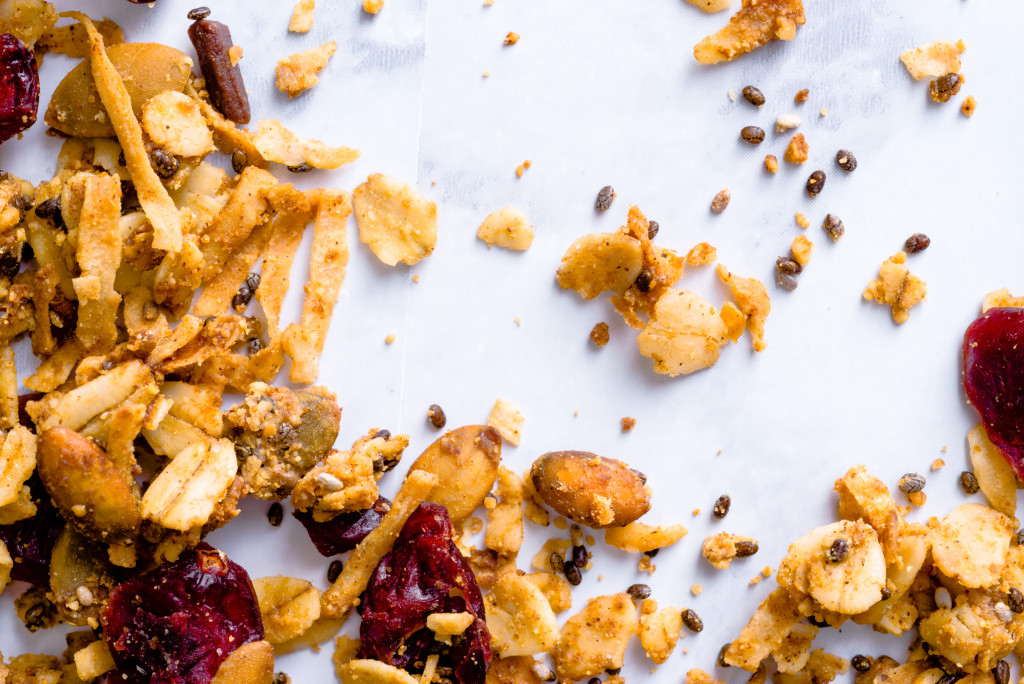
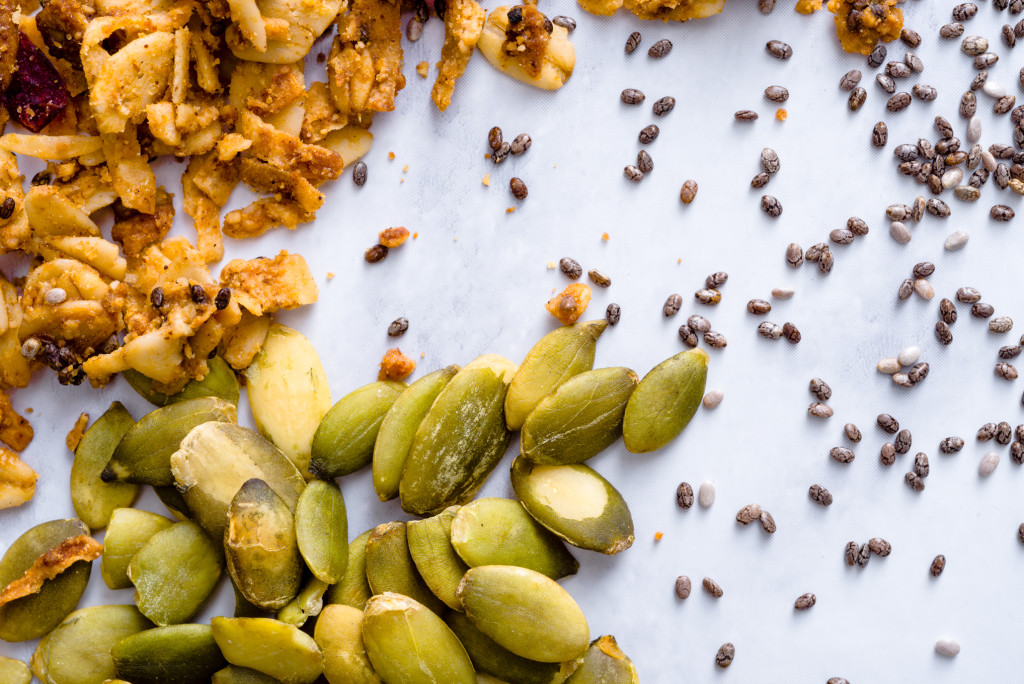
This week’s recipe is an homage to moms by helping younger ones make one of the easiest, use-what’s-left-in-your-pantry granola I’ve developed yet. It’s my way to help you prepare ahead of time to bless your momma! Inspired by Detoxinista’s pumpkin seed granola, I wanted to do a different granola than the ones I had tried in the past.  I was coming off of a series of shoots and recipe development projects that left with me with lots of healthy ingredients in my pantry. This granola turned out to be a fab way to tie them all in.

Crazy-Granola-023

Which brings me back to Mother’s Day. Y’all, here’s our chance to love people with tasty food! Make a batch of this granola for your momma- and feel free to make substitutions to match what she likes. Does your grandmother like cherries? Use those as your dried fruit. Does your mom run triathlons and love almonds? Use raw almonds instead of pumpkin seeds. The possibilities are endless.
I have a feeling that thinking about her- and bringing her breakfast- may just make all of her mornings for a long while.

Crazy-Granola-010

PB Fit Crazy Granola 

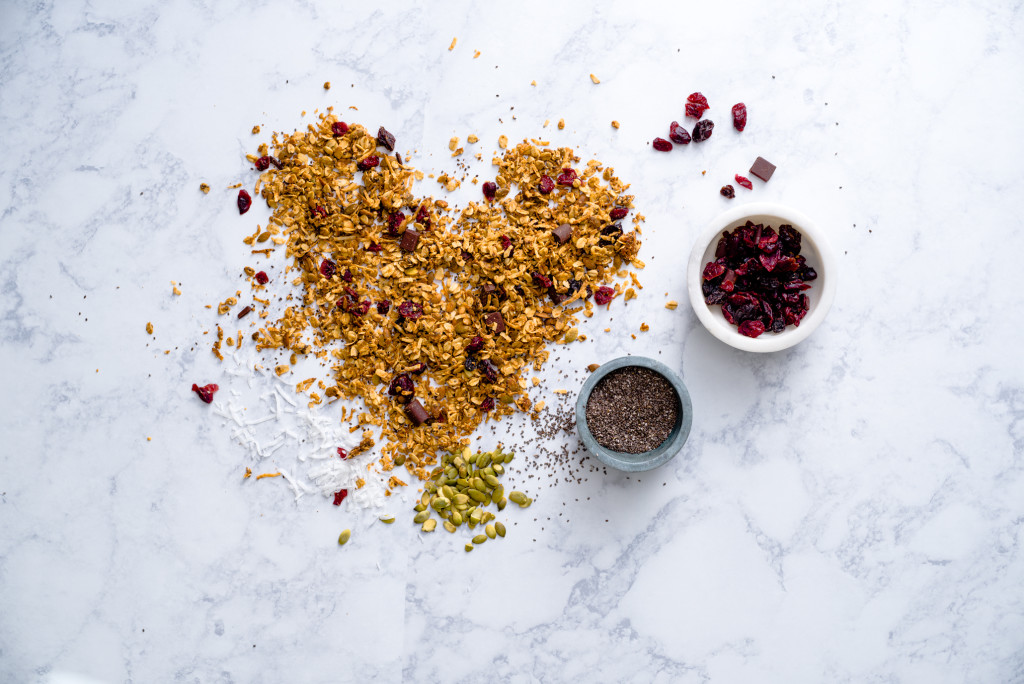
This granola makes the best of both worlds- planning ahead and utilizing what you have in your pantry. Feel free to get creative with this and substitute different nuts, spices, or dried fruit/chocolate/nuts to stir in! This granola is also sublime layered with whole milk or dairy free yogurt, or doused in cold almond milk! 

Yield: Granola for a week!

What You Will Need:

  • 1/4 cup raw pumpkin seeds
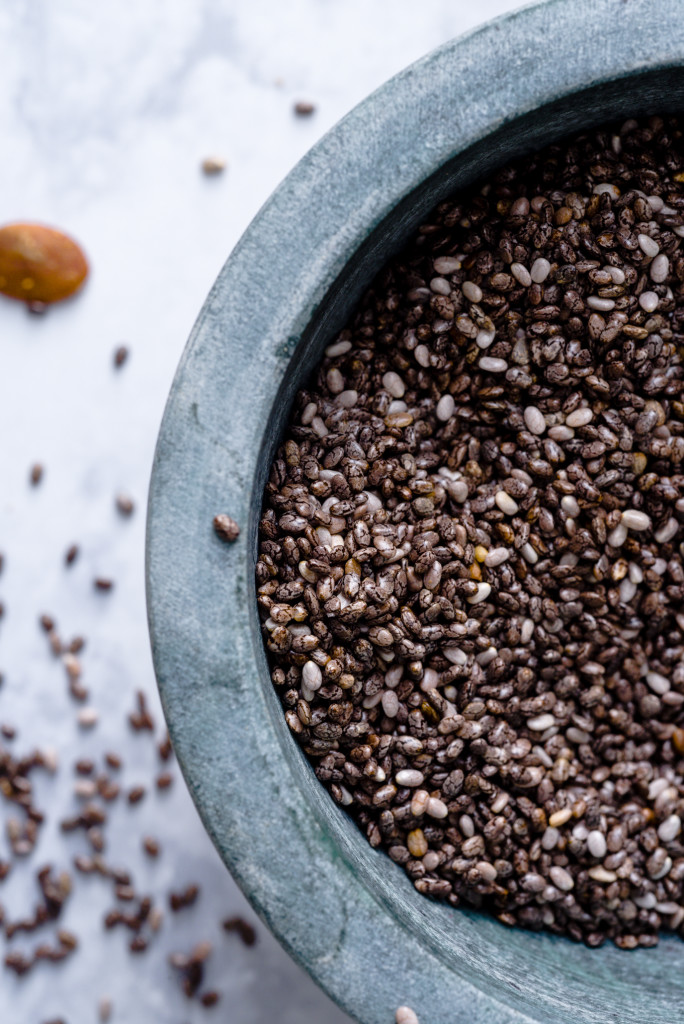
  • 2 tablespoons chia seed
  • 4 tablespoons PB Fit
  • 1 tsp cinnamon
  • 3/4 cup unsweetened shredded coconut
  • 1 cup rolled gluten-free oats
  • 3 tablespoons coconut oil, melted
  • 1 tablespoon honey
  • 3 packets stevia
  • 1/4 tsp salt
  • 1/2 cup dried fruit and dark chocolate chunks

What You Will Do:

  1. Preheat oven to 325. Line a light metal, rimmed baking sheet with parchment paper.
  2. Stir everything but dried fruit and chocolate chunks together in a large bowl with a spoon. Spread mixture into an even layer onto parchment paper.
  3. Bake granola for 10 minutes: remove from oven, stir, and bake 10 minutes more. Let cool.
  4. Once cooled, add 1/2 cup dried fruit and chocolate. Enjoy!


Cheesy Whole Wheat Turmeric Crackers


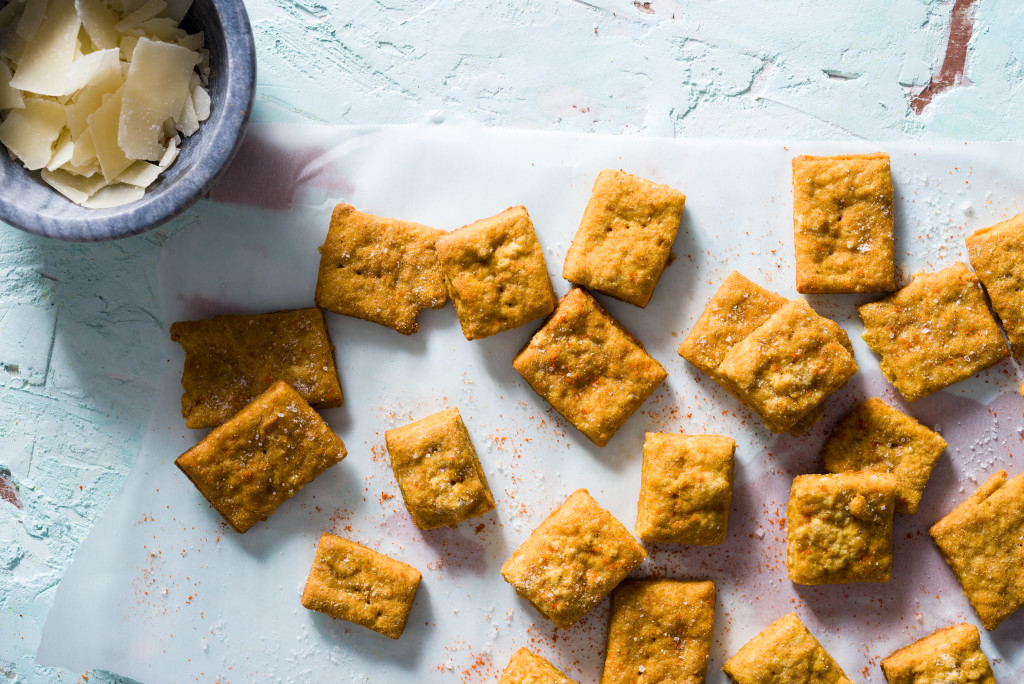
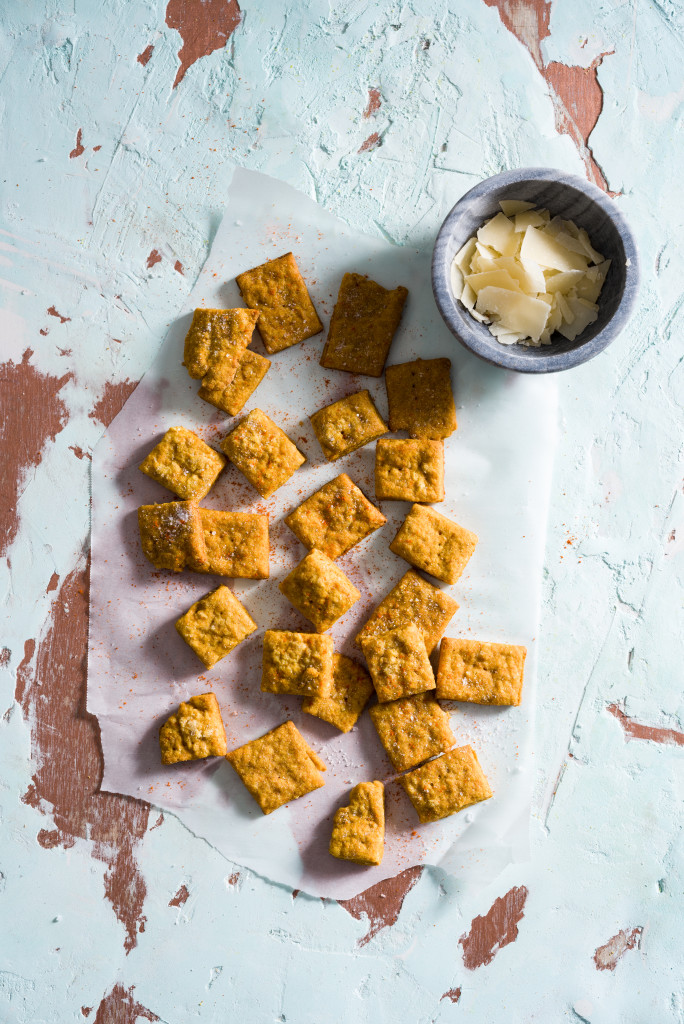
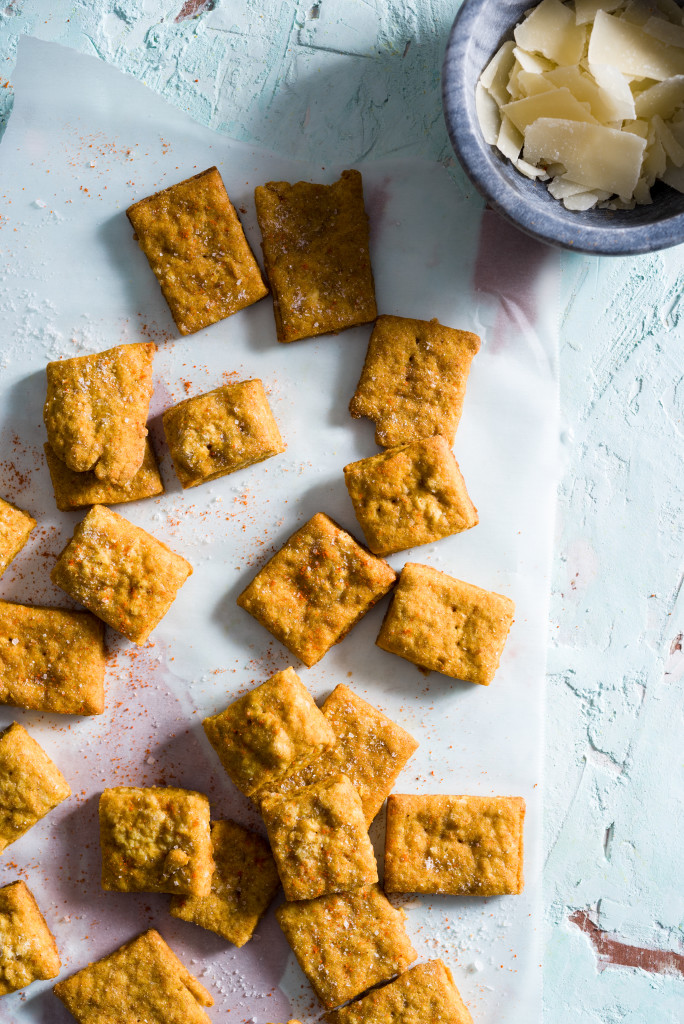
Close-up of homemade cheesy turmeric crackers on a textured blue paster surface with copper accents and small bowl of shaved parmesan cheese.

Imagine this: you are in an exotic market in India. Color fills your vision as you scan the crowd; eager vendors call to you, and the smell of pungent spice quickly hits your breath. It’s exciting, and you eagerly anticipate tasting, seeing, and experiencing the flavor and energy that is all around you.

You walk towards an enthusiastic vendor, eyeing the mountains of brightly hued powders displayed in woven baskets in front of her. A bright orange one catches your eye, and you bend over to smell. It’s pungent and sweet, a bit peppery with a hint of citrus. You scoop a heaping spoonful into your bag, hand the salesman a few coins and head home to uncover it.

**********************************************************

As much as I want that story about India and an exotic spice market to be part of my actual life experience, for now we’ll chalk that up to food fantasy! But the appeal of turmeric is real. Ever since I first discovered the spice a few years ago while trying out a vegan queso dip recipe, I wanted to learn more- and figure out what was up with ALL the articles filling my news feed about it’s benefits.

As you can see in the video, while the pronunciation of turmeric- and circumin-threw me for a bit of a loop, the health benefits of turmeric really are AWESOME. It’s great for your brain, anti-free radical, and can be a preventative measure in your diet against diseases. But I needed help figuring out what to put it in. So….Let’s discuss what to cook with turmeric:

*Egg scrambles and frittatas: Superfood Fritatta

*Roasted veggies (especially root vegetables, cauliflower, and potatoes): Roasted Cauliflower with Turmeric and Cumin

*Rice! Colorful Vegan Turmeric Rice

*Sauteed greens- like kale, collards and cabbage: Scrambled Tofu with Collards and Turmeric

*Soups: Golden Turmeric Chickpea Chicken Soup

*Smoothies Golden Milk Turmeric Smoothie

*Golden Milk! Just click here for Wellness Mama’s recipe:)

Also, one last fun fact: PEPPER activates turmeric! I learned to add about 1/2 teaspoon ground black pepper to 1/4 cup ground turmeric. The pepper adds a bit of spice to the turmeric as well- YUM! Huge shout out to this article from the Kitchn about turmeric that helped make that list!

Tumeric-Cheezy-its-015

This week’s recipe features turmeric in a super fun way– cheesy whole wheat turmeric crackers!! I don’t know about y’all, but there are days when this thought- “Oh my gosh, CHEEZ-ITS!!” consumes my brain. Especially with a Coca-cola- yessssss, please.

But this recipe is EVEN tastier than a processed cheese cracker and has healthy turmeric, paprika and parmesan cheese, which we all know is a winning flavor combo in a baked cracker. Healthy snacking=WIN WIN WIN.

Alright! Let’s stir up that turmeric, and eat those health benefits my friends! Loving people with food and nutrition, yessss pleeeaseee!

Tumeric-Cheezy-its-018

Cheesy Turmeric Whole Wheat Crackers (Recipe from food52 with the substitution of whole wheat flour by me)

This easy, baked cracker is addictive (my husband and I downed a few bags of them all on our own!) Healthier than a traditional processed cheese cracker, these guys are not hard to make and bake up a bunch of squares! Plus you can add more cayenne if you are feeding a spice-friendly crowd.

Time: Probably about an hour!

Yield: LOTS of crackers! Enough to feed a small party of 8-10.

What You Will Need

  • 1 1/3 cups whole wheat flour
  • teaspoons baking powder
  • teaspoons white sugar
  • teaspoon salt
  • 3/4 teaspoon ground turmeric
  • 1/4 teaspoon cayenne (you can add more here for more kick!)
  • tablespoons nutritional yeast (you can buy this in bulk online or at your local healthy foods store)
  • 3/4 teaspoon ground paprika
  • 1/2 teaspoon garlic powder
  • 1/2 cup grated Parmesan cheese
  • cup heavy cream
  • egg
  • tablespoons water
  • Coarse salt, for sprinkling

What You Will Do

  1. Preheat your oven to 375°F (190°C).
  2. In the bowl of a food processor, pulse together the flour, baking powder, sugar, salt, turmeric, cayenne, paprika, nutritional yeast, and garlic powder. Add the parmesan and pulse to combine.
  3. With the machine running, add the cream in a steady stream, then pulse until the dough comes together in a ball.
  4. Transfer to a lightly floured surface, then divide in half. Keep one half in the refrigerator while you work.
  5. Roll the first half into a rectangle, about 1/4-inch thick. You can make the crackers thicker or thinner, depending on how crispy you want them. You’ll just need to keep an eye on the baking time and take them out as soon as they start to brown.
  6. Using a pastry wheel or pizza cutter or sharp knife, slice the dough into small 1-inch squares. Transfer them to a parchment-lined baking sheet (you can transfer the dough first then cut them if that’s easier).
  7. Whisk together the egg and water and lightly brush the egg wash over the tops of the crackers.
  8. Poke holes in each cracker with a fork if you are feeling motivated; sprinkle with coarse salt, and bake for about 15 minutes, or until they start to brown around the edges. Remove from the oven and let cool—they’ll crisp as they sit. Repeat with the second half of dough.
  9. ENJOY the cheesy turmeric-y goodness!


Spicy Buffalo Wing Popcorn + 5 Best International Food Spots in Nashville


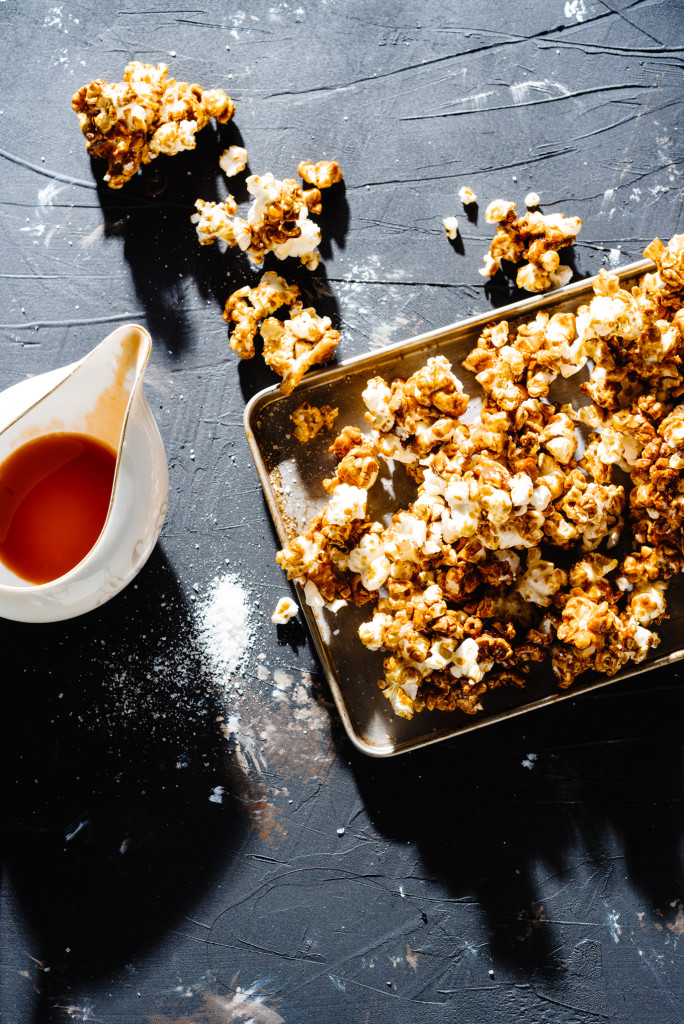
Skinny-Pop-3-Ways-093

안녕하세요!

Those symbols translate to “hello!” in Korean. Why, you may ask, am I greeting you in Korean when clearly this week’s recipe is about as American as they come?

So glad you asked!

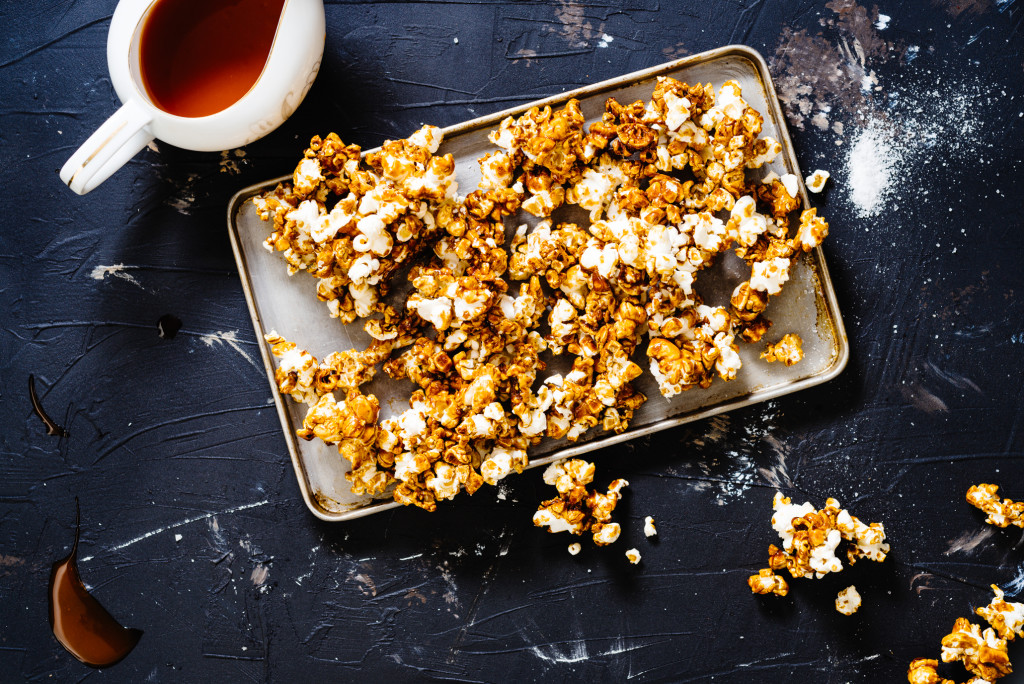
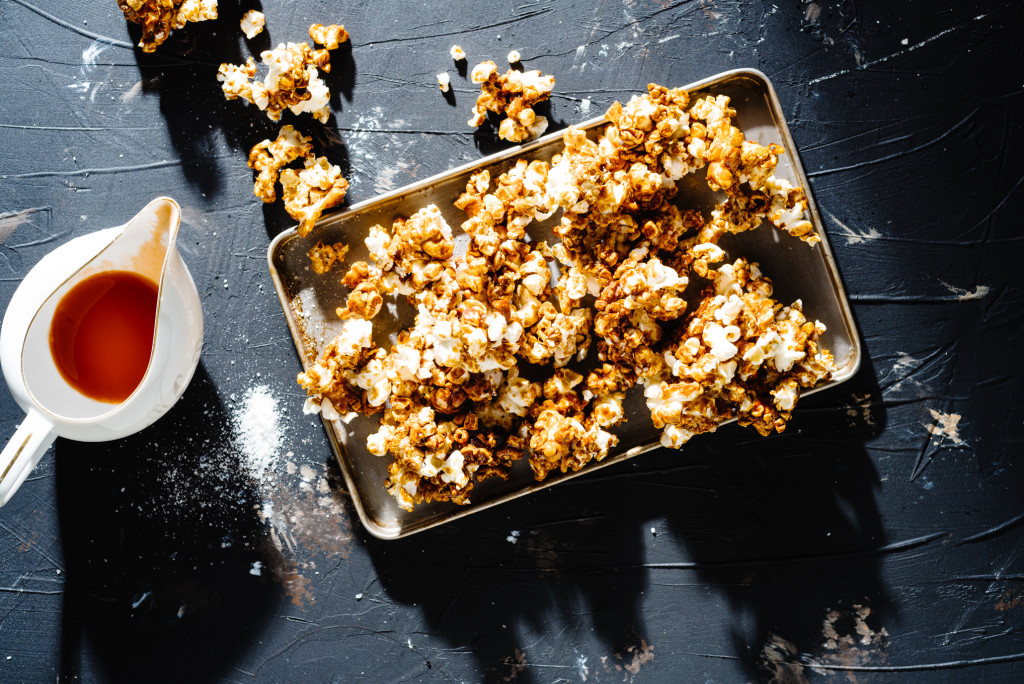
Because this week, I want to encourage us all to get outside of our collective foodie comfort zones (and languages). After finding this week’s spicy popcorn recipe from The Whole Bite (and her FANTASTIC tip about cooking spray in the bowl before you toss the popcorn and caramel sauce), I knew that it was going to be a different type of week for the blog. One where I challenged myself to do something a bit wild. To stray from the more straightforward recipes of the past two weeks and go on a bit of a culinary adventure into SPICY CARAMEL. You heard me- spicy, buttery, caramel, sauce.

Skinny-Pop-3-Ways-117

The revelation of adding hot sauce to caramel caught me so off guard- and inspired me so much- that I knew I had to make it. It also kicked me into a adventurous food mood that I have yet to shake. Jake and I made kimchi chicken thighs twice this week. I’ve visited two Asian restaurants that embraced such fantastic flavor (Chiang Mai sausage and Sambal chili paste at one; life-changing kimchi, fried rice cake and jjampong at another) I couldn’t help but be inspired.  I’m going out for pho tonight.

Must. Have. Flavor.

Skinny-Pop-3-Ways-121

In the spirit of adventure, I want to challenge each of YOU to experience food in a new light this week. Just like SkinnyPop embraces all kinds of flavors with their popcorn (helloooo dusted dark chocolate and jalapeño), I would love to see us all embrace new flavors on our plate.

Also speaking of food adventures, as I promised in my video, here are my Top 5 International Food Spots in Nashville:

1. The Woodlands At the Woodlands, you can experience both a piece of paper masala dosa the size of a small shark and chana datura, a fried bread the size of a sting ray, with, oh my word, all the paneers and curries. Plus, every food photo on Yelp makes my mouth water. Tip: Order everything! Seriously, I’ve never eaten anything at Woodlands I didn’t enjoy.

2. VN Pho  One of the older ladies who owns VN Pho once gave me the LAST egg custard roll she had for FREE even though it was meant for her cousin; she just wanted me to taste it (or, I was so enthusiastic about dessert I may have scared her a little). Either way, the family that owns VN, and the people who work there, are the sweetest and you will love them. TipLife-changing beef & seafood pho!

3. Sichuan Hot Pot and Asian Cuisine If you are in the mood for a steaming bowl of broth with a large pork bone anchoring the center, topped with lamb, mushrooms, taro, lettuce, onions, more mushrooms I can’t identify and the most delicious Asian sauce selection I’ve encountered in Nashville, then this is your spot. Plus, you get to control the heat and length of time you add ingredients to the broth- each table has burners for every two seats-ensuring that you will a.) most likely burn your tongue, but b.) it will be completely worth it.  Tip: Use ALL the sauces!! Seriously, get a round tray and pile those little bowls up.

4. Bajo Sexto: My husband and I had the most relaxing afternoon we’ve had in a long time at Bajo Sexto- and didn’t intend to. In fact, we were there shooting food photos of the restaurant, but in a wild turn of events, had about an hour between places to go. So, we sat down, drank a Mexican Coca-cola, and enjoyed the tastiest roast chicken, fried fish taco and beet salad I’ve had. OH MY WORD that pollo!! Crispy, salted skin with salsa pasilla-I crave it still.  Tip: Order the baja fish taco. Actually, order three.

5. Korea House: Oh, Korea House. When our neighbors invited us to join them for a date there, I had NO IDEA how worth it the line we stood in was. Not only have I been eating on my spicy seafood stew for three days because I don’t want the flavors to end, their hot sake, potato pancake and pickled cucumbers were addictive. Tip: Arrive early; order #40 with a side of bimbibap.

Skinny-Pop-3-Ways-091

So, I issue you all, my awesome readers, a food challenge this week. Make this fantastic, spicy buffalo wing inspired popcorn. Follow it up with a flavor-filled trip of your own. And if you do make the ambitious adventure a reality, I want to hear ALL about it in your comments below.

Skinny-Pop-3-Ways-104

Spicy Buffalo Wing Popcorn (Recipe from The Whole Bite, which was originally adapted from BonAppetit.com)

This simple caramel sauce is delicious; all you have to do is watch it closely to make sure it doesn’t burn. Also, Chelsea’s tip about making sure you spray the bowl with cooking spray before you toss in the caramel is a must- as is her tip about washing the bowl soon after you use it! Lastly, make sure you also have all of your ingredients prepped and ready to go. I don’t want anything to stand in the way of your popcorn joy:)

What You Will Need:

  • 1 4.4 ounce bag SkinnyPop, original flavor
  • 3/4 cup sugar
  • 1/4 cup hot sauce (I used Texas Pete)
  • 3 tbsp. unsalted butter, cubed
  • 1 tsp. salt
  • 1/4 tsp. chili powder
  • 1/2 tsp. baking soda

What You Will Do:

  1. Preheat the oven to 300. Line a rimmed baking sheet with parchment paper.
  2. In a saucepan over medium-high heat, bring the sugar and 1/4 cup water to a boil, stirring with a wooden spoon to dissolve the sugar. Boil 10-12 minutes, swirling the pan occasionally until the caramel takes on a dark amber color. *Make sure you watch this process; I wasn’t paying attention and let mine get a bit too brown. It was still yummy though!
  3. Remove the caramel from the heat and stir in butter and hot sauce with a long wooden spoon. Don’t be alarmed when it starts to bubble and foam! That’s a good thing! Return to the heat and boil 3 more minutes (or less if you are like me and cooked it a bit hot on the front end).
  4. Remove the caramel from heat and stir in salt, chili powder and baking soda.
  5. Working quickly, pour hot caramel over popcorn and toss to coat. Spread popcorn into an even layer on prepared baking sheet and bake 20-25 minutes until dry (the caramel will not be hardened).
  6. Let cool (DONT TOUCH IT!!) at room temperature, then break it up into large clusters.  Seriously, don’t touch it until it’s cooled or your fingers and tongue will burn off.
  7. ENJOY!!

Brownie Recipe Round-up + 5 Fridge Must-Haves!

Brownie Prep!
Brownie shot from Food Faith Fitness blog!

Lovelies!

Today is a fantastic day. You know why? Because, BROWNIE RECIPES! As you know, I share a deep, deep love for brownies, wish they were a part of the food pyramid (*awkward! I realized this no longer exists, hah, as you can see in my Luv Cooks video for the week) and I have a unique ability (some say it could be considered an athletic ability) to relentlessly daydream about recipes. Caramel, pecan, peanut butter, spicy chili, coconut, dark chocolate, cookie dough- name the add-in, I’ll eat it. Well, unless it contains cricket flour. But that’s for a whole other discussion.

Rest assured that none of this week’s recipes involve cricket flour-and oh my geez MY STOMACH IS GROWLING thinking about these!!

coconut-almond-paleo-skillet-brownies-pic

  1. Coconut Almond Skillet Paleo Brownies– WHAT?!! Do you SEE these photos? I am seriously going to make a surface like that as soon as I can. Stunning! And how cute is Taylor?!

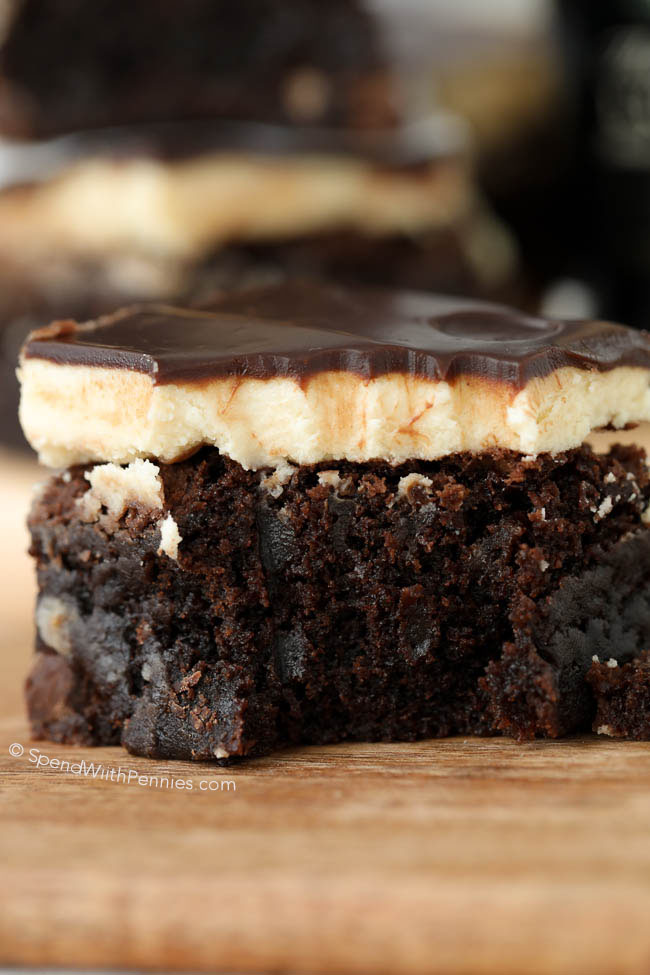
Bailey's Brownies

2. Bailey’s Brownies– I am a sucker for Bailey’s, and that cream layer on the top?! Dreamy! This recipe and photo from Spend with Pennies looks delicious!

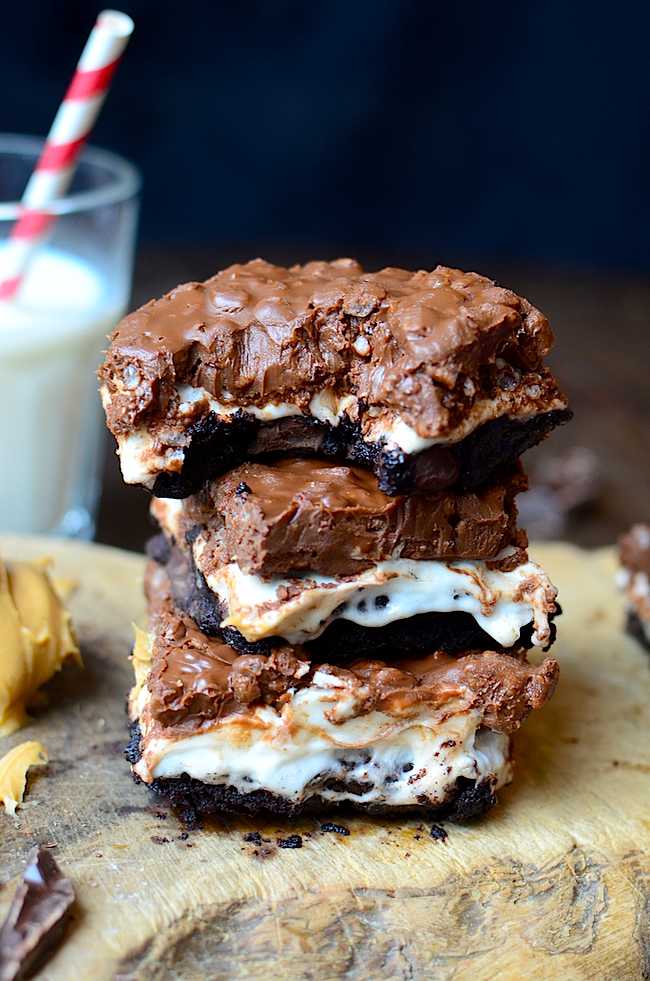
Brownies 2!

3. Yammie’s Flourless Crunch Marshmallow Brownies I was literally so excited about these brownies that I clicked to open them three times from Pinterest. They have: peanut butter, Rice Krispies, chocolate, marshmallows, more marshmallows…

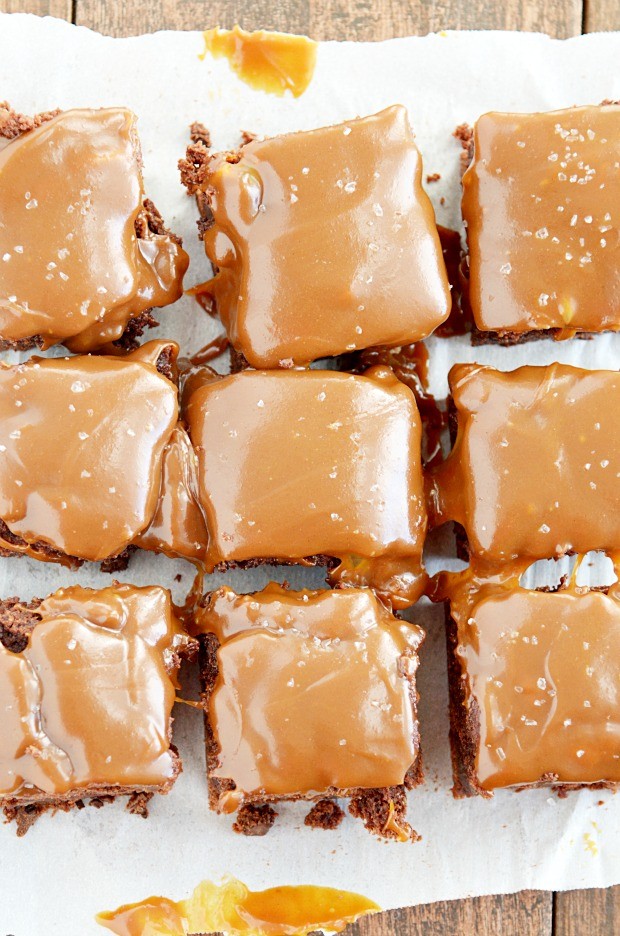
Salted Caramel Brownies!

4. Salted Caramel Brownies– My mouth is now watering. Something Swanky is the cutest site! Full of so much color, fun, and mad dessert love. My kind of gal!

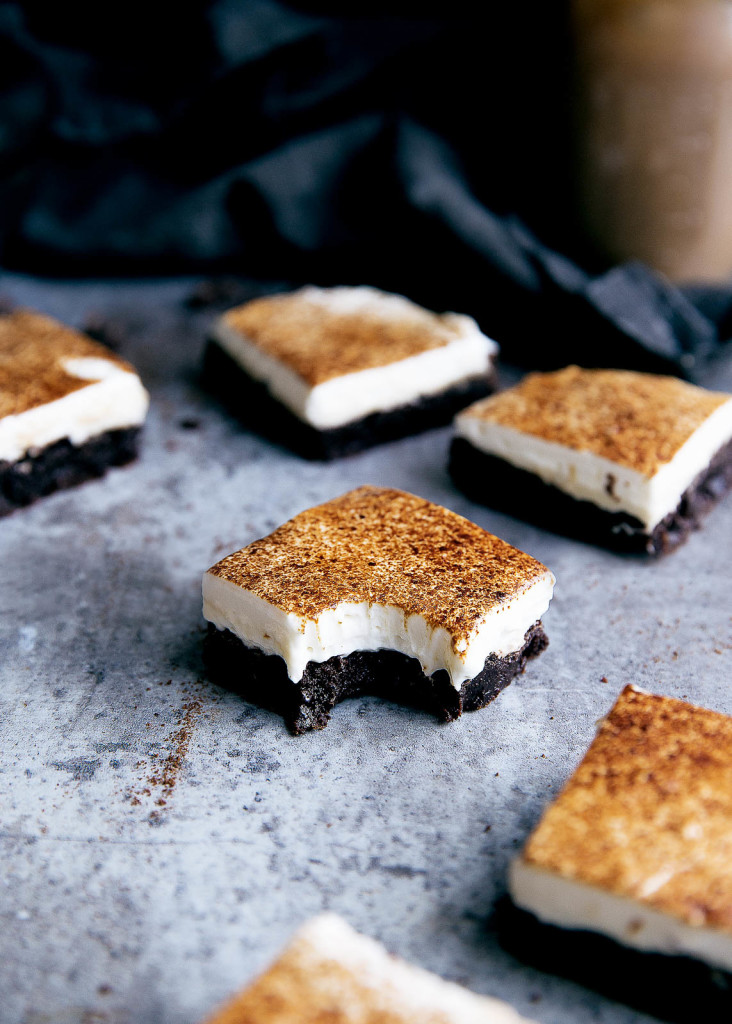
Tiramasu Brownies!

5. Tiramisu Brownies: You had me at COFFEE BROWNIES! These photos and recipe by Broma Bakery are so beautiful, so lovely, and so perfect for breakfast. And dessert. And a snack. And really anytime you feel you need a tiramisu brownie.

Also this week- The 5 Things I Keep in My Fridge!! Because who doesn’t like to spy in other people’s refrigerators? **

**Note: Cleary there is often MORE than five things in my fridge. Especially if I am prepping for a food shoot (normally I am banging my head against a shelf in my freezer during that time; Lord send us a double fridge!).  But on a weekly basis, Jake and I have developed some staples that keep us going and on a (somewhat) healthy track. After all, what is a routine if you don’t have easy access to coffee bombs?:)

So, here’s our list in a non-video form:

Fruit is a fridge staple!
  1. Almond milk: I love unsweetened vanilla almond milk! I drink it all the time with cookies; add it to my cereal, and smoothies, and to powdered peanut butter. I also sometimes substitute the unsweetened original flavor for dairy in soups! It’s a good swap if you need it. We buy ours in the three-pack from Costco.
  2. Yogurt: Whole milk, plain yogurt has become a fridge staple for us. I love Stonyfield Organic whole milk yogurt and my current FAVE thing to do with yogurt is stir in some powdered or regular peanut butter, cocoa powder, a bit of stevia and cinnamon, and voila! It’s like a pseudo peanut butter cup.
  3. Green apples: Green apples cold from the fridge are the best! I chop them up, toss them with cinnamon, add them to oatmeal, dip them in peanut butter- lots of fiber and possibilities there.
  4. Eggs: We also get a 24 count flat of these from Costco! My favorite use is to soft-boil them. Just lower eggs into boiling water, cover, and then take your pot off the heat for about 8 minutes. Rinse the eggs under cold running water and peel. The centers are beautifully runny and fabulous on toast and in broth or with Asian food.New-Year-Smoothies-063

5. Coffee bombs: Y’all know how passionate I am about Ladybird Provisions and their coffee bombs. They are a part of my coffee routine on the daily and I try to always have stacks of them in the fridge! The smoothie above was made with a coffee bomb in it:)

Happy weekend everyone! May your tummies, and fridges, stay full!


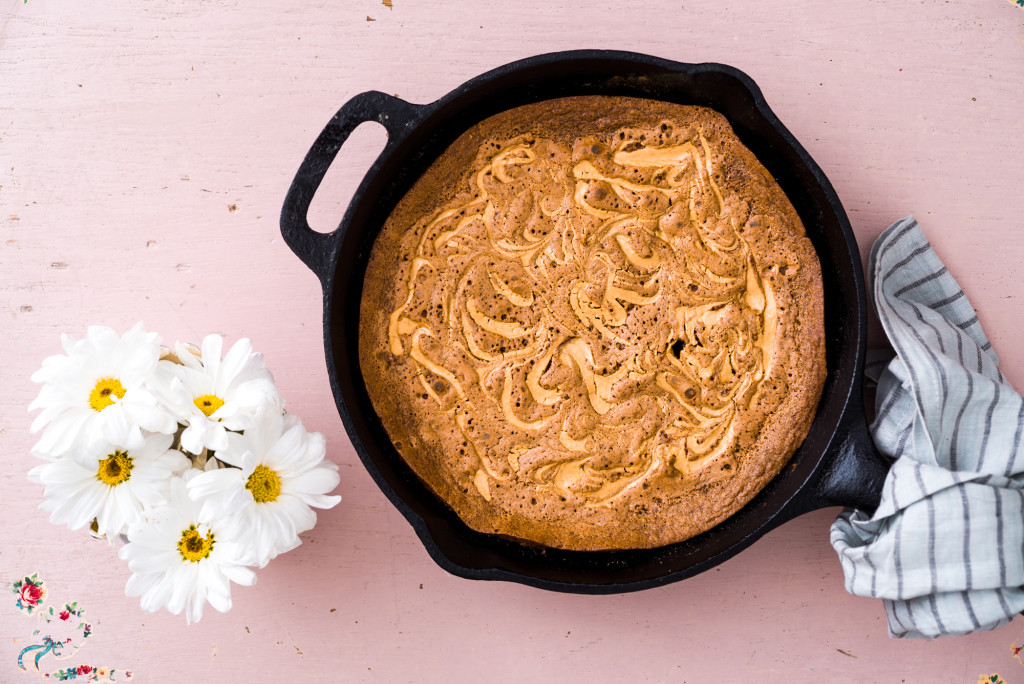
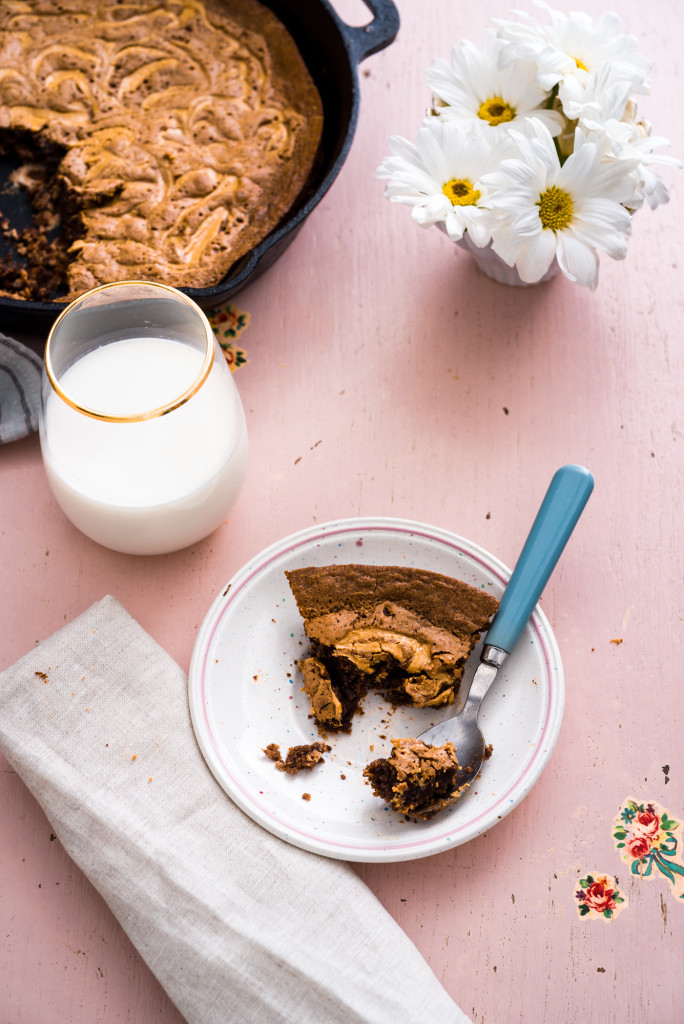
Peanut Butter Swirl GF Brownies + Baking in a Cast Iron Skillet

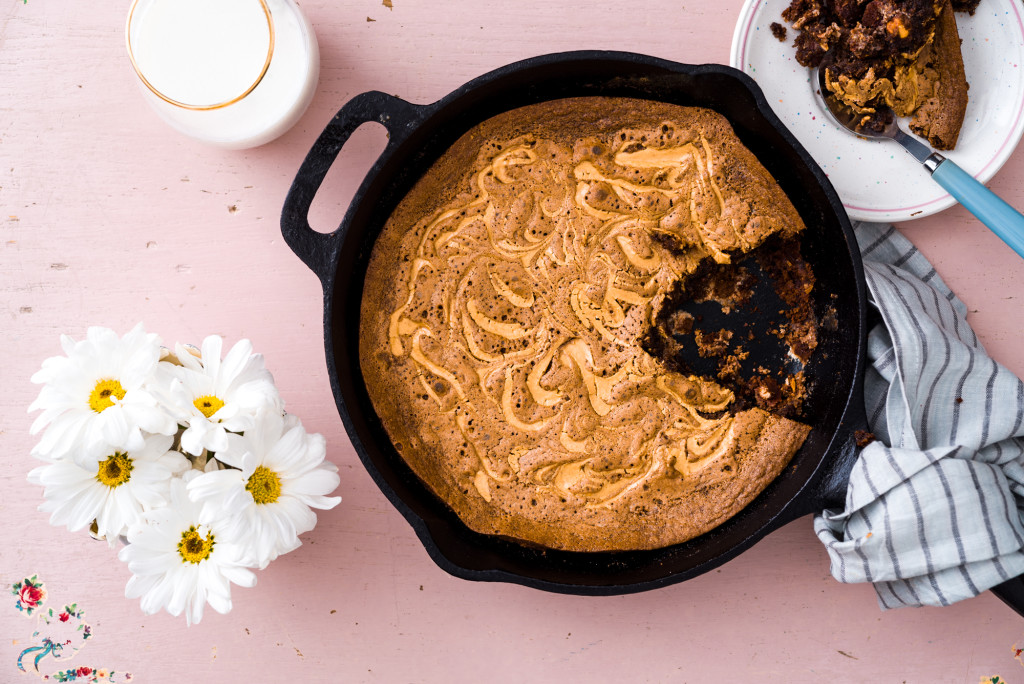
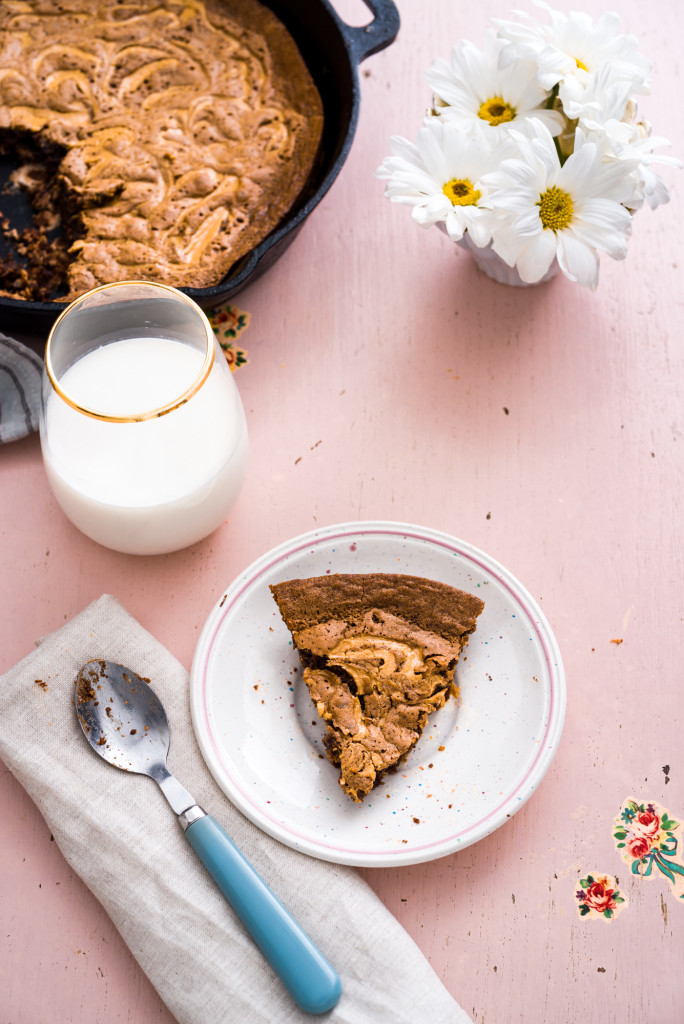
Peanut-Butter-Swirl-Skillet-Brownies-031

Morning my lovelies!

I hope your week has been full of joy and fabulousness. Mine has been a bit crazy, as my husband threw his back out yesterday, our dog had to go to the vet and have an X-RAY OF HIS STOMACH because he swallowed our bathroom drain, my husband’s favorite baseball hat, and the back end of two of my razors, and our dishwasher almost fell out of the wall.

Yep! I know what you are thinking, bless our hearts! Praise the Lord we made it!

Now, as part of this month’s one recipe four ways series, it is finally time for me to give you a full-throttle indulgent recipe that is the epitome of comfort food. If you’ve had a stressful week (#puppies #hubbies #life) then this is the PERFECT way to unwind. Baking is my stress therapy, and these brownies, along with a glass of white wine and Jane the Virgin episodes- that’s a pretty perfect wind down on a Friday night.

Peanut-Butter-Swirl-Skillet-Brownies-050

Also this week I discovered the awesomeness of BAKING in my cast iron skillet. Cue childhood drama and/or a bit of a back story on my relationships with cast iron skillets:

Growing up in the South, one’s relationship with the cast iron skillet was, and still is, a status symbol. Inevitably, you invite your neighbor/Southern friend over to eat at your house and, very politely, albeit inconspicuously, said person would start to wander around your kitchen, eying your cookware, looking for your skillet- only to judge it’s state of readiness to fry a piece of bacon or chicken at a moment’s notice. Seasoned and ready to go? You obviously know your way around a biscuit.

Rusted and/or hidden from site? Good luck with your future.

But a great cast-iron skillet is a bit like having a puppy. It requires a good amount of care, training, and persistence to function at peak performance.*

CUE Bigbsy (our puppy) and I’s YouTube video here!

That’s why baking in a cast iron skillet is pure brilliance. I first learned about all the reasons why this is awesome from Serious Eats‘ J. Kenji Lopez-Alt, and his book The Food Lab. This has become my BEST cooking and food styling resource- it is one of the best purchases I’ve made in my career as an at foodie girl boss. I highly recommend it.

Kenji explains that cast iron’s specific heat capacity is lower than aluminum (what some cookware is made of) and because it is so dense you get double the amount of heat retention (for the same size pan). Which means- the pan DOESNT COOL DOWN when you add food to it. Other pans may drop in temperature up to 300 degrees, but cast iron should stay at about it’s original temp. In other words, your cornbread, pies, rolls, even brownies- get a crisp, evenly browned crust around the batter. Also, if you have an ahem, older…. oven like myself it’s ability to maintain heat even when your oven temp fluctuates is awesome. It ensures that even if the temp sways, your dark, fudge brownie crust will not.

These are all great things! However- here is the trick with cast iron. Until a great layer of seasoning has built up in your pan, things (baked goods, eggs, vegetables) will stick to it. So you have to take lots of care, especially when baking, to make sure the surface of your pan is properly greased.

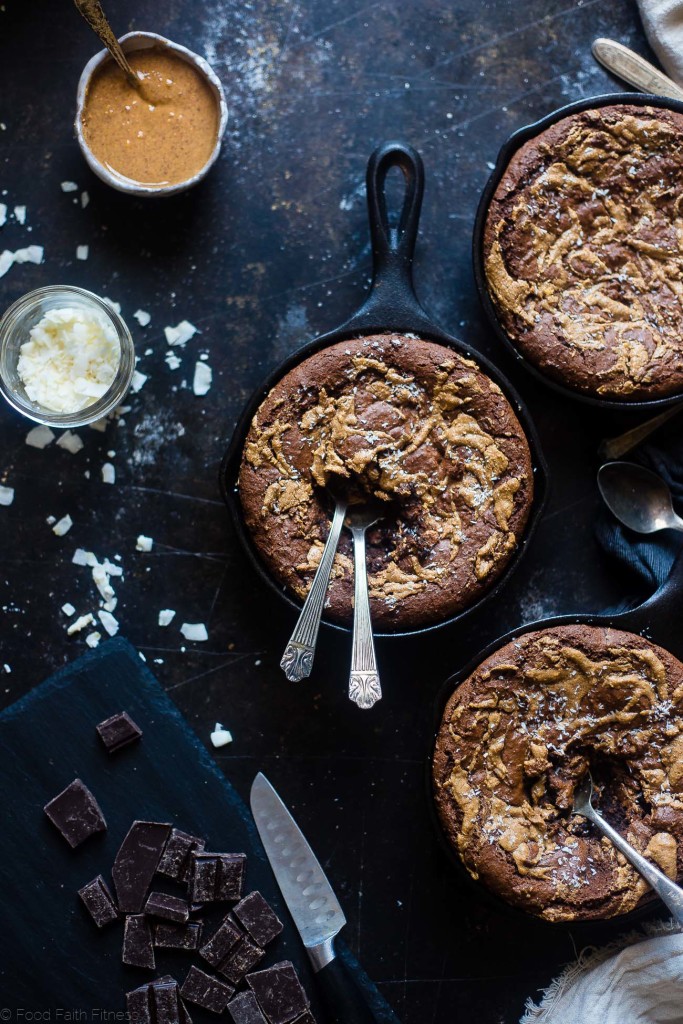
And this leads me to this week’s recipe from @thekitchn. This is why their team knows what they are talking about and are brilliant in baking. They understand a Southerner’s pride in their cast iron skillet and the science of proper lubrication on the cooking surface. In their gluten-free skillet brownies, you melt the butter in the cast iron skillet, THEN use that butter to prepare the pan’s surface and stir into the batter. Perfect.

So, in the spirit of all things warm and Valentinesish (yes, that is a word), I want to encourage you to whip out your cast iron pans this weekend as  they are the BEST way to feed your guests a bunch of brownies while they are still hot.

Peanut-Butter-Swirl-Skillet-Brownies-026In fact, choose to invite those people over who may be eying your cookware, looking for a skillet. They’ll be surprised to find that you thought ahead- and, at the end of the meal, pulling your skillet brownies out of the oven pretty much qualifies you as a cast iron rock star.

Peanut-Butter-Swirl-Skillet-Brownies-055

Peanut Butter Swirl Skillet Brownies (adopted a bit from The Kitchn Speculoos-Swirl Brownies)

This brownie is amazing on two levels: first, it utilizes a cast iron skillet for baking, which ensures an evenly crisp brownie crust and fudgy center. Second, the bake time is around the 35 minute mark, and you can wow guests at the end of the meal with a dessert everyone can dive into.

What You Will Need:

8 tablespoons (4 ounces) butter
1/4 cup unsweetened cocoa powder
1 cup light brown sugar
1/2 teaspoon salt
1 teaspoon vanilla extract
2 large eggs
1/2 cup almond flour, sifted
3/4 cup peanut coffee nut M&M’s (Any M&M will do, but the coffee flavor is fun here. If you are concerned about gluten contamination, you could do the standard M&M just in case!)
2 heaping tablespoons peanut butter (Nutella or almond butter would be awesome too)

What You Will Do:

  1. Melt the butter in an 8- or 9-inch cast iron skillet over a medium heat.

2. Pour the melted butter into a large mixing bowl, leaving a film of butter on the pan (make sure you swirl the butter around in the pan to evenly coat the surface and a bit of the sides).

3. Whisk the cocoa powder into the bowl with the butter. Add the sugar, salt, and vanilla, and whisk until well combined.

4. Whisk in the eggs, one at a time, then sift in almond flour through a strainer (this avoids lumps). Whisk well. Fold in the M&M’s.

5. Pour the batter into the pre-greased cast iron skillet.

6. Melt the peanut butter on high for 30 seconds; stir, then 15 more seconds, until it is runny. Drop dollops of the melted nut butter over the top of the pan, from around the rim to the center of the brownies. Using the pointed tip of a steak knife, gently swirl the speculoos into the brownies, running the knife lengthwise and crosswise, and making swirls too- really any way you feel!

7. Bake for 30-35 minutes. Test the brownies by inserting the tip of your steak knife into them to make sure the tip comes out clean.

8. Either serve the brownie in scoops to your guests and top with ice cream, or allow to cool completely before cutting into wedges and eating. ENJOY!!!

*This example, and all of the verbiage on cast iron cooking and science, taken from The Food Lab!! Can’t say enough about that book!

4 Ingredient PALEO Brownies + Brownie Eating Philosophy

Brownies-3-Ways-087

It’s Friday, it’s Friday! That is a cause for celebration. And, we get to take the celebration up another notch because YES it’s time for brownie recipe number two!

This week’s brownie recipe is a huge treat because this has been the best way to get me to eat protein powder during the week (in a dessert) and Gimme Delicious, this week’s recipe creator, is a healthy brownie genius.

Did I mention, like her site says, these treats are also gluten-free and vegan? So everyone can get in on the party!

Brownies-3-Ways-125

And as some of you know, healthy eating does not come naturally to me. I grew up in a Southern household, which means that the four main food groups were casseroles, pretzel salad (yes, this counted as a vegetable), sausage and/or bacon, and Cocoa Puffs. Those were the glory days.

But now that I am a bit older, I’ve realized that it’s probably better to practice some balance in my everyday life. And for my hubs and I, eating Paleo during the week has been the easiest transition for us. It involves meat, of which I am a fan, and lots of vegetables, of which my hubs is a fan, and sweet potatoes. Which I love. So, it works!

However, we are all for the weekend splurges, so get ready because next week’s recipe is going to be a party in a pan!

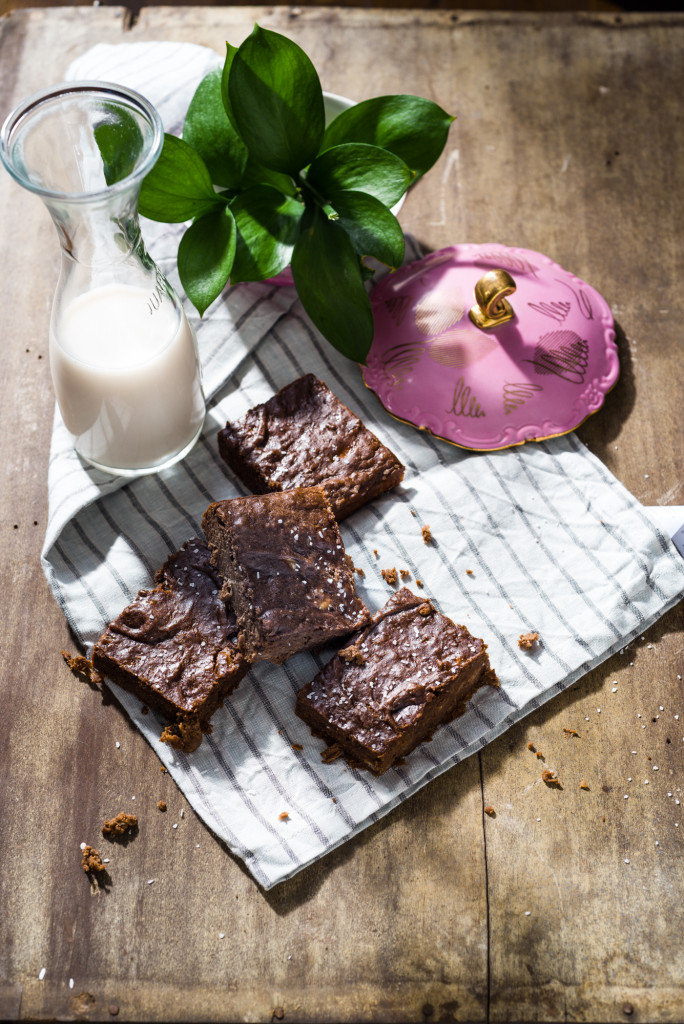
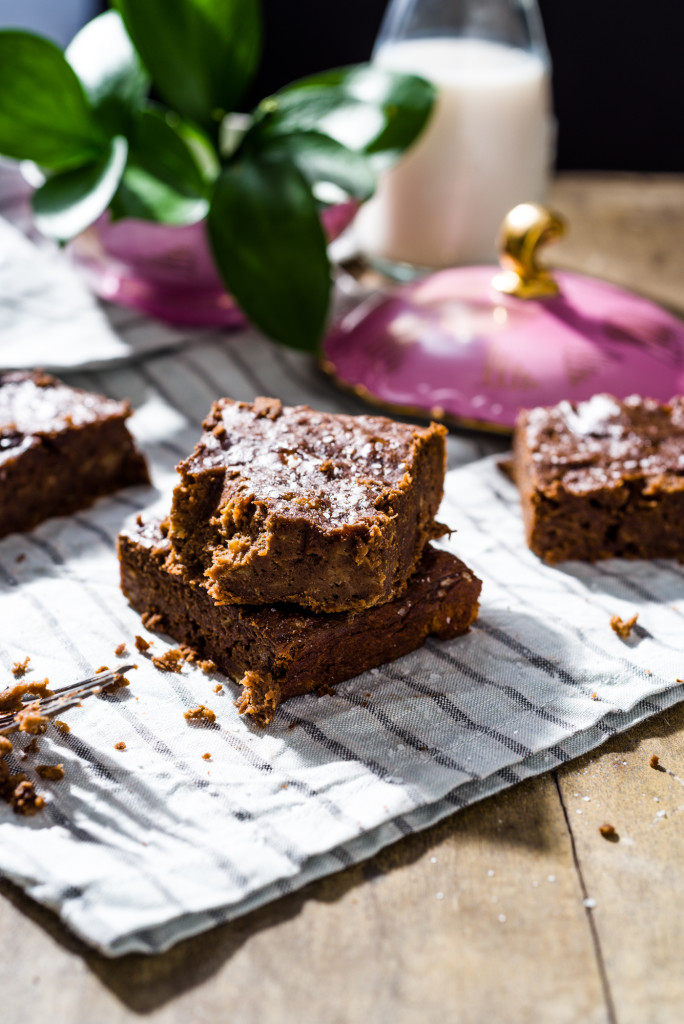
But for this week, and the every day, I highly recommend these paleo brownies. They only involve FOUR ingredients (which you probably have in your pantry right now), have a quick bake time, and taste fudgy and nutty, with the addition of the almond butter. I threw a little coarse kosher salt on top for that salty/sweet combo that heightens the cocoa powder flavor.

Brownies-3-Ways-115

AND check out this week’s video for my current brownie eating philosophy:

There you have it my loves! Paleo brownies. Next up, the Southern/homestyle/splurge version. Happy weekending!

Brownies-3-Ways-111

4 Ingredient Paleo Fudge Brownies from Gimme Delicious 

These gluten-free, vegan, and paleo brownies are the closest I have come in gluten-free baking to that cake-y, yet fudgey, consistency I love in a decadent brownie. With only four ingredients (well, five counting the sea salt on top), you probably have all you need in your pantry right now!

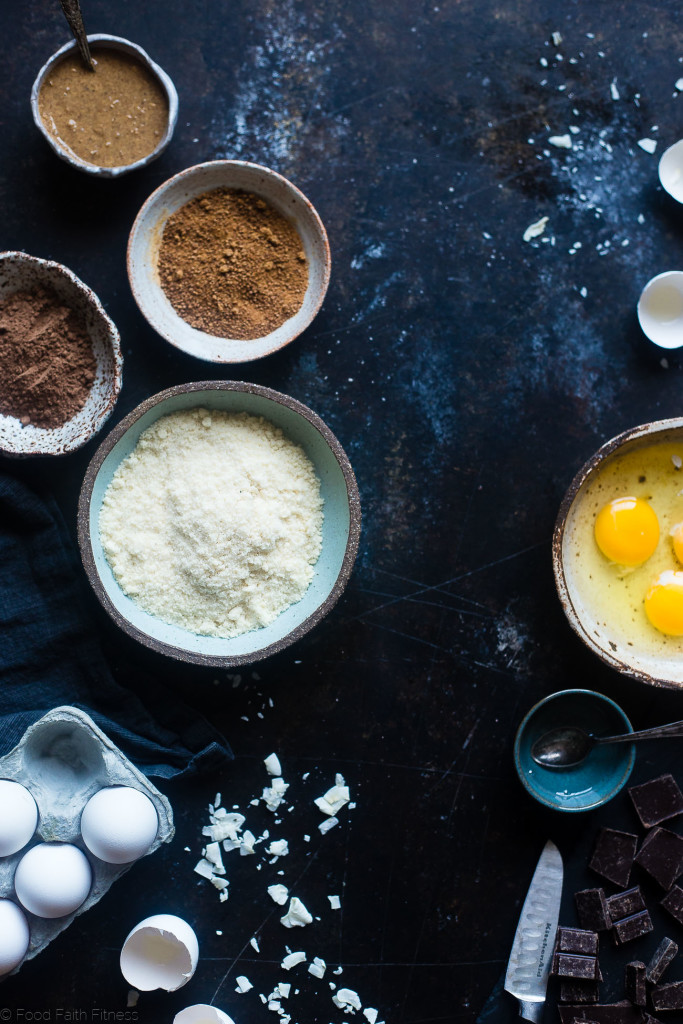
What You Will Need:

  • 2 cups mashed banana (about 6 medium, overripe bananas)
  • 1 cup almond or cashew butter
  • ½ cup vegan chocolate protein powder
  • ¼ cup cocoa powder
  • coarse kosher salt, for topping

What You Will Do:

  1. Preheat oven to 350 degrees F. Spray a dark metal, 8 by 8 baking dish with olive oil cooking spray.
  2. In a large bowl, combine the mashed bananas and nut butter and use a fork to whisk until fully combined. Using a rubber spatula, stir in the protein powder and cocoa powder.
  3. Pour batter into a greased pan, and gently smooth the top with your spatula. Top with a smattering of coarse kosher salt.
  4. Bake for about 25-27 minutes or until a knife inserted in the center comes out clean.
  5. Cool for at least 10 minutes before cutting. Cover the leftovers and store in the fridge for up to 3 days.
  6. I highly suggest enjoying these with a tall glass of vanilla nut milk! Soooo good!!

Month of BROWNIES!! This week: Vegan Chocolate Chip


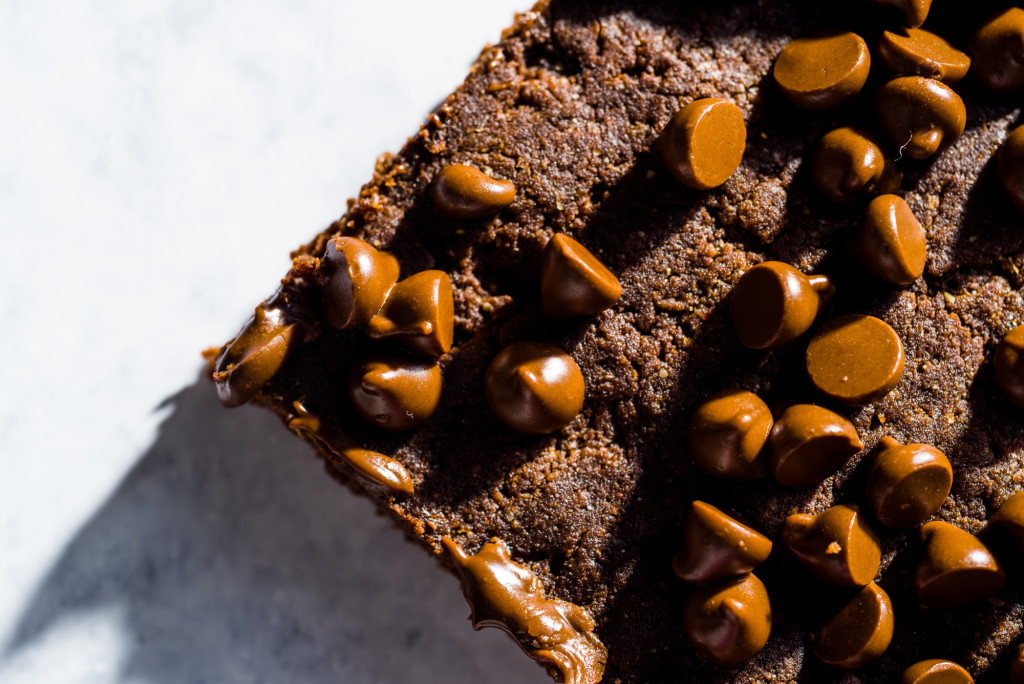
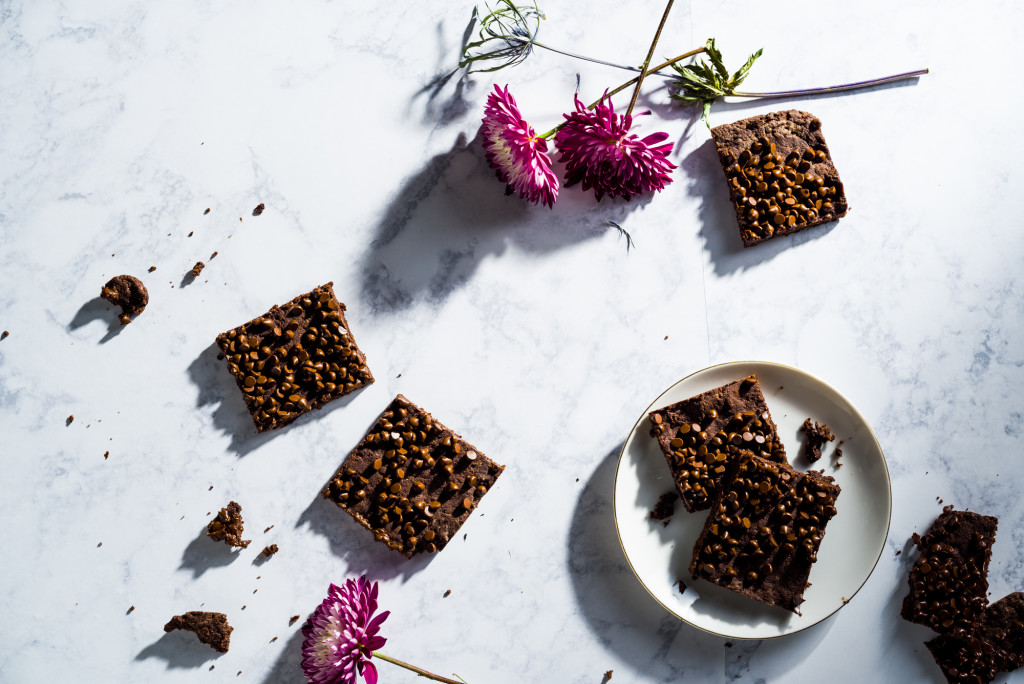
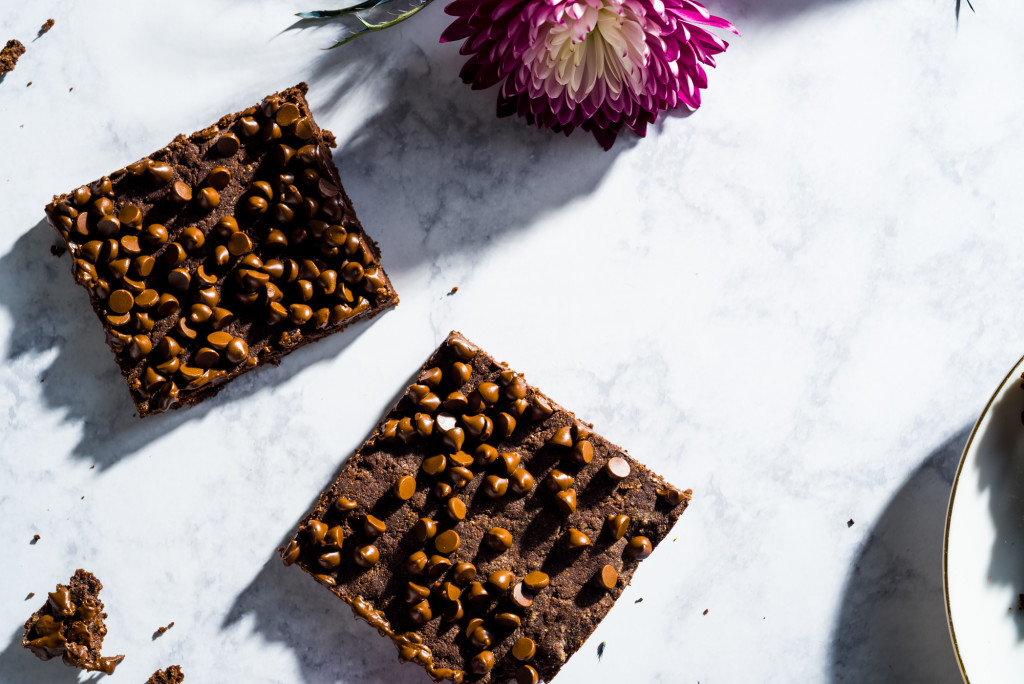
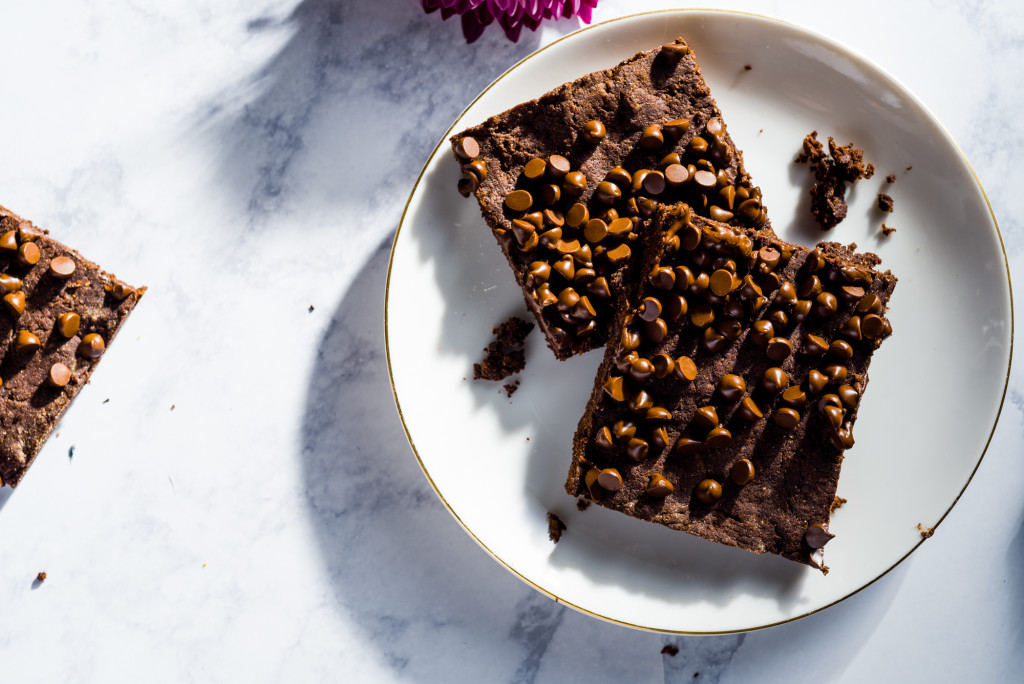
Vegan chocolate chip brownie close-up

Y’all!!!

It’s February!! My second favorite month of the year (second only to December=Christmas), which means it’s the time of the year where we ALL get to celebrate my favorite thing in the entire world: love.

Brownies-3-Ways-036

That’s right- the mushy, flowery, glittery, pink-red-and-white everything kind. My heart is for celebration and hospitality, and this is the time where we get to take a second, think about the people in our lives we adore, and write their names on Valentines in gold sparkles. It’s the time to bust open the craft kit, pull out that glitter pen, and get to gluing my friends! It’s also time to treat show yourself some love. AND, as I’ll show you this month, with food (my preferred love language) it can look however you choose! Whether it’s vegan, Paleo, Southern/homestyle, or a inspiring list of recipes from the interwebs- you are going to be inspired to get your brownies on.

Let’s also discuss briefly my deep, abiding, let-me-send-you-a-Valentine level of affection for brownies.

Brownies-3-Ways-042

Oh brownies. The reasons why I love this dessert could take an entire post, but for your sake’s I’ll keep it short. First, you are made almost entirely of chocolate. More than likely your recipe involves a combination of a few levels of chocolate- a fat (oil, butter, nut butter), cocoa powder (the darker, denser, and higher quality, the better) and a binder of some sort (eggs, flax eggs, bananas, coconut flour), with chocolate chunks either topped or stirred inside. In fact, the simpler, less-ingredient recipes I’ve tried have tended to be my favorites.

And speaking of favorites, this recipe, by Beaming Baker, is one of my favorite vegan brownies. EVER. These dense, chocolate squares have a beautiful balance of texture and richness from the coconut oil and cocoa powder, and a pure level of sweetness from the maple syrup. This recipe also uses flax eggs (Bonzai Aphrodite) and whole wheat flour as the binders, which is super healthy.

Also, y’all- check out her DESSERTS! Oh my gracious, beauties!

So, my loves, my readers, my friends. Enjoy the start to your month of love! I want to hear about all the ways you plan to enjoy it in the comments below:) You can reach me on Facebook and Instagram too.

For me, this week’s love looks like these brownies, a giant glass of cold almond milk, and a lazy Saturday with this book.

Much luv!!

Brownies-3-Ways-050

Best Vegan Brownies by Beaming Baker **

This is the best, most fudgey and delicious vegan brownie I’ve EVER tasted!! It’s fantastic, only has a 30 minute bake time, and is pure delight served warm with a cold glass of almond milk.

What You Will Need:

  • ¼ cup natural peanut butter
  • ½ cup organic dark brown sugar or coconut sugar
  • ⅓ cup pure golden maple syrup
  • ¼ cup + 2 tablespoons melted butter flavored coconut oil
  • ¾ cup unsweetened cocoa powder
  • 1 teaspoon vanilla extract
  • ¼ teaspoon salt
  • 2 flax eggs (2 tablespoons ground golden flaxseed + 6 tablespoons water whisked together, set for at least 15 minutes in the fridge)
  • ¼ cup + 2 tablespoons whole wheat flour
  • ½ cup vegan chocolate chips
What You Will Do:
  1. Preheat oven to 325°F. Spray an 8×8 dark metal baking pan with olive oil spray.
  2. Prepare your flax eggs by whisking together 2 tablespoons ground golden flaxseed and 6 tablespoons water. Cover, and put back in the fridge to set for at least 15 minutes.
  3. In a large bowl, whisk together peanut butter, brown sugar, maple syrup and hot, melted coconut oil. Whisk until it resembles caramel (This process is easiest if you do it right when the coconut oil is hot and melted! Otherwise get ready for an arm workout!)
  4. Add cocoa powder in ¼ cup increments, whisking until shiny and smooth. Scrape down the sides of the bowl as necessary. Add in vanilla extract and salt. Stir just a few times to gently incorporate.
  5. Add flax eggs, whisking until well incorporated. In thirds, whisk in the flour. As the batter gets harder to whisk, switch to folding with a rubber spatula. Fold until well incorporated and no flour patches remain.
  6. Pour batter into pan, and spread to the sides of the pan. Using a rubber spatula, smooth batter into an even layer. Top with chocolate chips.
  7. Bake for 30 mins, or until a knife inserted in the brownies comes out relatively clean. Cool for 1 hour, or until completely cool. (I put mine in the freezer to speed up the process; I couldn’t wait!) ENJOY!!

**This recipe is by Demeter, I just made a few tweaks:)


Easy Holiday Dinner Tips with Hormel

Orange Glazed Ham

WOW.

Umm- are you guys busy these days? I mean- is your holiday season flying by like Santa on a jet ski? Yep, #sameboat. I actually just had to practice some deep breathing a bit ago to calm down about ALL that awaits me on my to-do list between now and December 25.

But you know what? There is HOPE. That’s right, there is a beacon of light that lies across that sea of gift wrap on your living room floor. It’s going to simplify your life, take one MAJOR requirement off of your shopping-bag laden shoulders, and allow you to breeze through the most pressure-filled of Christmas feats- the holiday dinner.

Ham Dinner

That’s right. The once-a-year celebration that involves your family, your friends, and those relatives that you haven’t seen in years but somehow arrive at your doorstep hungry and ready for ALL the egg nog. The people that you truly love and want to feel special around your table. The people you text on the daily. That dinner. The solution? Hormel is here to save the day- and help you feed everyone on your gift list with no host-stress. Pun intended:)

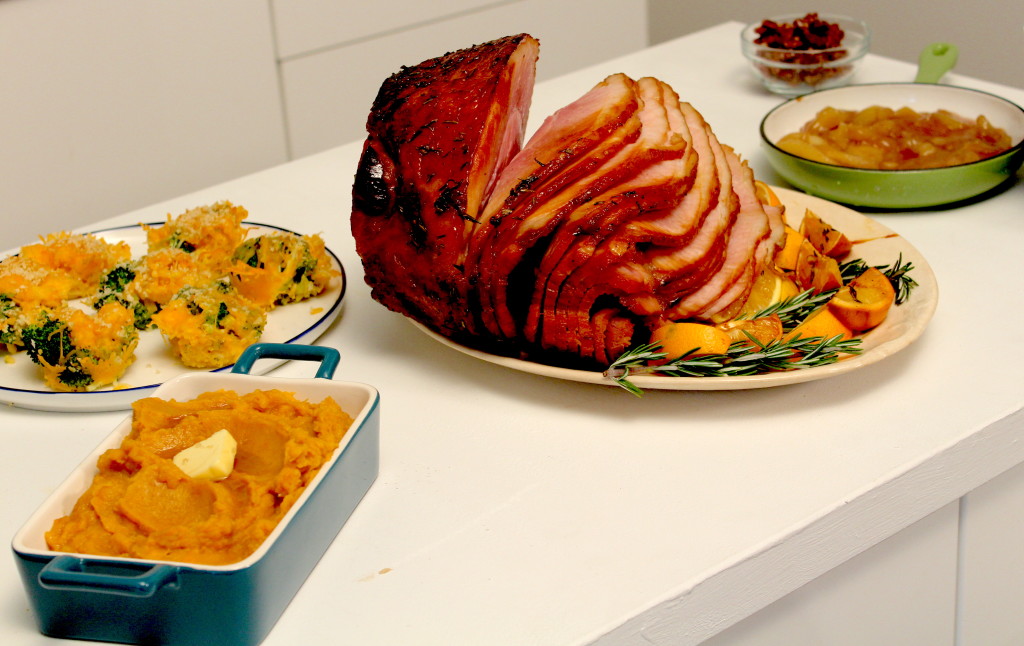
This season I had the chance to partner with Hormel for these easy holiday dinner tips to utilize all I’ve gleaned from my work as a food and prop stylist to create a holiday menu that is both easy to do and will formally establish you as the Holiday Hosting Queen or King. These dishes make simple, fresh tweaks to Hormel foods that are sure to please your fave people. It’s a menu that includes:

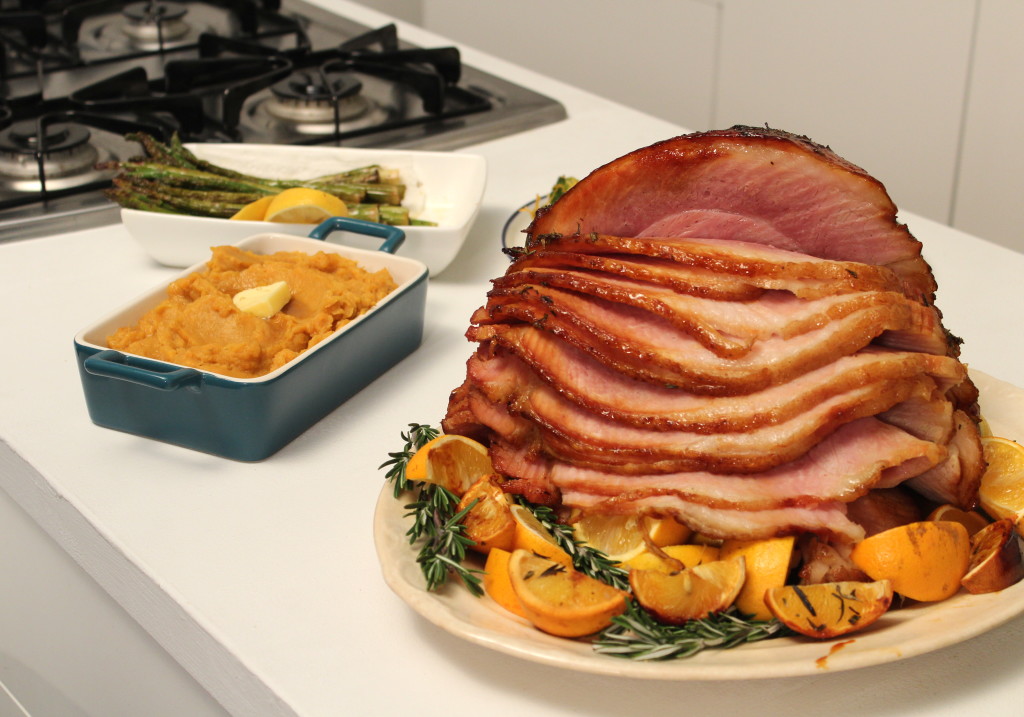
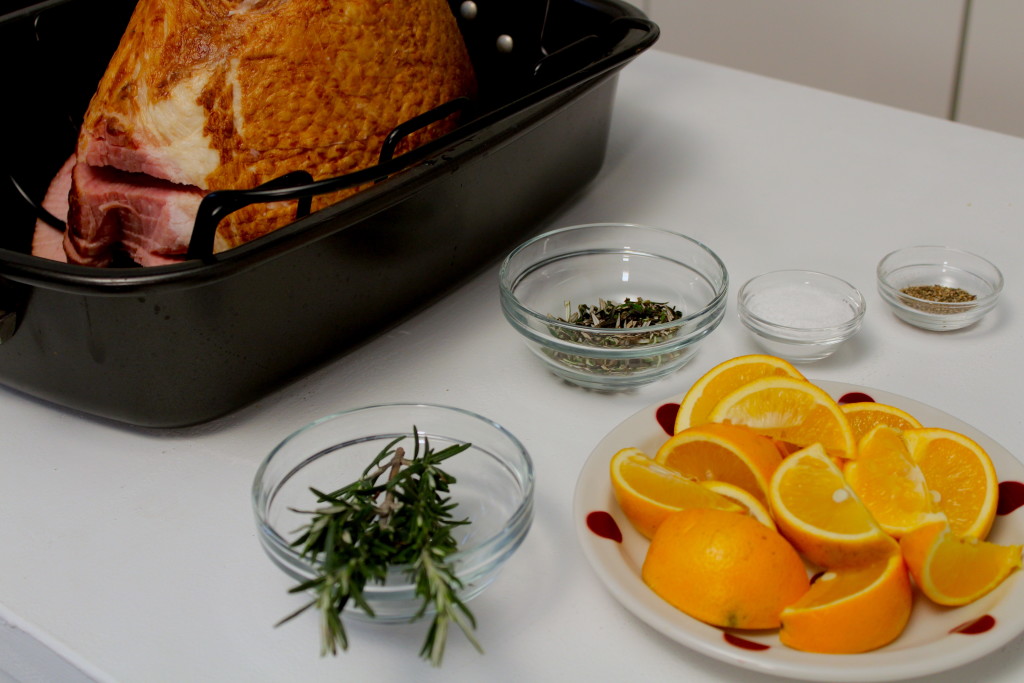
  • Orange and Rosemary Glazed Hormel Cure 81 HamThis ham is already cooked, and our glaze only has two ingredients! All we have to do is glaze and bake.
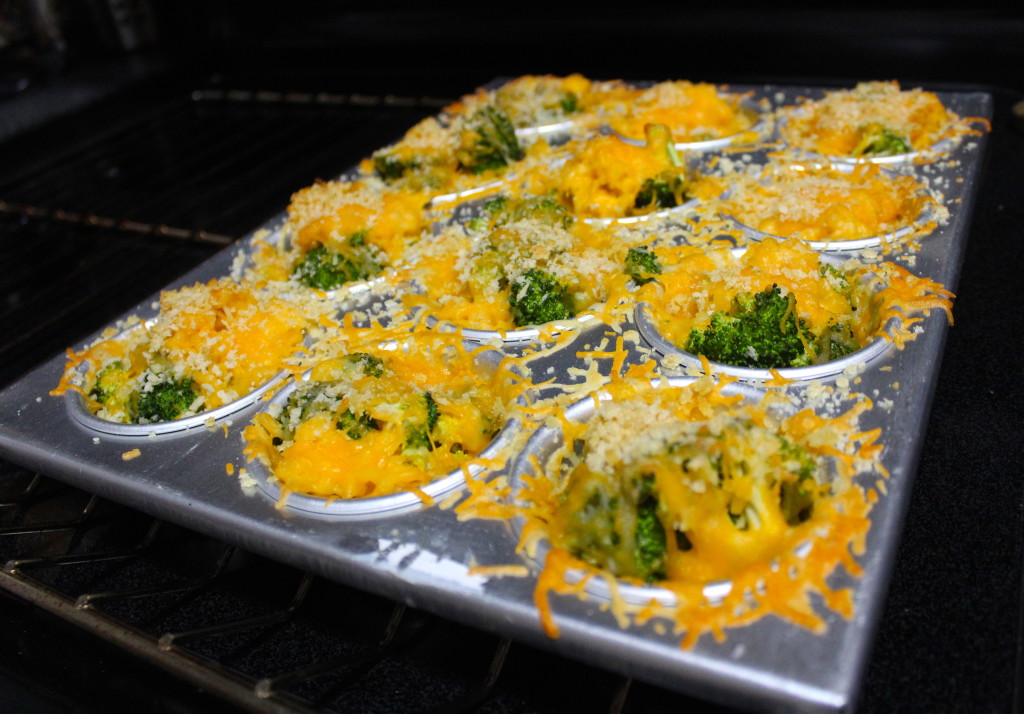
  • Golden broccoli and cheddar rice cupsPerfect for portioning out your buffet- especially when your relatives really love the sides; as in, ahem, maybe don’t leave much for those people behind them in line.
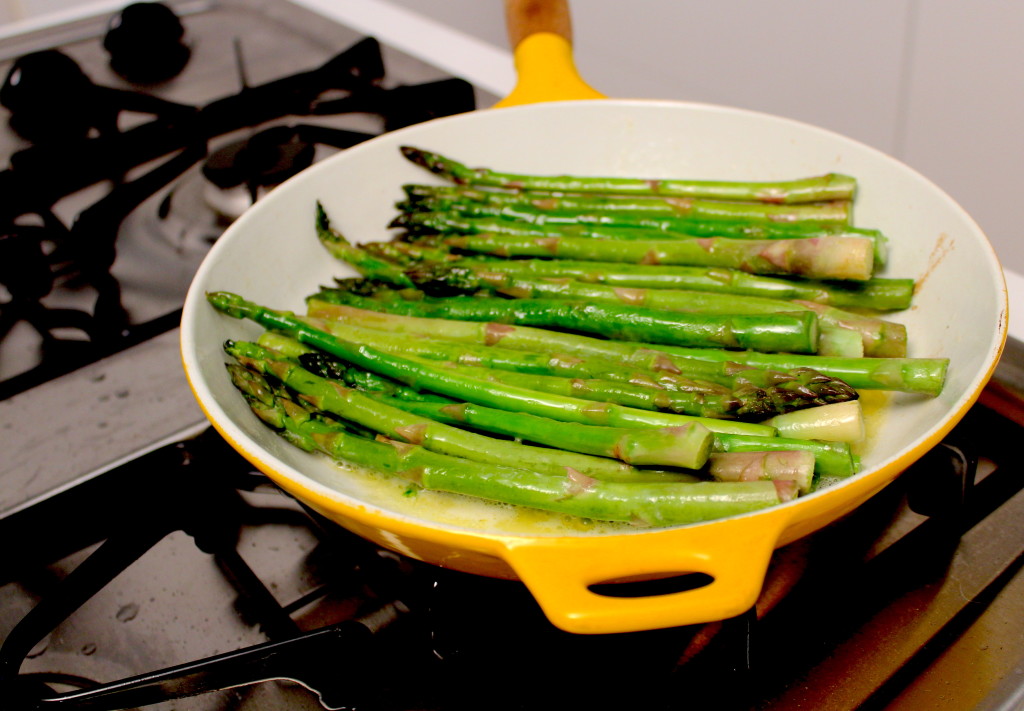
  • Fresh Sautéed Asparagus with Lemon ZestFresh trimmed asparagus + butter+ lemon zest. Voila!
  • Salted Maple Butter Sweet PotatoesUtilizing ready-to-go, mashed potatoes takes the boiling and the pulverizing out of the equation for you. Save that bicep strength for unwrapping presents later!
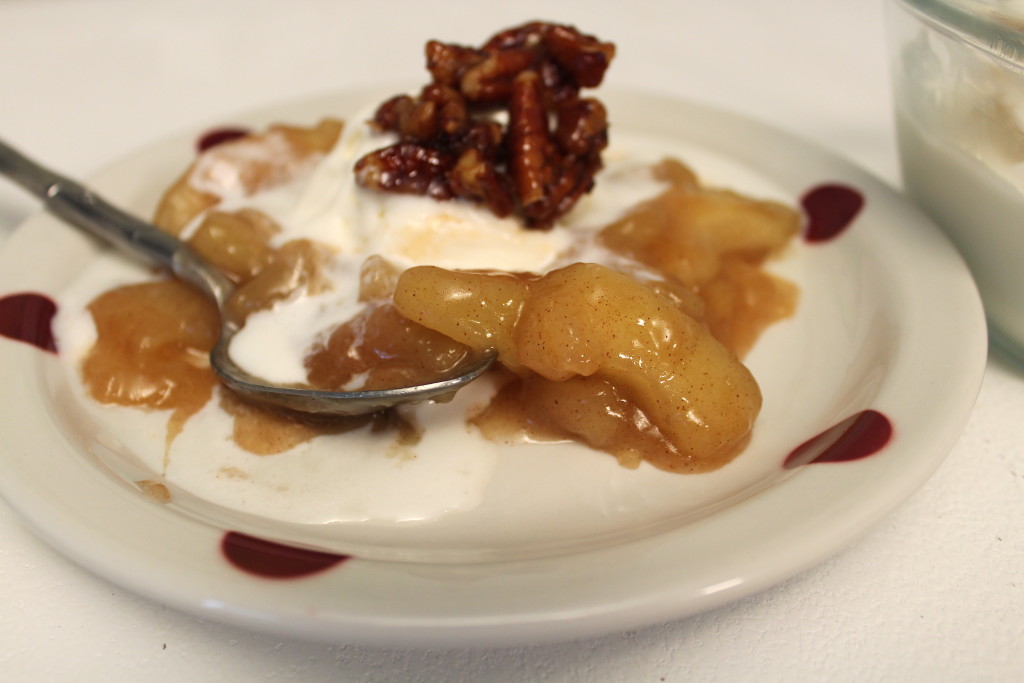
  • Sautéed Apples with Vanilla Bean Ice Cream and Candied Pecans: Sweet apples with creamy ice cream and candied pecans. Yessss pleeeassee!

To see the WHOLE menu and all of the how-to tips, click here: Hormel Holiday Ham Dinner Hacks!

Oh AND surprise!! The Hormel team also took some sweet behind-the-scenes photos I thought you guys would dig.

Let the film roll begin!

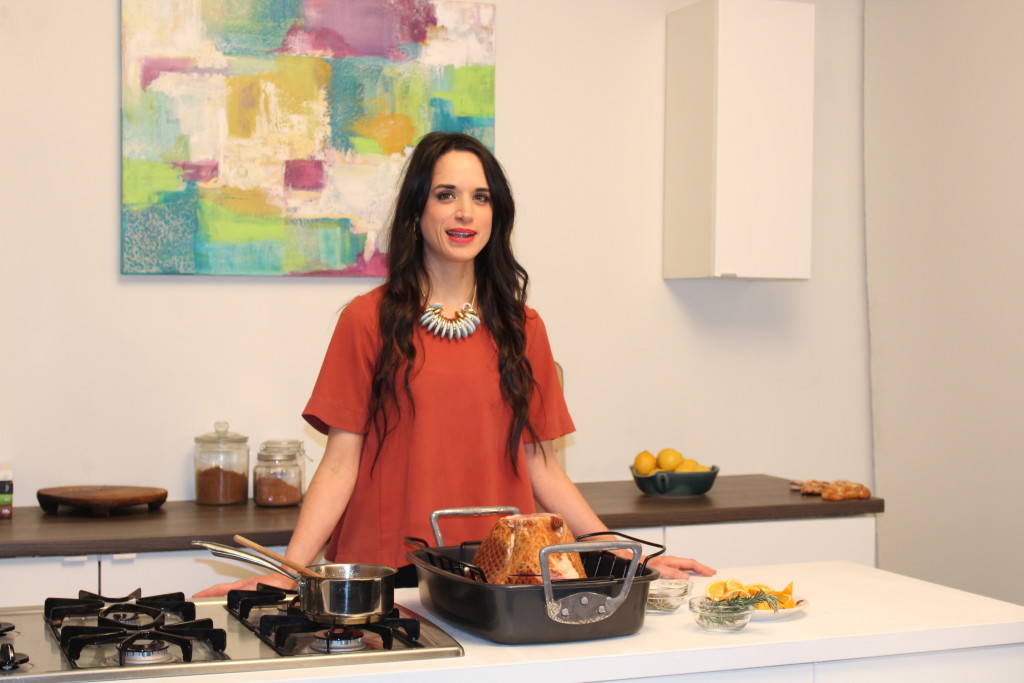
Sharing my love of ham with the camera!
Broccoli Cheddar Rice Cups
Our broccoli-cheddar beauties baking up in the oven.
Our Cherrywood Cure 81 ham and glaze ingredients awaiting their glorious debut.
Our Cherrywood Cure 81 ham and glaze ingredients awaiting their debut.
Warm cinnamon apples with vanilla ice cream melting into the fruit, topped with candied pecans for our dessert. Yummmmmmm.
Warm cinnamon apples, vanilla ice cream and candied pecans for dessert.
Fresh sautéed asparagus with butter and lemon zest deliciousness.
Sweet, caramelized glazed ham in all it's glory.
Sweet, caramelized glazed ham in all it’s glory.

You guys, my amazing readers and watchers- I couldn’t be more thrilled to share this video, and this season, with you. You and my friends and family- you guys are the ones that make holiday food special for me. And the fact that Hormel has made an effort to make this easy for all of us- well, I’d say that’s Luv Cooks style: having a blast, cooking delicious food, and making the people around us feel special.

So, from my kitchen to yours, may your table be full of the food, sparkle  and loving warmth of a hope-filled season. I can’t imagine anything more delicious.