NEW Luv Cooks video + Edelweiss Fudge Pie


Edelweiss Fudge Pie

My friends!

Fall is (somewhat) in the air!

Ok, so for some of you this may be a slight stretch- including those of us that ahem, may live below the Mason Dixon line. The highs are still in the 90’s, but hope springs eternal with 60 degree lows once the sun sets. We’ll take what we can get.

There is something about cooler temperatures that makes me crave warm chocolate. This is not a new phenomenon-note ALL of my previous chocolate dessert posts-but a less-humid climate opens up all kinds of possibilities for the Southern sweet tooth. Turn on the oven and blast fudge-y batter at high heat? Why yes, I DO have the mental capacity to consider that idea. Gently simmer coconut milk on the stove and whisk in dark cocoa powder, sugar, vanilla, and a pinch of salt? Yes, I’ll take that warm beverage, thank you very much.

So, today’s post is a fantastic combination of oh-so-easy Southern dessert, fudge brownie-esque goodness, and the perfect vehicle for fresh whipped cream. It takes only a few ingredients and you are on your way to fudge pie glory.

Also, side note- which you will see in the video- the possible reason why this fudge pie is called Edelweiss Fudge Pie is because in the 70’s Methodists took to singing the The Benediction (one of my favorite songs) to the tune of Edelweiss (from the Sound of Music, one of my favorite movies as child).

For your viewing pleasure:

My theory is that so many Methodists were having pot luck dinners on Sundays that the fudge pie served after the Benediction (at the end of service) became known as Edelweiss Fudge Pie. Just my theory, but I think it’s a good one. :)

Alright y’all. Time to get out there, enjoy the fresh air, and bake up a pie to share with the people you love. Who knows, maybe it will inspire a round of “The Hills are alive…” karaoke.

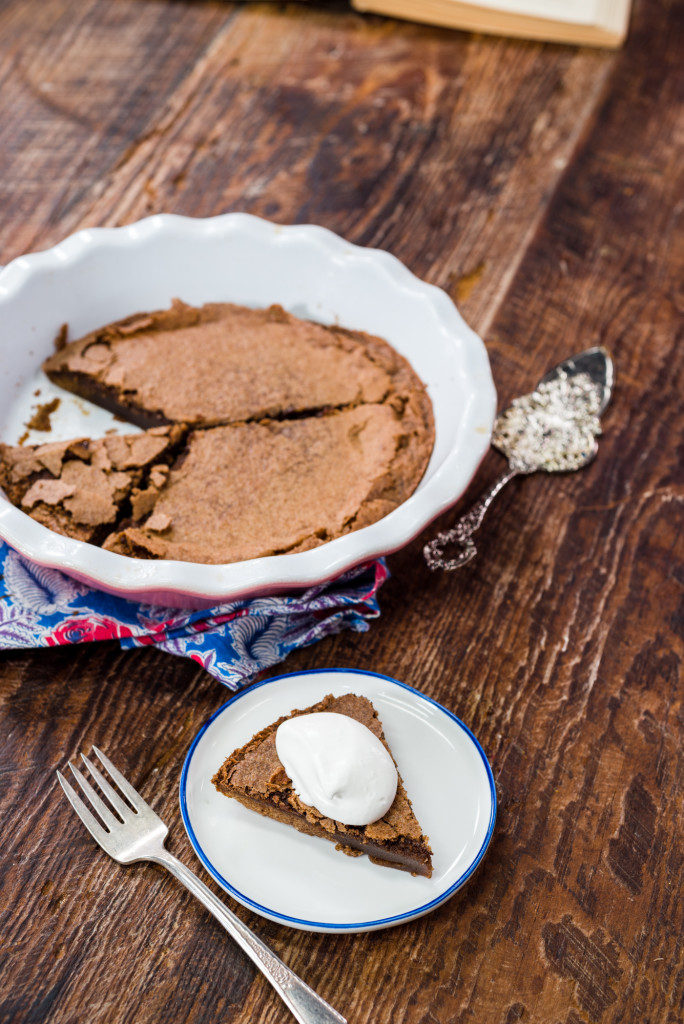
Edelweiss Fudge Pie from The Nashville Cookbook

With only six ingredients, this is one of the easiest Southern desserts to whip up. It’s, excuse the pun, “easy as pie!”

What you will need

  • 1/2 cup (or 1 stick) butter
  • 2 ounces sweet german chocolate, coarsely chopped
  • 3 farm fresh local eggs
  • 1 cup sugar
  • 1/2 cup flour
  • 1 teaspoon quality vanilla extract
  • freshly whipped cream, for topping, if desired

What you will do

1. Preheat oven to 325 and grease a 9-inch pie pan.

2. Melt butter and chocolate in a small saucepan over low heat. Allow to cool.

3. Beat eggs in a stand mixer on medium speed until foamy (this should take a few minutes). Beat sugar in gradually, on low speed, until well combined.

4. Add flour slowly to mixer, stirring continually on low speed, and using a rubber spatula to wipe down sides occasionally to make sure it is evenly distributed in the batter.  Add 1 teaspoon vanilla and stir until combined.

5. Add cooled chocolate mixture slowly to batter, stirring continually, until evenly distributed.

6. Pour into lightly greased pie pan. Bake for 30-35 minutes (checking at about the 28 minute mark for doneness; toothpick inserted in should come out clean).

7. Let pie cool for about an hour and top with whipped cream. Enjoy!


Spicy Chocolate Sweetie-Pie

Chocolate Chili Pie Slice

For those of you who may have spent the last week under a rock, or like one or two people I know (#roommates), have been so immersed in the winter Olympics that all you can think about is ice, snowboarders, and whether or not Sochi is actually a resort destination, I offer a friendly reminder: Valentine’s Day is in THREE DAYS!

I absolutely love Valentine’s Day. Mainly because it involves every one of the items on my top five list of favorite things:
1. Hearts 2. Heart logos 3. Glitter 4. Love!! Or as we say, luv:)  5. Chocolate

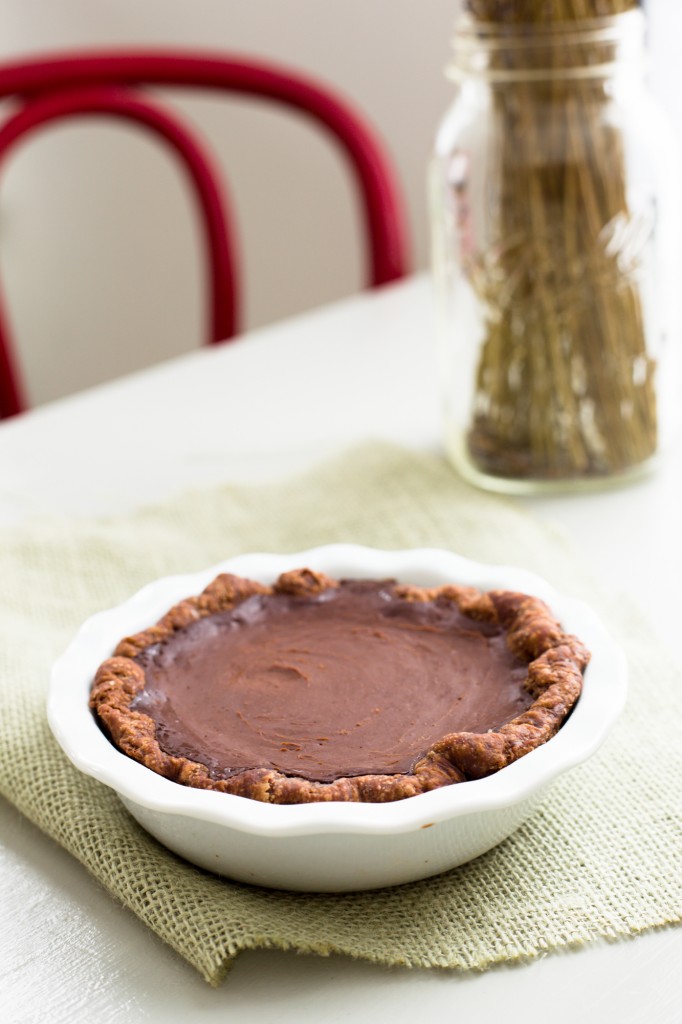
Chocolate Chili Mini Pie

Speaking of chocolate, this leads me to my incredible friend and baking inspiration Laura Chancey and her cooking venture, Humble Pie. Laura and her husband Caleb’s love for advancing the city of Birmingham has led them on a very cool journey; not only has Caleb done incredible work  for the music scene in B’ham (he founded Greyhaven, a creative community, and a brilliant music venue called Sound and Page), both Laura and Caleb have a passion for serving the Southern people they love. And in Laura’s eyes, what better way than to extend that love through pies to Birmingham.

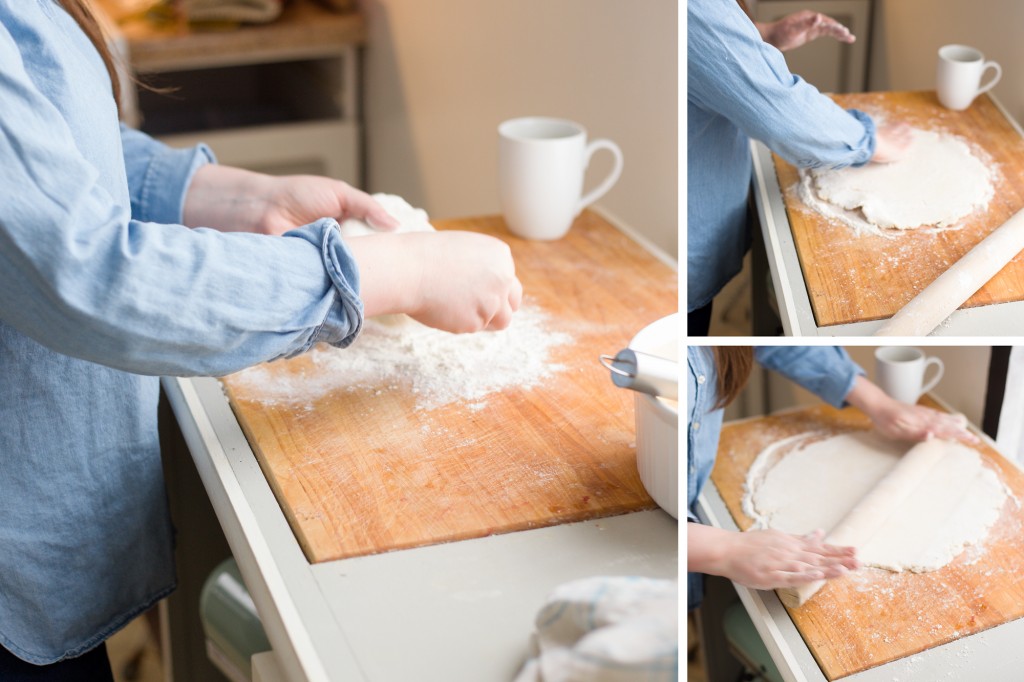
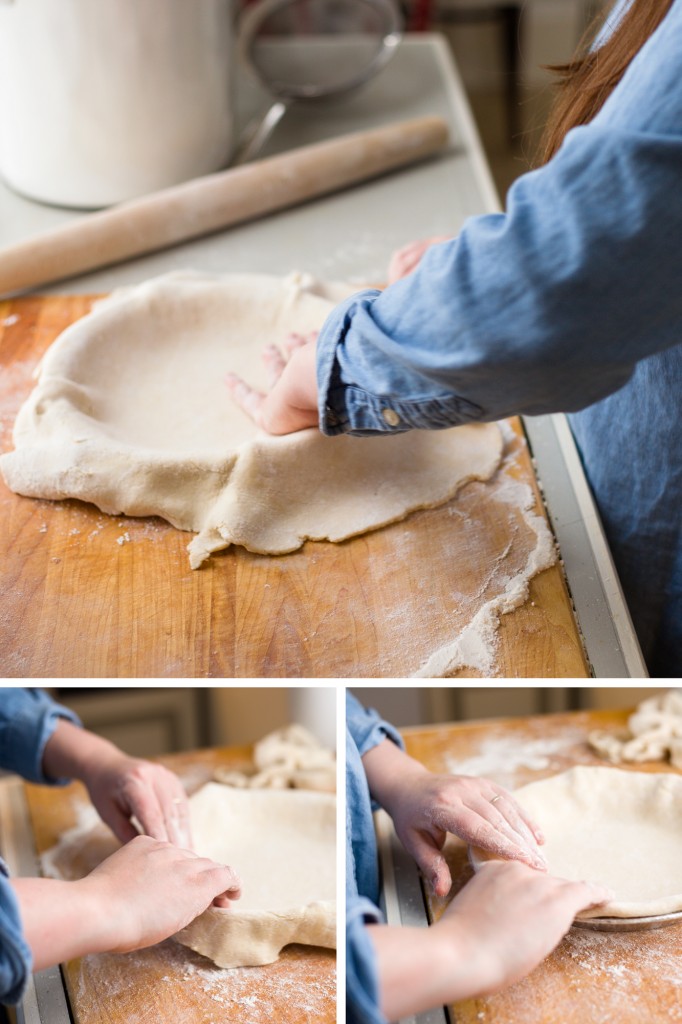
Laura rolling out and perfecting her pie crust

Laura’s grandmother MawMaw Betty taught her the art of pies, and she spent many sweet afternoons in the kitchen baking with her. Betty instilled in Laura a love of cooking, but once she passed, so did the secret touch to her pie dough. Desperate to relive memories of her, Laura and her brother began baking, and soon realized that they could incorporate their own creative bent on recipes outside of the apple and pecan versions their family loved so much. Laura also discovered the brilliantly inventive Four and Twenty Blackbirds, and as Laura says their use of “unexpected flavors like cardamon, and ginger, and lime.”

Steps to a Perfect Pie Crust

Beautiful Laura in her kitchen


Laura's favorite, salted caramel pie filling
Laura’s favorite, salted caramel pie filling


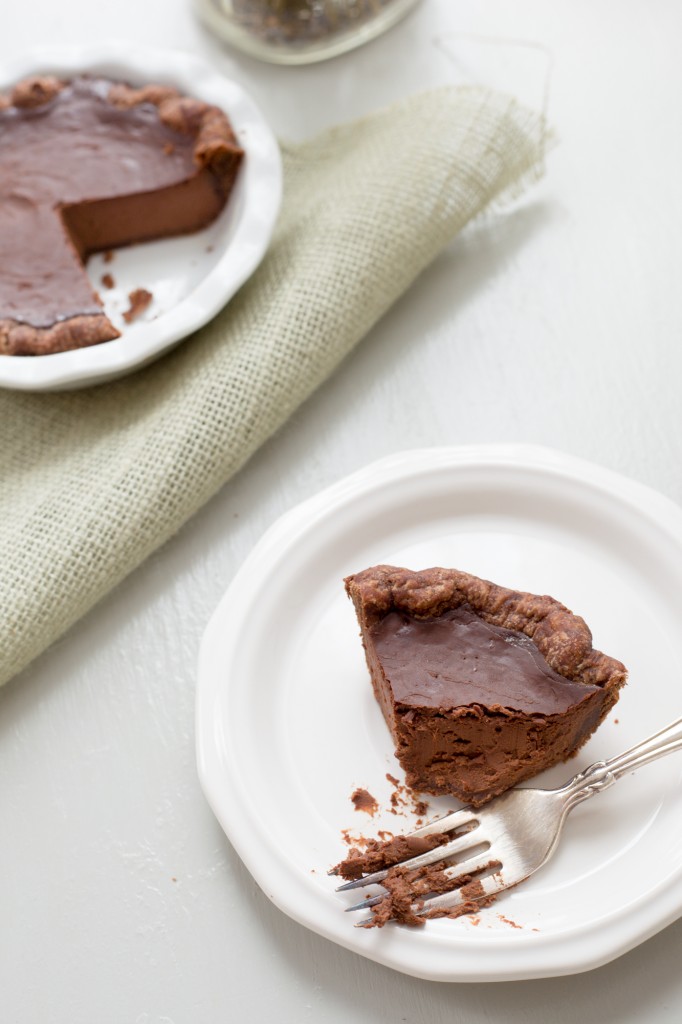
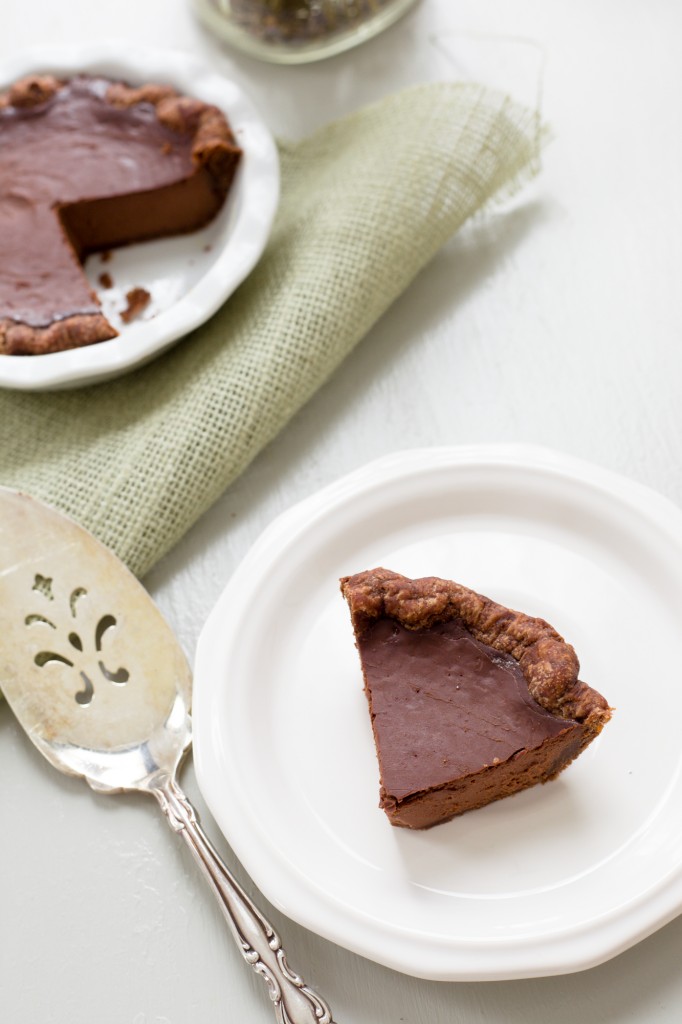
Which brings us to Laura’s delightfully creative and flavor-filled chocolate chili pie. In Laura’s words, “chocolate pie dough is a marvel,” and I would agree. This treat is at once bittersweet, dense with a chocolate mousse-like consistency and flaky crust, along with a lingering aroma of chili and spice on your tongue.  And if your Valentine’s plans involve shelter from frigid weather (I want my Southern winter back!), this is the perfect bit of heat to keep you inside and satisfied.

So gather those you love, glitter some Valentines, and order* or make a spicy chocolate chili pie. Because just like Laura’s passion, loving people through food is always creative, tasty, and an adventure.

A Wedge of Chocolate Chili Pie
The cutest wedge of chocolate pie ever

Spicy Chocolate Sweetie-Pie (Laura pulled inspiration from the Four and Twenty Blackbirds version, but tweaked it to be her own).

Chocolate Pie Dough

What You Will Need

  • 1 cup all purpose flour
  • 1/4 cup unsweetened cocoa flour
  • 1/2 tsp salt
  • 1 tbsp sugar
  • 1/2 cup (1 stick) cold butter
  • 1/2 cup ice plus 1/2 cup water to make super cold ice water

What You Will Do

1. Whisk the first 4 ingredients together, then with a pastry knife cut the butter into the flour mix until it resembles small pebbles.
2. Add ice water a tablespoon at a time, using a wooden spoon to incorporate it in.
3. When the mixture starts to resemble dough, form a ball with your hands and wrap in plastic wrap. Refrigerate for at least 1 hour (or if you’re impatient, like me, freeze for at least 30 minutes.)
Note: When you’re ready to begin making the pie, roll the dough out first, put it into the baking dish, poke the bottom with a fork about 10-15 times, and then stick the dish in the freezer until your filling is ready.


Chocolate Chili Filling


What You Will Need


  • 1 cup heavy whipping cream
  • 1 cup milk
  • 12 ounces bittersweet chocolate
  • 1/2 tsp salt
  • 1/2 tsp cardamom
  • 1/4 tsp ginger
  • 1/4 tsp cayenne pepper
  • 2 large eggs
  • Juice of half a lime
What You Will Do


1. Preheat oven to 325 degrees.
2. In a saucepan, heat the cream and milk until almost boiling. Meanwhile mix chocolate, salt, cardamom, ginger, and cayenne in a bowl.
3. Pour hot cream over the chocolate mixture and let it rest for a minute or two. Stir to combine.
4. In a small measuring cup, whisk the eggs. Temper the eggs by adding a bit of the hot chocolate a spoonful at a time. When the temperature of the eggs has risen, mix into the chocolate mixture.
5. Add the lime juice and stir to combine.
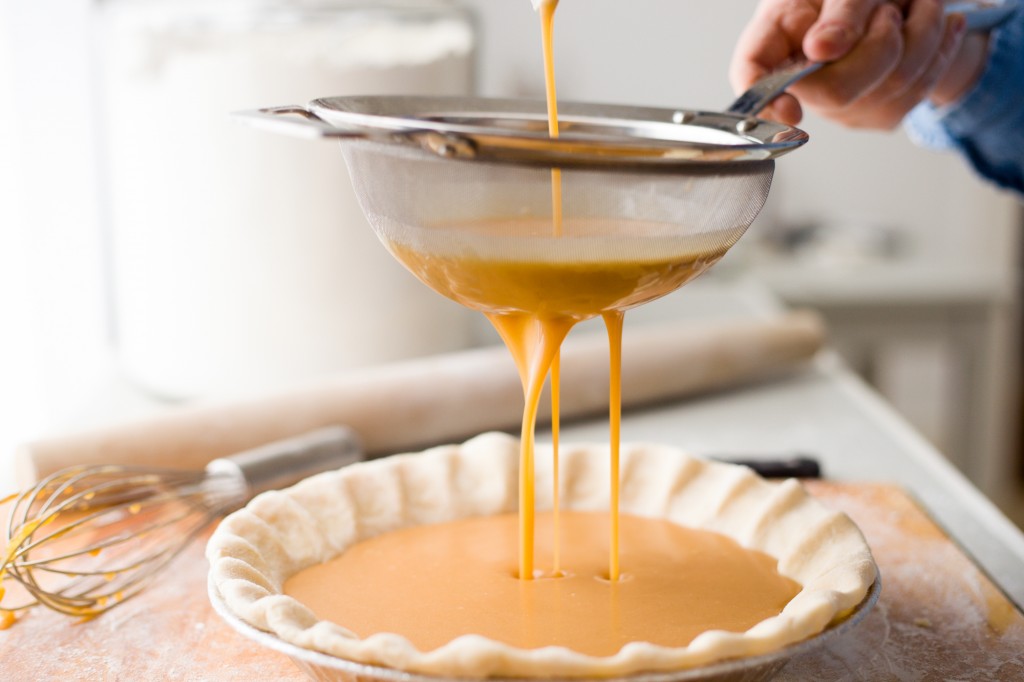
6. Pour the mixture into a prepared Chocolate Pie Dough through a sieve.
7. Bake for 35 minutes, making sure to turn the pie dish 180 degrees once the pie has been baking about 20 minutes.

**Though Laura hopes that a brick-and-mortar store are not far off, you can reach her for a pie through Instagram. Her other current faves are salted caramel and lemon chess pie.


Dark Chocolate S’mores with Salted Peanut Butter

Some more s'mores
Some more s’mores

It’s Labor Day weekend, and you know what that means? That’s right- it’s time for s’mores!

For those of you living below the Mason Dixon line, the idea of roasting a marshmallow on a 95-degree afternoon using a open flame is about as appealing standing on the asphalt in your driveway wearing a down vest–and drinking hot chocolate.

Maybe it is the unbearable humidity, or my recent nostalgia for summer camp, or the fact that any excuse to sandwich a toasted marshmallow between chocolate crackers smeared in salty peanut butter is motivation enough, but s’mores are an essentially summer food. Despite the fact that you might have to (currently) sweat when you make them.

That is why this recipe involves marshmallows toasted inside (hallelujah for A/C and a broiler!); homemade peanut butter (whirred together with buttery roasted peanuts and honey); and graham crackers that will make you want to jump outside and start a s’mores caravan. Y’all- these turned out so good. The rich, dense graham cracker with sweet, roasted peanut goodness and melty marshmallow- so worth the sweltering effort.

And besides their taste, one of the best things about s’mores is that they always remind me that fall is on it’s way. Next time I make these I will probably add some chocolate chips to that peanut butter then go online and order a fancy down vest. Fall may be three weeks away. Yes, it’s a sweltering haze of frizzy hair outside. But watch out autumn, here we come- chocolate peanut butter s’mores in tow.

Some assembly required


Dark Chocolate S’mores with Salted Peanut Butter*

What You Will Need:

For the graham crackers: This recipe was taken from one of my favorites, King Arthur Flour

1/2 cup (2 ounces)  unbleached all-purpose flour
3/4 cup (3 3/4 ounces) whole wheat flour
1/2 teaspoon salt
1/2 cup (1 1/2 ounces) Dutch-process cocoa
1 1/4 cups (5 ounces) confectioners’ sugar
1 teaspoon baking powder
1/2 cup (1 stick, 4 ounces) unsalted butter
2 tablespoons (1 1/2 ounces) honey
2 tablespoons (1 ounce) cold milk

 What You Will Do:

1. Preheat your oven to 325°F. Cut out two sheets of parchment as large as your cookie sheets.

2. In a medium-sized bowl, whisk together the flours, salt, cocoa, sugar, and baking powder.

3. With a pastry blender, two knives, or your fingertips, cut the butter into the flour mixture until evenly crumbly.

4. In a separate bowl, combine the honey and milk, stirring until the honey dissolves.

5. Add the liquid to the dry ingredients and toss lightly with a fork until the dough comes together. (This took me a while, and for a bit I thought my dough would remain a shaggy mess. But just keep on stirring with a fork and it will come together! ) Add additional milk, if necessary (I thought I would need this at first but it ended up fine; stir for a bit to make sure you need it before you add it).

6. Turn the dough out onto a well-floured surface and fold it over gently 10 to 12 times, until smooth. Divide the dough in half. Work with half the dough at a time.

7. Transfer one piece of dough to a piece of parchment. Roll it into a rectangle a bit larger than 10 x 14 inches; the dough will be about 1/16-inch thick (Ok, my dough looked a bit more like a misshapen heart rectange. That’s fine! Just make sure you roll the dough out pretty thin- thinner than you will think you need. It should feel like if you lift it, it will tear). Trim the edges and prick the dough evenly with a fork. Repeat with the remaining dough and parchment. Place the rolled-out dough pieces, on their parchment, onto baking sheets. (Ok, let’s be honest- parchment paper is frustrating as mess if you don’t cut it perfectly. I cut mine long, put my cocoa container on the edge to weigh it down and rolled it out. This was also frustrating because it didn’t work that great either. So just work through it and I promise it’s worth it.)

8. Bake the crackers for 15 minutes, or until you begin to smell chocolate. Remove them from the oven, and immediately cut them into rectangles with a pizza wheel or knife. Transfer them to a rack to cool. The longer you let them cool, the crispier they get.

For the peanut butter: The recipe was adapted from the amazing Alton Brown and the Food Network

What You Will Need

2 cups shelled and skinned roasted peanuts (I had an incredible friend who gave me roasted peanuts as a gift that I used here)
1 teaspoon kosher salt
1 1/2 teaspoons plus 1/2 tablespoon honey
1 1/2 tablespoons peanut oil

What You Will Do:

1. Place the peanuts, salt, and all of the honey into the bowl of a food processor. Process for 1 minute. Scrape down the sides and bottom of the bowl.

2. Place the lid back on and continue to process while slowly drizzling in the oil and process until the mixture is smooth, 1 1/2 to 2 minutes. Process it until it smells roasted and when you look into the food processor the edges of the mixture are smooth. You also might have to scrape down the bottom of the bowl again and blend it for a bit longer to make sure it’s smooth.

3. Place the peanut butter in an airtight container and store in the refrigerator for up to 2 months. I made a sandwich/distributed this/used it on the s’mores in one night. I mourned it’s passing.

For the marshmallows: These were provided by the wonderful people at the Jet-Puffed factory.

*For the final product:  This recipe requires a very simple assembly, but I found it helpful to make the following elements in the following order: 1. Bake graham crackers. 2. Make peanut butter. 3. Set oven to broil. 4. Put marshmallows in oven, and while they are broasting (roasting in the broiler), spread peanut butter on graham crackers. 5. Take hot mallows out of the oven, use a spatula to gently place them on the prepped crackers, then sandwich between two grahams. Let the s’mores party begin!!