It’s funny how cookbooks can change your mind about things.
To me, Rice Krispie treats lack the luster of other desserts. Piled high on the glass shelf of almost every bakery in America, they pale in comparison to dark chocolate chunk break-up cookies, golden Nutella croissants, or pink raspberry macaroons.
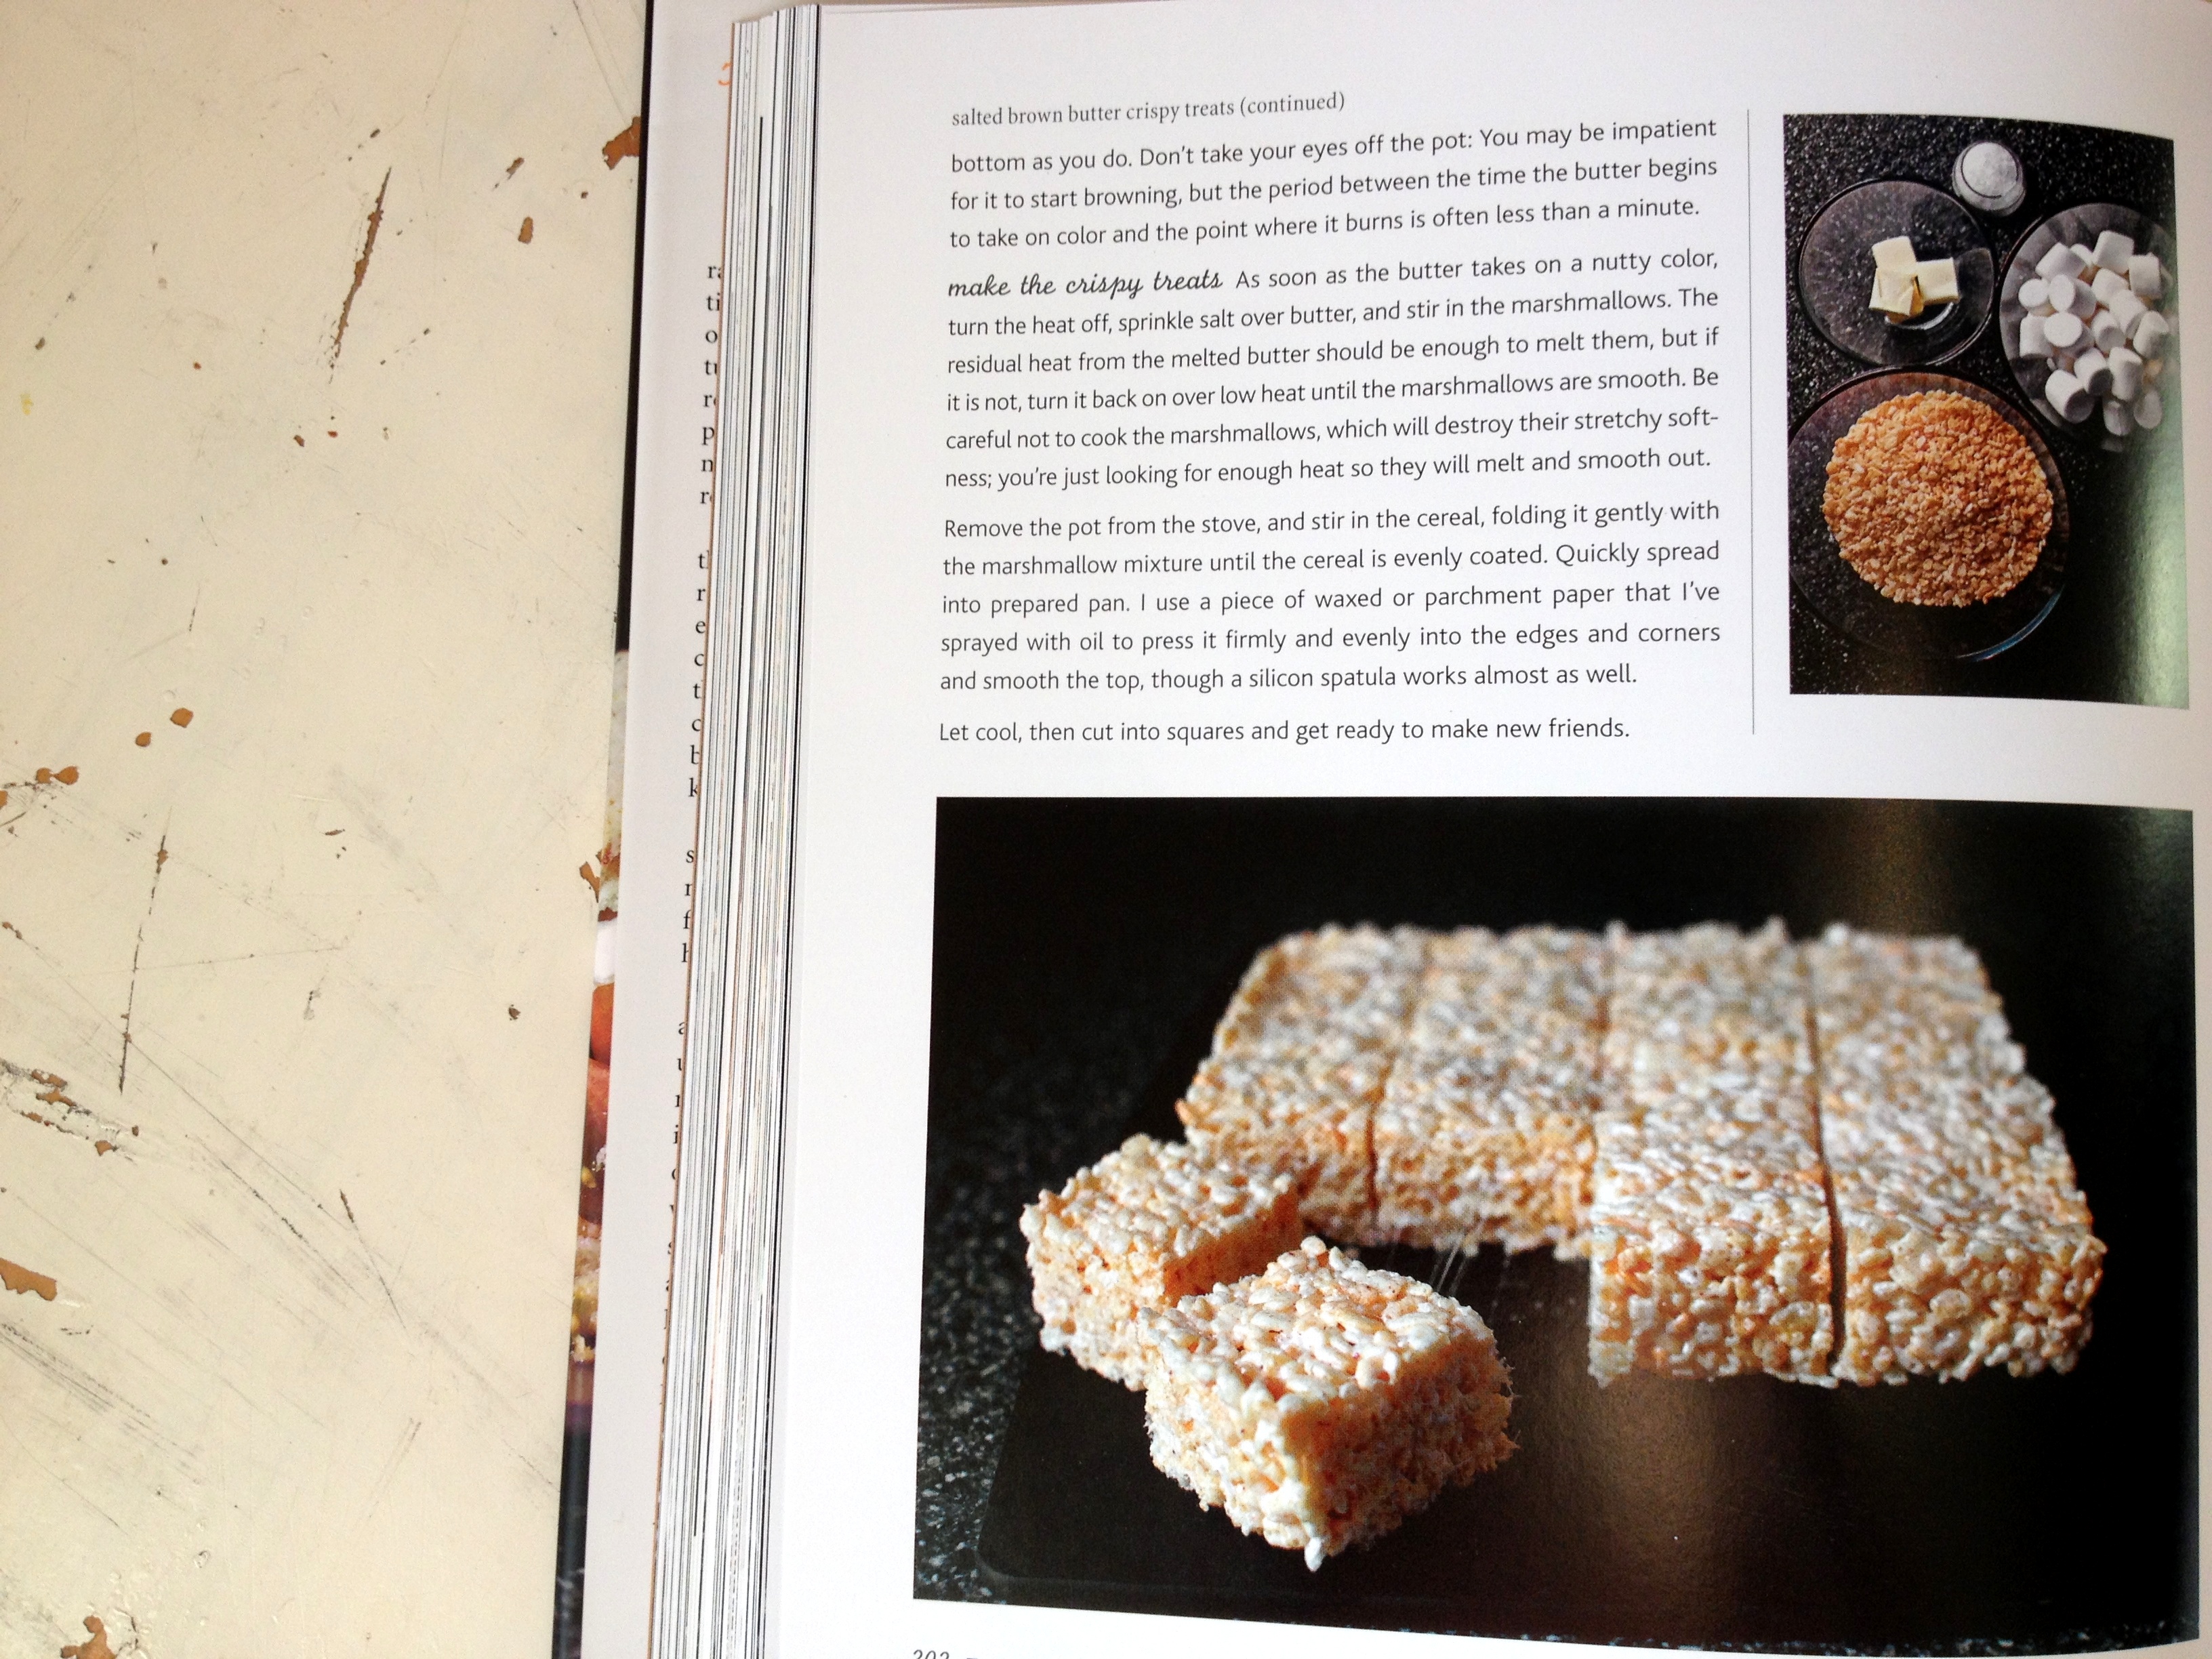
But- Deb Perlman changed my mind. About a month ago I began consuming the Smitten Kitchen Cookbook like it was my job, and came across her recipe for salted brown butter crispy treats. It flipped every traditional recipe for the bars on it’s wax-paper-lined 8X8: browned butter instead of melted; marshmallows folded into the butter until they were light and airy; the addition of coarsely ground kosher salt.
And Deb, like she always does, provided just enough detail in the recipe to make you feel like a.) you should do this and b.) if you don’t do this, you are making a poor life choice because she does such a great job of making things easy to follow. Result?
Y’aaaalllllll.
These will, guaranteed, change your opinion of the (formerly lowly) crispy treat.
The squares are rich, decadently buttery, and brought to life with the accent of salt. The first time I made these, my mom, sister and I ate roughly 1/3 of the pan- my brother ate the rest.
In one day.
This recipe, like Deb’s blog, will not disappoint you. In fact, pull out an old cookbook or two from the back of your (cook)book shelf. Which, if you are like me, may or may not be covered in what appears to be dust-or is that a fine layer of powdered sugar? Remnants of what used to be frosting? Wait- I think that’s grits.
Regardless, the search for a new take on an old recipe might surprise you. But be warned- this recipe will make you pass over every other crispy treat you find, even if you weren’t one of those snub-your-nose, make-judgements-about-dessert-choices, kind of people. Totally unlike anyone I know…
Salted Brown Butter Rice Krispie Treats, text detail added, from Smitten Kitchen‘s recipe here
What You Will Need:
4 ounces (1/4 pound or 1 stick) unsalted butter, plus extra for the pan
1 10-ounce bag marshmallows
Heaping 1/4 teaspoon coarse sea salt
6 cups Rice Krispies cereal (about half a 12-ounce box)*
What You Will Do:
1. Butter (or coat with non-stick spray) an 8-inch square cake pan with 2-inch sides.
2. In a large pot, melt butter over medium-low heat. It will melt, then foam, then turn clear golden and finally start to turn brown and smell nutty. Stir frequently, scraping up any bits from the bottom as you do. Make sure you stir it frequently; I like to use a pastry brush to lift any bits off of the bottom.
3. Don’t take your eyes off the pot. While you may be impatient for the butter to start browning, the period between the time the butter begins to take on color and the point where it burns is often less than a minute. If your butter burns, then it will make little black specks in your treats. Unless you like the way white highlights black specks in your baked goods, watch the butter.
4. As soon as the butter takes on a nutty color, turn the heat off and stir in the marshmallows. The residual heat from the melted butter should be enough to melt them, but if it is not, turn the heat back on low until the marshmallows are smooth. Make sure and don’t over stir this; take the mixture off the heat when it just comes together, or it will get too stretchy and lose the light texture we are looking for.
5. Remove the pot from the stove and stir in the salt and cereal together. Quickly spread into a prepared pan. I like to use a piece of waxed or parchment paper that I’ve sprayed with oil to press it firmly and evenly into the edges and corners, though a silicon spatula works too. I have done both, and prefer the parchment paper method- this gives you the smoothest finish.
5. Let the mixture cool, it took mine about twenty minutes, and cut into squares. Try not to take them to your nearest bakery and taunt others. I dare you.
*I did a test to compare the off-brand of crispy cereal to Rice Krispies. Rice Krispies not only tasted more toasted, but they had a darker color. It’s worth it to splurge on the name-brand here.


