Spicy Turkey Sausage and White Bean Soup

Makes you feel warm inside.

In the south, “winter” is a loosely defined term.

Sometimes it means 75 degrees, flip-flops, shorts, and a football sweatshirt. Other days, it is defined as freezing temperatures, layers, more layers, gloves, and a freak snowstorm which requires at least another layer.

But this week, we are in a weather gray zone. Not quite warm- it hovers around the lower fifties, upper forties; drizzly, with no snow; and fog. Fog in the morning, fog in the evening, fog in the noontime.

And it’s times like these that call for soup. It’s the one time a year I feel (somewhat) urban with my cooking, imagining myself walking home from the market around the corner, toting a super cool umbrella and handmade grocery bag, skipping up to my loft and making a big pot of stew from locally grown organic tomatoes, hand-fed chicken broth, and the cilantro I raised in my rooftop garden.

But, back to reality, my tiny foggy kitchen, and the February “Winter Comforts” issue of Bon Appetit. Their Chorizo and White Bean Stew recipe caught my eye- the flavor profile was spicy, balanced by the beans, and quick. Looking for a way to make due of what I currently had in my refrigerator (and not being able to retro-bike to my nearest fresh foods market) I substituted spicy Italian turkey sausage for the chorizo, splurged on fresh thyme at Publix, added some smoked paprika, and got simmering.

This soup hit the spot, easily one of the best I have made in a while, and made me long for the end of the in-between: when fog clears, the sun comes out, winter needs no definition, and it’s time for flip-flops again. But this time without the layers.

Spicy Turkey Sausage and White Bean Soup

This recipe was adapted from Bon Appetit

What You Need

  • 2 tbsp olive oil, divided, plus more for drizzling
  • 1 1b spicy Italian turkey sausage (or you could use mild for a sweeter flavor)
  • 1 large onion, thinly sliced
  • 4 garlic cloves, finely chopped
  • 1 sprig thyme
  • 2 15-ounce cans cannellini (white kidney) beans, rinsed
  • 2 cups low-sodium chicken broth
  • Kosher salt, freshly ground pepper
  • 5 ounces baby spinach (about 10 cups)
  • Smoked paprika

What You Will Do

1. Heat 1 tablespoon oil in a large skillet over medium heat. Add sausage and cook, turning occasionally, until browned and cooked through, 15-20 minutes. Mine took about 23 minutes; I think turkey sausage links take a bit longer to cook through. Transfer the sausage to a plate.

2. Reduce heat to medium. Heat remaining 1 tablespoon oil in the same skillet. Make sure you keep all of those delicious pork bits in the pan to saute with your veggies. Add the onion slices, garlic, and thyme sprig. Cook, stirring occasionally, until the onion is softened, about 5-8 minutes. I like to add the garlic later; at about six minutes. Because burned garlic is no good to anyone.

3. Add the rinsed beans and broth and cook, crushing a few beans with the back of a spoon to thicken sauce, until slightly thickened, about 8-10 minutes. Watch the soup here; mine needed a bit longer to thicken. When it is the consistency of a chili, it’s perfect. Season with salt and pepper. Add spinach by the handfuls and cook just until wilted, about 2 minutes.

4. Slice the turkey sausage and fold it into stew; add water to thin, if you like. Normally I don’t like to add water because I feel it dilutes the flavor, but this is a thicker soup, so you have some room to play. Taste it again to make sure your salt and pepper ratio is working.

5. Divide the soup among bowls; drizzle with oil. I highly recommend sprinkling it with more paprika, and then some more just for good measure.

Peanut Butter Chocolate Crunch Granola

Oats baked to a sweet, nutty crunch

Happy Belated Valentine’s Day!

For a blog devoted to luv, it is bit embarrassing that I missed the February 14 deadline for this recipe.

To be fair, the treat I planned to debut was a bit of a sweet-potato-biscuit disaster. Marshmallows melted with chocolate do not become marshmallow fluff, they become liquid Tootsie-Roll, and my gluten-free heart-shaped peanut butter cookies were a bit ambitious.

But, hope springs! And, if you are like me, and may have eaten one too many sugary hearts, truffles, cereals, cupcakes, and donuts this week, then this recipe might be a nice change of pace.

Plus, when it comes to nutty-sweet combinations, peanut butter and chocolate wins.  If chocolate combinations competed in a doubles tournament, pb+c would serve aces every time, win the trophy, and do a fantastic victory dance over the net. Strawberry-and-chocolate, vanilla-and-chocolate, banana-and-chocolate: no competition. Peanut butter and chocolate’s flavor profile is simply complimentary; rich whipped peanuts and sweet, dense chocolate: perfect. This is why the following confession is a bit embarrassing.

I have never posted a peanut-butter chocolate recipe on this blog.

I know, I know. I talk a mean game, but have yet to deliver. Maybe I have been waiting for the right recipe, maybe I was caught off guard by how dependable and delicious this recipe is-maybe I was afraid to commit to the first posting. But you know something good when you find it, and I can’t think of a better way to start a day than with a perfect pair for breakfast. Or lunch. Or dinner.

Peanut Butter Chocolate Crunch Granola

*This recipe has been adapted from Allrecipes.com version 

What You Need:

2/3 cup creamy peanut butter 

1/3 cup honey

1/3 cup agave nectar

1/2 teaspoon cinnamon  (I like Saigon Cinnamon, it has a kick to it)

1 teaspoon vanilla

4 cups uncooked rolled oats

1 cup dry-roasted, salted peanuts

1 bar semisweet chocolate

What You Will Do

  1. Preheat oven to 300 degrees.
  2. In a small saucepan, combine peanut butter, honey, agave, cinnamon, and vanilla, over medium heat, and stir until smooth.
  3. Place oats and peanuts in a large, shallow roasting pan or a 15 x 10 x 1-inch baking pan. Pour warm peanut butter honey/agave mixture over the oats and peanuts and stir gently until oats are coated. Spread evenly in the pan.
  4. Bake, taking the oats out of the oven every 10-15 minutes, stirring to make sure they are evenly cooked. I did mine in two rounds of 15 minutes, then baked them for about 8 minutes more. Just make sure your oats are golden and a bit crunchy; you don’t want to burn the edges of the granola, or the peanuts.
  5. Burned peanuts are not delicious.
  6. Once the granola is done, put your cookie sheet on a baking rack to cool for about 15 minutes.
  7. While your granola cools a bit, use a vegetable peeler to peel half of your chocolate bar into small curls. Once you have passed the 15 minute mark, sprinkle the chocolate curls over the granola and stir to combine, making sure you coat all of the oats with the chocolate.
  8. Let the granola cool for about an hour, then chop the other half of your chocolate bar into small chunks. Sprinkle the chunks over your granola, and mix to combine.
  9. This makes a large batch, so you could easily feed an entire tennis team with it, or two large families, or yourself, if all you had to eat was this for a week.

Salted Brown Butter Rice Krispie Treats

Squares of melt-in-your mouth marshmallow decadence
Squares of buttery, marshmallow goodness

It’s funny how cookbooks can change your mind about things.

To me, Rice Krispie treats lack the luster of other desserts. Piled high on the glass shelf of almost every bakery in America, they pale in comparison to  dark chocolate chunk break-up cookies, golden Nutella croissants, or pink raspberry macaroons.

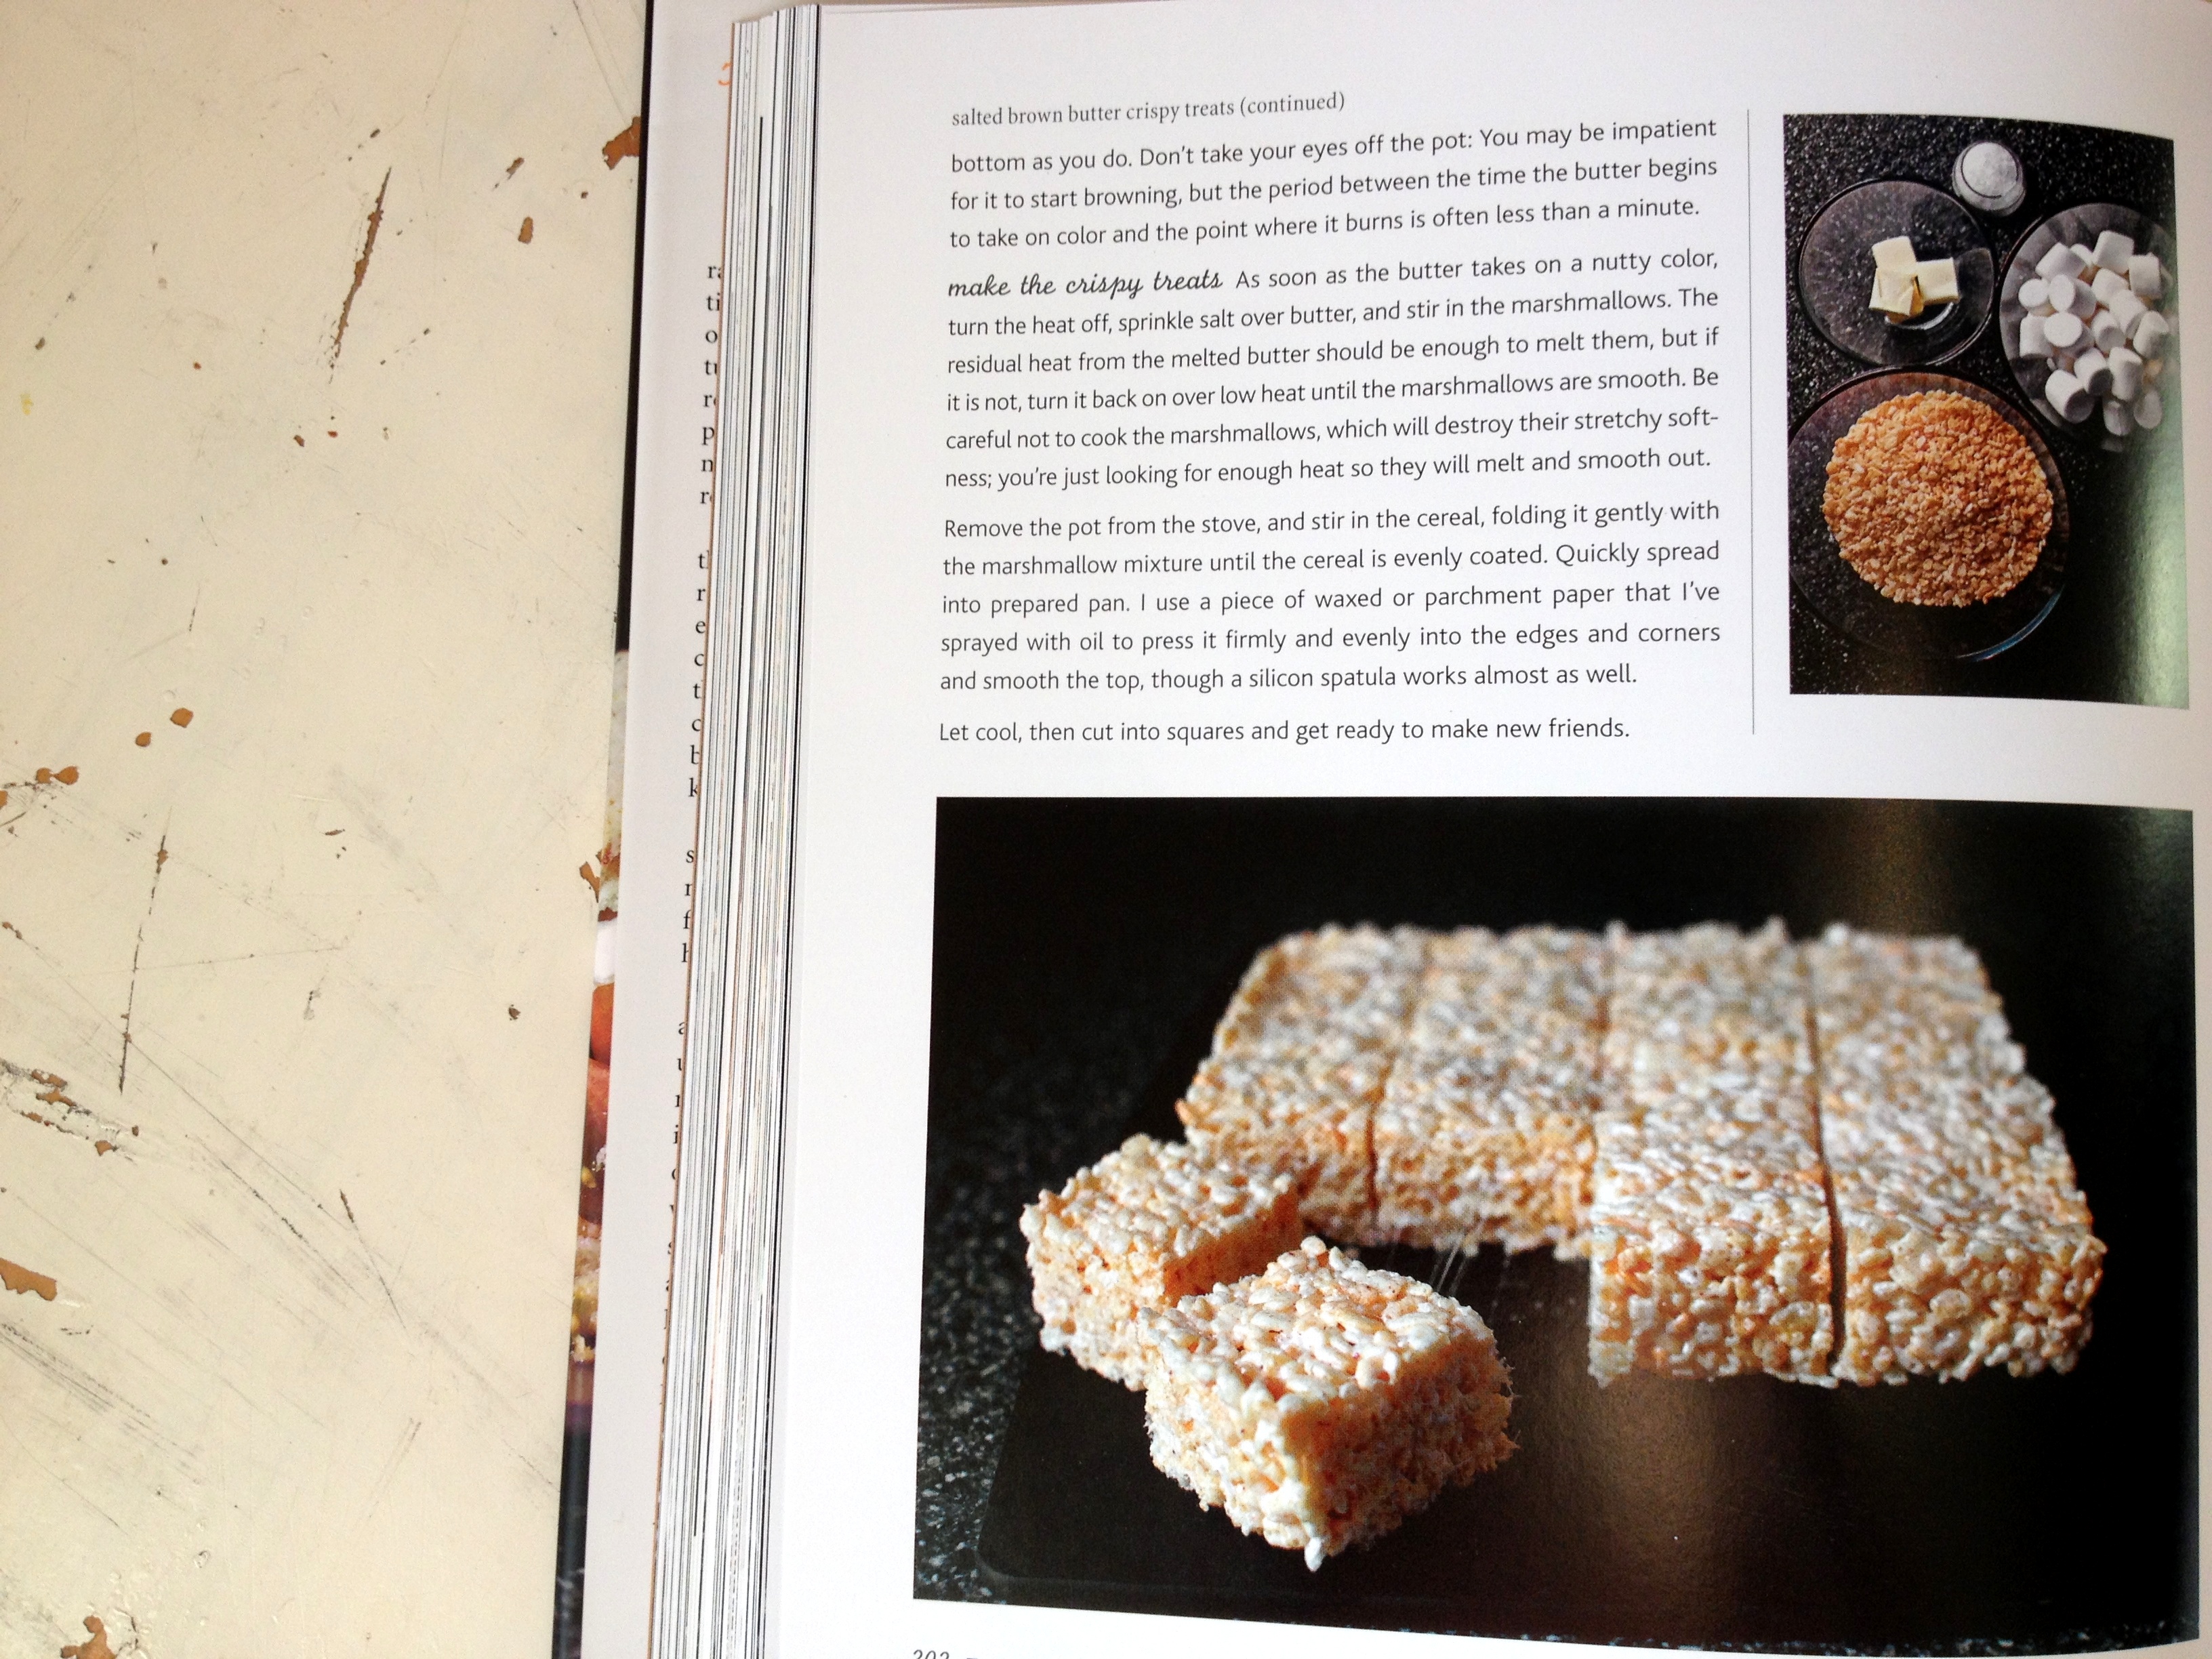
But- Deb Perlman changed my mind. About a month ago I began consuming the Smitten Kitchen Cookbook like it was my job, and came across her recipe for salted brown butter crispy treats. It flipped every traditional recipe for the bars on it’s wax-paper-lined 8X8: browned butter instead of melted; marshmallows folded into the butter until they were light and airy; the addition of coarsely ground kosher salt.

Deb's recipes are detailed, beautiful amazingness.

And Deb, like she always does, provided just enough detail in the recipe to make you feel like a.) you should do this and b.) if you don’t do this, you are making a poor life choice because she does such a great job of making things easy to follow. Result?

Y’aaaalllllll.

These will, guaranteed, change your opinion of the (formerly lowly) crispy treat.

Treats stacked

The squares are rich, decadently buttery, and brought to life with the accent of salt.  The first time I made these, my mom, sister and I ate roughly 1/3 of the pan- my brother ate the rest.

In one day.

This recipe, like Deb’s blog, will not disappoint you. In fact, pull out an old cookbook or two from the back of your (cook)book shelf. Which, if you are like me, may or may not be covered in what appears to be dust-or is that a fine layer of powdered sugar? Remnants of what used to be frosting? Wait- I think that’s grits.

Regardless, the search for a new take on an old recipe might surprise you. But be warned- this recipe will make you pass over every other crispy treat you find, even if you weren’t one of those snub-your-nose, make-judgements-about-dessert-choices, kind of people. Totally unlike anyone I know…

Salted Brown Butter Rice Krispie Treats, text detail added, from Smitten Kitchen‘s recipe here

What You Will Need:

4 ounces (1/4 pound or 1 stick) unsalted butter, plus extra for the pan
1 10-ounce bag marshmallows
Heaping 1/4 teaspoon coarse sea salt
6 cups Rice Krispies cereal (about half a 12-ounce box)*

What You Will Do:

1. Butter (or coat with non-stick spray) an 8-inch square cake pan with 2-inch sides.

2. In a large pot, melt butter over medium-low heat. It will melt, then foam, then turn clear golden and finally start to turn brown and smell nutty. Stir frequently, scraping up any bits from the bottom as you do. Make sure you stir it frequently; I like to use a pastry brush to lift any bits off of the bottom.

3. Don’t take your eyes off the pot. While you may be impatient for the butter to start browning, the period between the time the butter begins to take on color and the point where it burns is often less than a minute. If your butter burns, then it will make little black specks in your treats. Unless you like the way white highlights black specks in your baked goods, watch the butter.

4. As soon as the butter takes on a nutty color, turn the heat off and stir in the marshmallows. The residual heat from the melted butter should be enough to melt them, but if it is not, turn the heat back on low until the marshmallows are smooth. Make sure and don’t over stir this; take the mixture off the heat when it just comes together, or it will get too stretchy and lose the light texture we are looking for.

5. Remove the pot from the stove and stir in the salt and cereal together. Quickly spread into a prepared pan. I like to use a piece of waxed or parchment paper that I’ve sprayed with oil to press it firmly and evenly into the edges and corners, though a silicon spatula works too. I have done both, and prefer the parchment paper method- this gives you the smoothest finish.

5. Let the mixture cool, it took mine about twenty minutes, and cut into squares. Try not to take them to your nearest bakery and taunt others. I dare you.

*I did a test to compare the off-brand of crispy cereal to Rice Krispies. Rice Krispies not only tasted more toasted, but they had a darker color. It’s worth it to splurge on the name-brand here.