Watermelon Mint Spritzer and Watermelon Banana Smoothie

Watermelon Mint Spritzer

This post reminds me a bit of what I would have written as a third grader in the heat of an Alabama summer at Vacation Bible School. Our prompt? Write about your favorite thing and then share it with the class during circle time.

“Dear God, thank you for watermelon. It is so good. Since all I really like are bologna and American cheese sandwiches, I am not sure what else I would eat without it. Amen.” (insert scribbled drawing of a watermelon slice here).

Alright- so my writing style might have changed a bit since then (Well, hah, you can be the judge of that) but my love for watermelon remains. Especially, frozen watermelon.

For those of you who may not have discovered the joys of frozen watermelon, you are missing out on one of the greatest things about watermelon.  It’s like eating a cupcake without the icing- you’re kind of missing the whole flavor shebang. Not only does freezing watermelon make it taste like a watermelon popsicle (or, if you are my husband, a Krispy Kreme donut, what?) it makes a cup of watermelon last. It forces you (really, me) to pace myself, since I could eat a whole watermelon in two days.

Also, watermelon is 92% water, which means it’s super hydrating and replenishing for your body. PLUS it has Vitamin A  and C (30% of your daily value) which is great for your skin (shout out to watermelon.org for those awesome facts!)

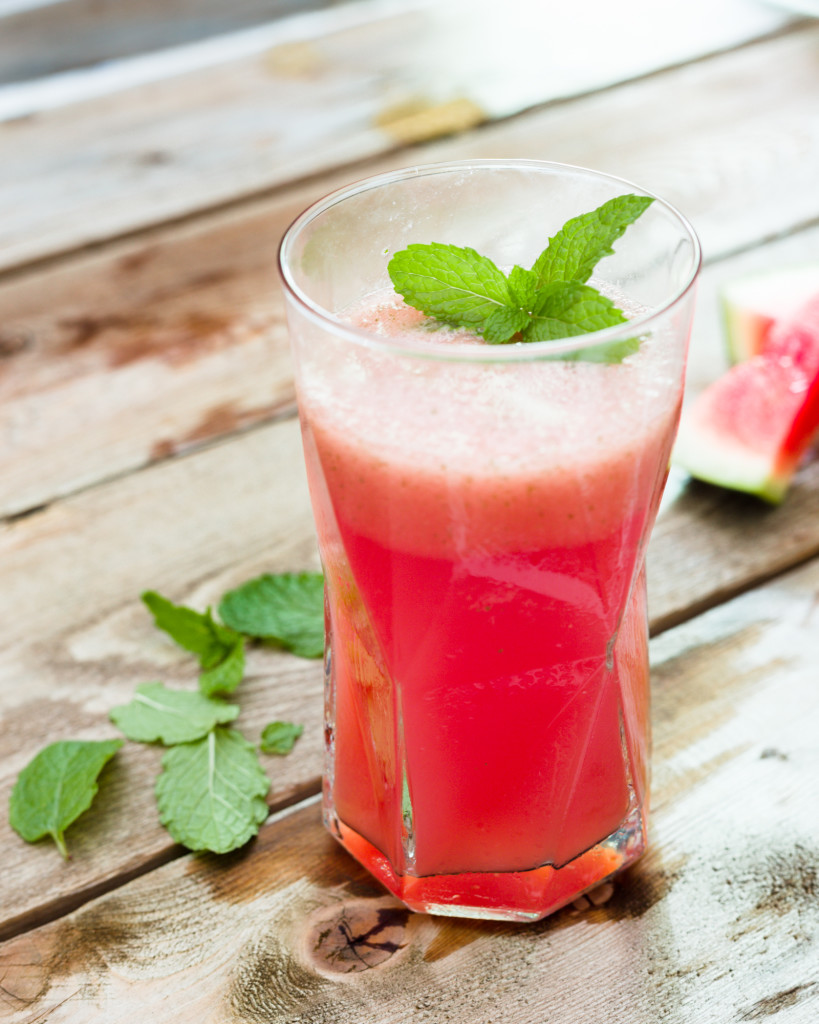
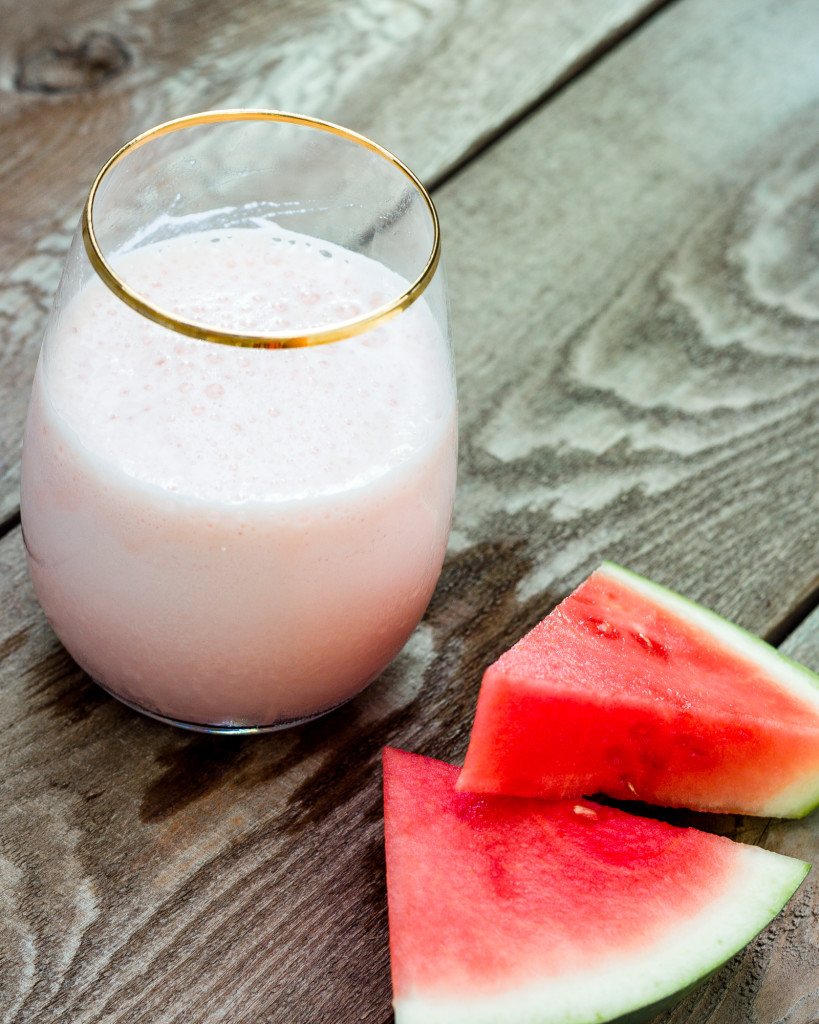
Frozen watermelon also adds a fabulous, frothy texture to cold drinks. I read a bit online about using frozen watermelon to make ice cream, which is genius, but I wanted to make something even easier. So, voila! A watermelon mint spritzer (ohhh this is good and super refreshing on a hot day) and a watermelon banana smoothie (excellent snack, creamy, with a subtle sweetness). Oh, and did I mention my new favorite way to incorporate dairy without making my stomach hurt? Fairlife milk. You could use the 2% variety in the smoothie like I have, or I would suggest plain soy milk. Nut-based milks gave the smoothie a bit of a unappealing flavor in my book, so I stay stick with the natural flavor of soy or dairy milk!

Alright y’all, thanks for hanging with me through this post where I a.) rehashed my childhood b.) potentially bored you with nutrition facts and c.) told you my husband thinks frozen watermelon tastes like a Krispy Kreme donut.

Whip out that blender, take your watermelon out of the freezer, and get sippin’!

Before I forget, tips for easy frozen watermelon:


1. Cut the watermelon like this video above: Brilliant!

2. Put your fruit chunks in freezer-safe plastic bags.

3. Allow at least six hours for your watermelon to freeze. I like to either slice mine up and freeze it over night, or slice it the minute I get home from the store in the a.m. and eat it post-dinner that night.

4. Also- take your watermelon out of the freezer, allot your portion, then put it immediately back in the freezer. If the fruit melts, it forms a sort of watermelon glacier that is hard to break up (yes, I have resorted to an ice pick like device before). Once out of the freezer, your watermelon chunks should take a few minutes to soften and then they will be at a great chomping consistency.

Watermelon Banana Smoothie

Watermelon Banana Smoothie

What you will need:

  • 1 1/2 cups frozen watermelon, cut into chunks
  • 1/2 fresh banana
  • 1 cup Fairlife 2% milk (or plain soy milk)
  • 1 teaspoon vanilla extract

What You Will Do:

1. Place all ingredients into a blender and blend until thick and frothy. Enjoy!


Watermelon Mint Spritzer (photo at start of post)

What you will need:

  • 1 cup frozen watermelon, cut into chunks
  • 1 cup seltzer water
  • 8 mint leaves

What you will do:

1. Place all ingredients in a blender and blend until nice and slushy. Sip immediately!


Cauliflower Fried “Rice”


Cauliflower Fried Rice


It’s a Farmer’s Market around my kitchen these days.

Let me explain- my husband loves produce. And not just in a “Oh, I think I’d like broccoli for dinner tonight” way. A “Callie! This tastes just like what a plum should be. Deeply sweet at first bite, then tart at the finish. Beautiful!” Yep, that’s my Jake.

He also loves to shop for produce, so I have relegated our weekly grocery trips to him. He has a knack of picking out the best of the best in fruits and vegetables. Last week he brought home these tiny little oranges that looked like flaming prunes, but tasted like heeeaavennnn. In another life, I think he would make a great farmer/produce guy/”Jackson” on Gilmore Girls.

Since he normally brings home ingredients I know what to do with- carrots, celery, peppers- I’d gotten into a comfort zone of rotating dishes with those as a base. But the other day, he brought home a bright, unexpected, creamy cauliflower with a sturdy green base. Don’t get me wrong, I will eat cauliflower if I am forced to, but my past experiences with the poorly cooked variety lingered in my mind. So, the prized produce sat on the first shelf of the refrigerator, slightly pushed back behind the carton of eggs and leftover Moroccan chicken (post coming soon; I can’t wait to share this with y’all!)

I neglected the cauliflower, ignored the cauliflower. Until our monthly budget came through and I realized that in order to save for our future, I had to suck it up and try my best to be Pioneer Woman.  I needed to use up what we had. And that meant, you guessed it, digging out that cauliflower.

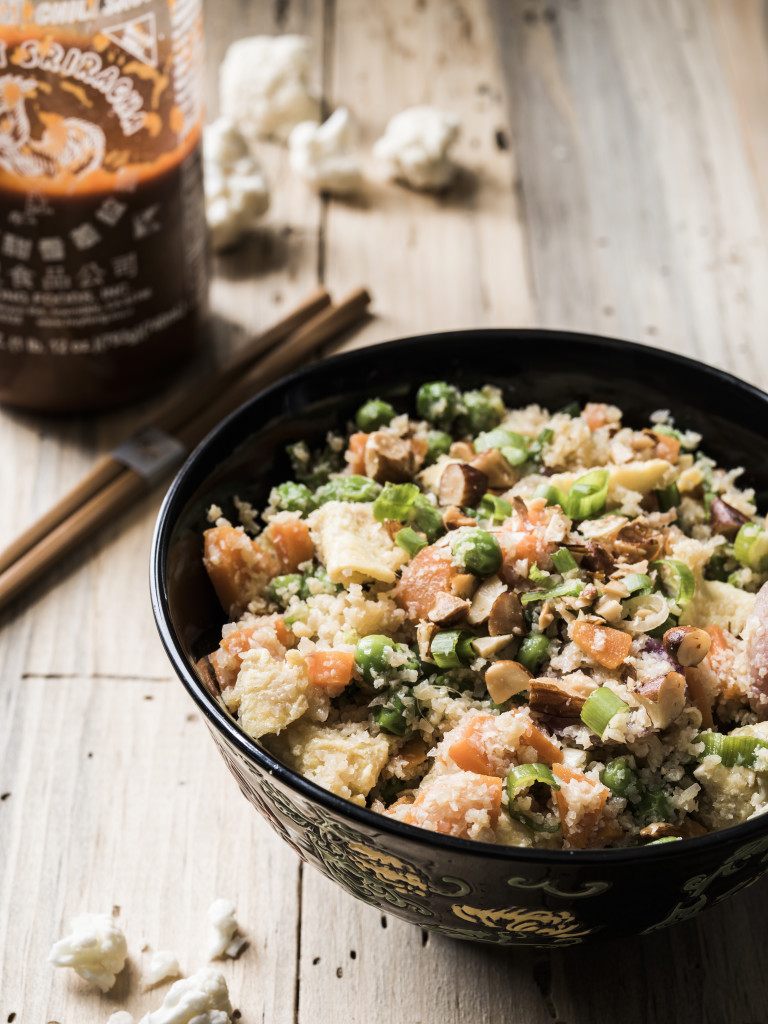
I’d heard of cauliflower fried rice before, but had yet to attempt it on my own. Y’all- this flipped my cauliflower experience around and could quickly become a new, rotating dish for me. It’s healthy, uses up all of those leftover veggies you have lying at the bottom of your crisper drawer, and tastes good. It doesn’t taste quite like rice- the texture is completely different- but it’s right up there in the “fried rice” flavor profile. Because the cauliflower is so neutral, it soaks up the flavors like a champ. And this recipe made a ton- I think we ate on it for at least four days. And I got to throw in those leftover radishes my personal produce guy may have picked out a while ago.

So, in the spirit of all things quick, easy, and good-for-you-but-tasty, try this recipe out y’all. I think you might dig it (and the leftover veggies you use up in the process).

Cauliflower Fried Rice, recipe inspired and adapted a bit by The Kitchn version here

This easy, quick weeknight staple is lightened up a bit in carbs but not in flavor. Use whatever leftover veggies you have in the stir-fry portion. I like frozen peas, chopped celery, radishes, frozen chargrilled corn, zucchini, squash, Vidalia onions…whatever your creative, cookin’ heart desires. 

What You Will Need:

  • 1 head cauliflower, washed and dried
  • 2 tablespoons vegetable oil, divided
  • 3 large eggs
  • 1 tablespoon minced ginger
  • 3 cloves garlic, minced
  • 2 carrots, diced at about 1/2 inch (cut the carrot in half lengthwise, then each half in half again, then dice)
  • 1/2 cup peas, fresh or frozen
  • 3 to 5 radishes, thinly sliced
  • 4 green onions, thinly sliced (plus extra for garnish)
  • 1/4 almonds, roasted and tossed in a bit of olive oil and sea salt
  • 2 to 3 tablespoons gluten-free soy sauce or Tamari (or you could use regular if you like)
  • Sriracha and extra chopped green onions, for topping

What You Will Do:

1. Cut the cauliflower into florets, making sure to discard most of the stems and inner core. Working in batches, pulse the cauliflower in a food processor until it breaks down into rice-sized pieces. You should have 5 to 6 cups of cauliflower “rice.” I think mine took about three batches in a smaller food processor.

2. Heat 1 tablespoon oil over medium to medium-high heat. Whisk the eggs and pour them into the skillet. Quickly scramble the eggs, or make a giant omelet. This can be incredibly satisfying; watching the eggs cook without stirring them. Not quite sure why. #weird Transfer the eggs to a cutting board and roughly chop into pieces.

3. Wipe the skillet clean and warm 1 tablespoon of vegetable oil over medium to medium-high heat. I give this leeway because our stove gets really hot so I use medium.

4. Add the ginger and garlic, and sauté until fragrant, about 30 seconds. You should really be able to smell the garlic-ginger combo here. Stir in the carrots, peas, radishes,  and the cauliflower “rice” into the pan, mixing the ingredients thoroughly with a spatula.

5. Lower the heat to medium (or medium-low), cover the pan, and cook until the cauliflower is tender, 5 to 8 minutes. Uncover and stir in the chopped eggs, green onions, almonds, and 2 tablespoons of soy sauce. Taste and add more soy sauce to taste; I think we used about three tablespoons. Drizzle Sriracha festively on top if you like it spicy. Enjoy!


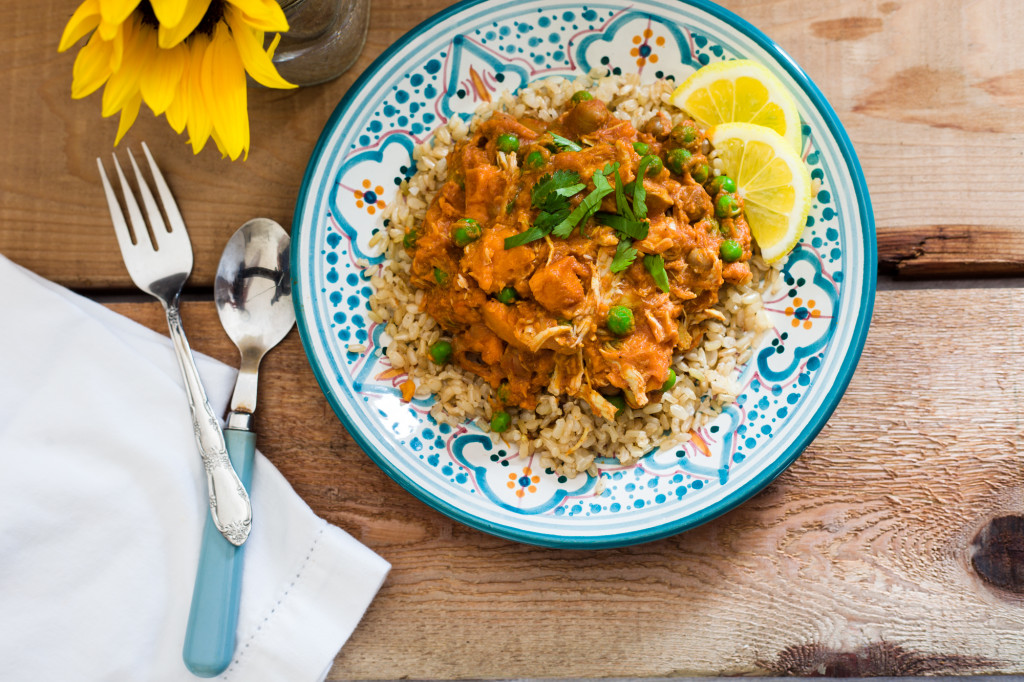
Slow Cooker Chicken Curry

Slow Cooker Chicken Curry

I don’t know about y’all, but a lot of the time my weekly dinner plans are less than perfect.

Work runs late, e-mails overtake your inbox, an unexpected phone call takes about 1.5 times longer than normal- you know, life happens. But for me, it doesn’t change the fact that, at then end of the day, I am still starving. And that means, without fail, dinner must arrive or I will be a cranky woman.

Enter the slow cooker. This device is amazing for those days when schedules supersede sanity and time to come home, unwind, and cook a slow-roasted chicken fades into the distance. Plus, those who know how to use a slow cooker well are kitchen MVP’s. Unlike some other recipes I’ve tried with goopy sauces, stringy meat, or flavorless liquids, using a slow cooker well actually enhances the texture of meat and allows flavors to gently, and deliciously, develop over time.

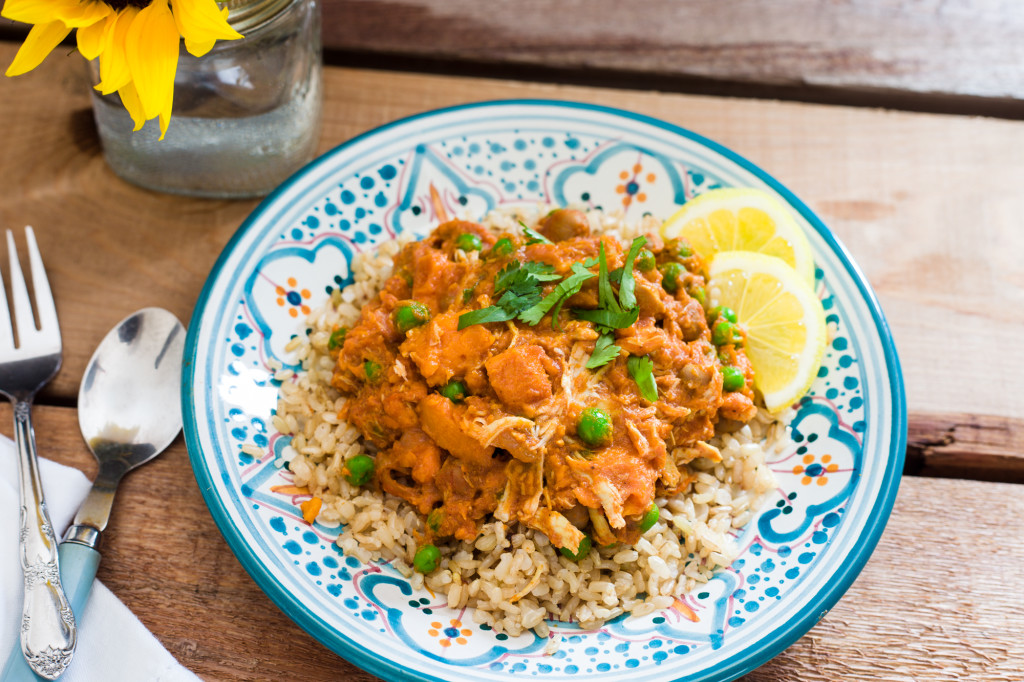
Slow Cooker Chicken Curry

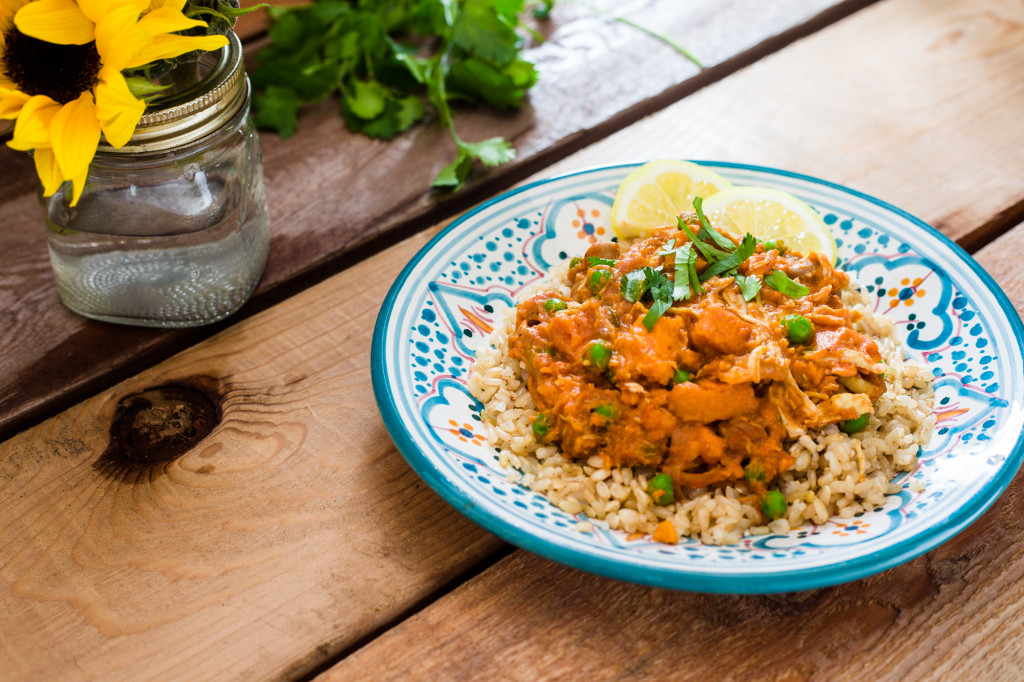
And this recipe for slow-cooker chicken curry from The Lemon Bowl hits both of those notes. Not only is the curry flavor spot-on, this dish satisfies my constant craving for ethnic food. Seriously, Liz hit the ball ball out of the park with this one! I love that she includes a hit of lemon juice at the end of the curry; that citrus note emboldens the coconut milk and chicken stock base . Plus, I heart green peas, and their addition makes the dish even creamier. In fact, this recipe even takes care of the take-out craving that hits at about that time during an especially crazy day when all you want to do is come home, put on PJ’s, and binge watch Gilmore Girls.

So, get those ingredients ready, turn on the slow cooker, and relax. For an episode, at least.

Slow Cooker Chicken Curry

Slow Cooker Chicken Curry (Recipe from the incredible blog The Lemon Bowl)

What You Will Need

  • 1 pound boneless, skinless chicken breasts
  • 1 medium onion, thinly sliced
  • 15 oz can chickpeas, drained and rinsed
  • 2 medium sweet potatoes, peeled and cut into about 1/2 to 1 inch dice
  • ½ cup coconut milk (I prefer regular, but you can use light here)
  • ½ cup chicken stock
  • 15 oz can tomato sauce
  • 2 tablespoons curry powder
  • 1 teaspoon salt
  • ½ teaspoon cayenne powder (for those who like a spicier curry)
  • 1 cup frozen green peas
  • 2 tablespoons fresh lemon juice
  • cilantro (for garnish)

What You Will Do

  1. In the bottom of the slow cooker, whisk together coconut milk, chicken stock, tomato sauce, curry powder, salt and cayenne.
  2. Add chicken breasts, onion, chickpeas and sweet potatoes. Using tongs, gently toss ingredients together to ensure evenly coated.
  3. Cook on Low for 8 hours or High for 4 hours (I did high for four hours b/c I was getting hangry).
  4. Using two forks, shred cooked chicken (if it’s easier, go ahead and remove it from the cooker to shred). Stir in peas and lemon juice 5 minutes before serving.
  5. Serve over brown rice and with plenty of fresh cilantro. (And hot sauce if you like it spicier!)