The EASIEST Gluten Free Cinnamon Rolls!

My loves!! It’s the BEST time of the year!!

And with Christmas comes lots of holiday festivities and chances to feed the ones you love. However- I get it- most holiday parties don’t offer a ton of options on the alternative eating front!

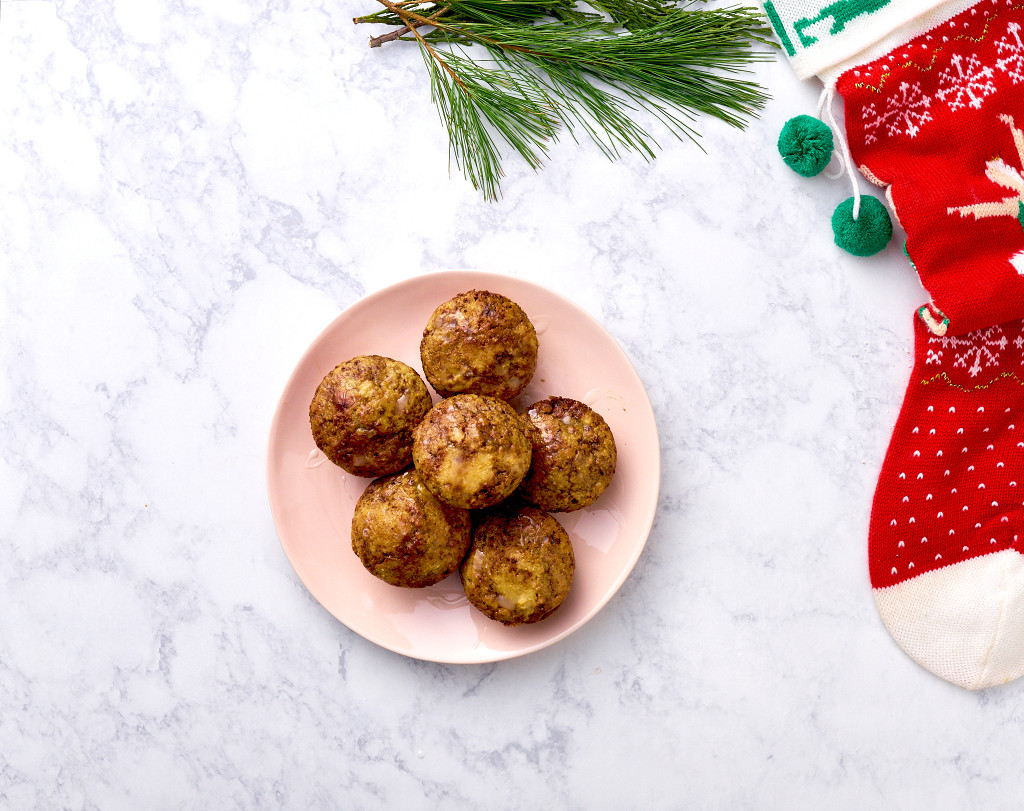
Don’t worry though, ’cause we GOT you! Check out this week’s gluten and dairy free cinnamon roll, using the ahhhmazing (and my fave) Simple Mills bread dough mix to make things EVEN easier! These truly are the easiest gluten free cinnamon rolls I’ve ever developed, and it is seriously hard to eat just one. Merry Christmas!!

Gluten Free Cinnamon Rolls

The Easiest Gluten Free Cinnamon Rolls (dairy-free too!)

What You Will Need:

Sweet dough:

  • 2 eggs
  • 2 tablespoons melted coconut oil
  • 1/2 cup filtered water
  • 1/4 cup apple cider vinegar
  • 1 box Simple Mills bread mix
  • 1/2 teaspoon powdered stevia

For the filling:

  • 1/4 cup packed dark brown sugar
  • 2 tablespoons powdered stevia
  • 2 tablespoons cinnamon
  • 1 tablespoon melted coconut oil
  • 1 /4 teaspoon salt

Lower-Sugar Glaze:

  • 1/4 cup powdered sugar
  • 1 teaspoon stevia
  • 1 tablespoon unsweetened coconut milk
  • 1/2 teaspoon rum extract

What You Will Do:

  1. Preheat oven to 350 degrees; grease a 12-count muffin tin.
  2. Make filling: in a large bowl, whisk together all ingredients together until combined.
  3. Make rolls!  In a large bowl, whisk the wet ingredients together; once combined, add in bread mix and 1/2 teaspoon stevia until combined.
  4. Gently fold in cinnamon sugar mixture. Don’t over mix- the aim is to have swirls of cinnamon in every bite.
  5. Scoop batter by about 2 tablespoons into each muffin tin. Once all are filled, just eye ball it to make sure they all look evenly filled. Add any extra dough you have to fill them up!
  6. Bake for 25 minutes. While baking, make the glaze!
  7. Whisk all glaze ingredients together until it is mostly clump-free and clear.
  8. Remove the rolls from the oven; if you want the rolls more brown on top, heat oven to broil and pop them back in the oven until the desired color is reached.
  9. Drizzle warm rolls with the glaze! Let the rolls cool for a few minutes, then promptly remove to cool completely on a cooling rack.
  10. Plate ’em up and ENJOY!!!
Easy Slow Cooker BBQ Chicken

Friends!

I hope that you have had the easiest, sweetest time getting back into the swing of things so far this August. Whether it was with your little ones, your work, coming back from vacation- I know sometimes that transition back into scheduled life can be tough!

So to make this process easier on all of us, I am partnering this month with the ahhhmazing nutritionist, Suzanne Pirkle, to dream up some easy, breezy back-to-school goodies we can make quickly, easily, and with healthy ingredients that are probably going to make you feel like a million bucks! Hellloooo super women!

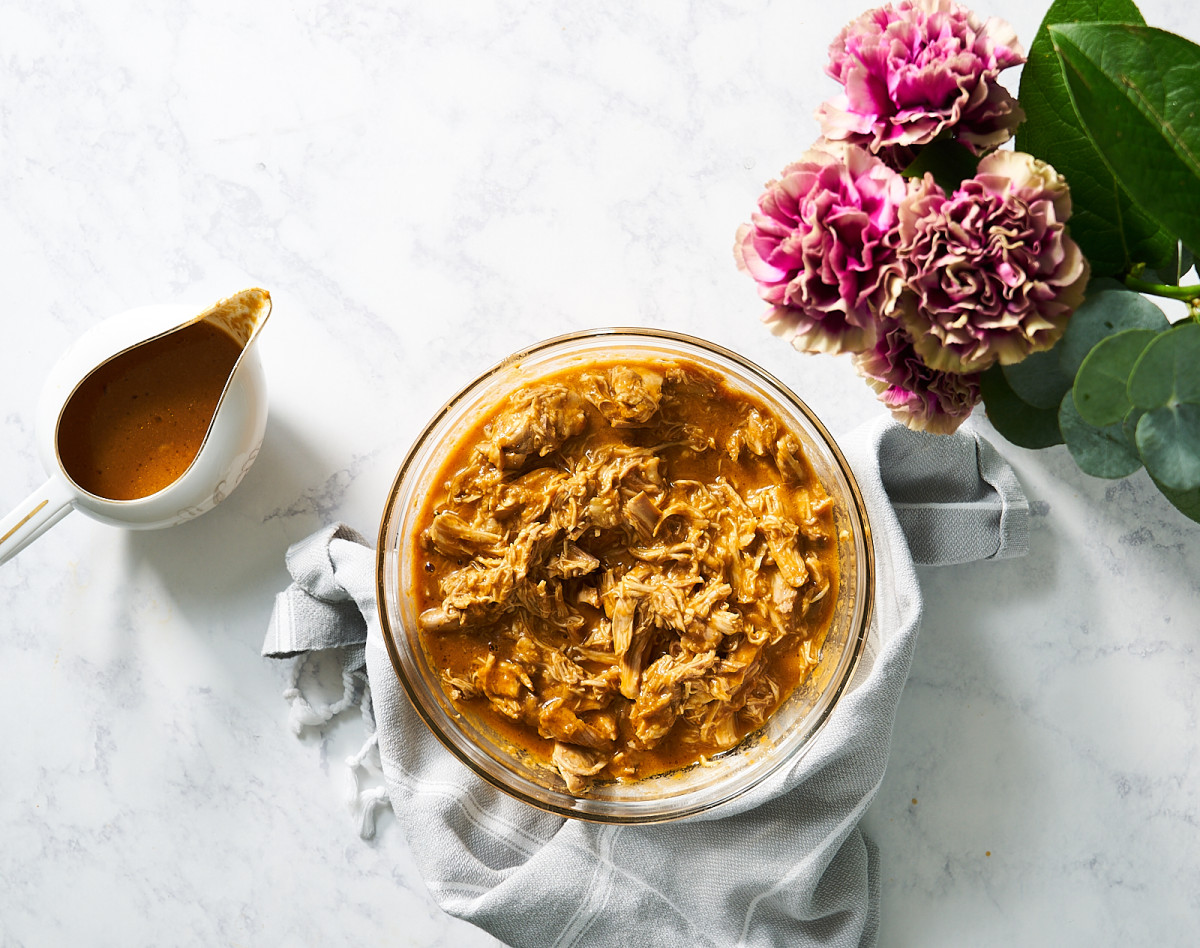
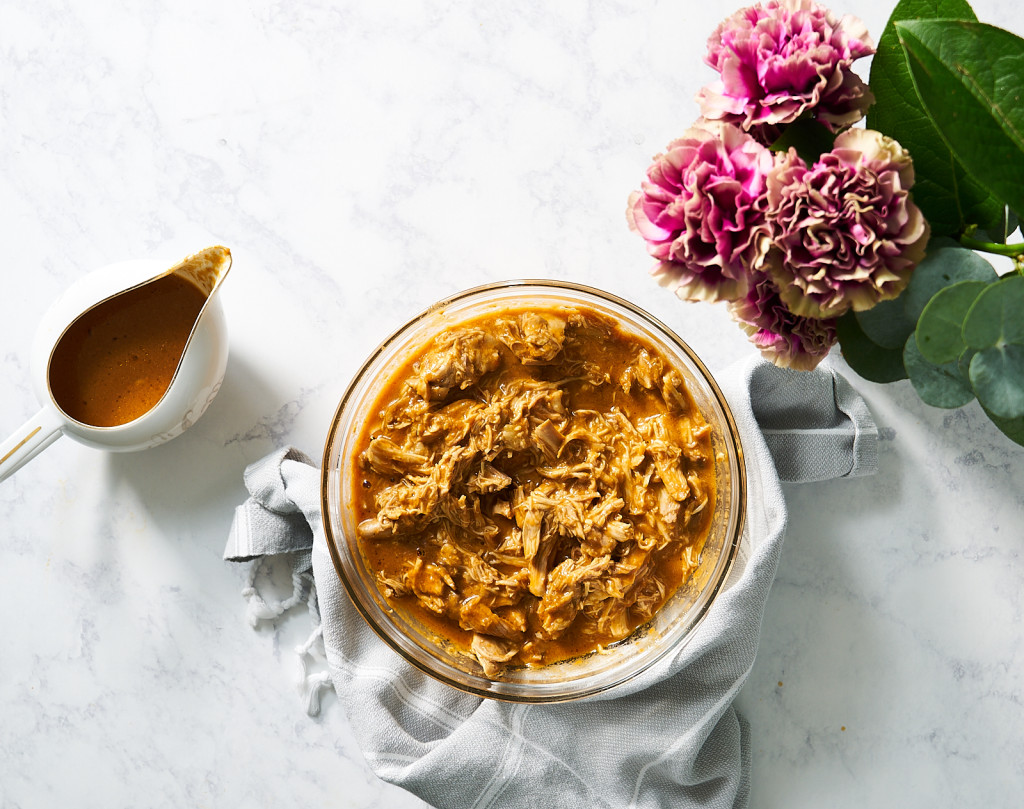
Slow cooker BBQ chicken

Last week’s easy blender BBQ sauce is so tasty and was such a hit that we are going for round two with this dynamite slow cooker chicken! This easy slow cooker BBQ chicken requires only TWO ingredients- SAUCE + THIGHS.  Plus, if you can’t make the homemade version, Suzanne lists her favorite sauces to buy at the store!  Happy back-in-the-swing my friends!

Suzanne’s favorite store-bought BBQ sauces:

Stubb’s Original BBQ sauce

Tessamae’s organic BBQ sauce

Schultz’s hot cooking sauce

Trader Joe’s 

Annie’s organic BBQ sauce

Slow cooker BBQ chicken

Easy Slow Cooker BBQ Chicken

What You Will Need:

  • 2 pounds boneless skinless organic chicken thighs
  • 10 ounces BBQ sauce (check out our LC version!)

What You Will Do:

  1. Put chicken thighs and barbecue sauce in the slow cooker. Turn thighs to cover with sauce.
  2. Cook on low for four hours or high for two.
  3. Remove thighs, shred chicken and ENJOY!


Lemon Quinoa Chicken Soup with Greens VIDEO!

It’s time for this week’s-VIDEO! Lemon quinoa chicken soup with greens!!

This is the first video I’ve put out into the Youtube sphere with all of the cooking steps on video- let me know what you think in the comments below! HAPPY WEEKEND!


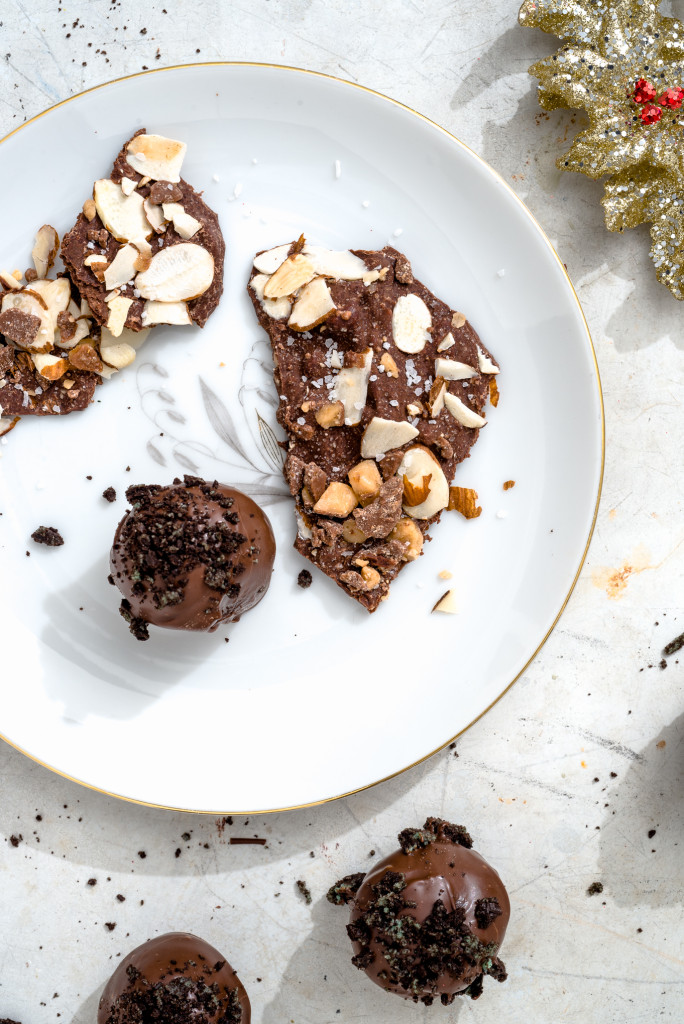
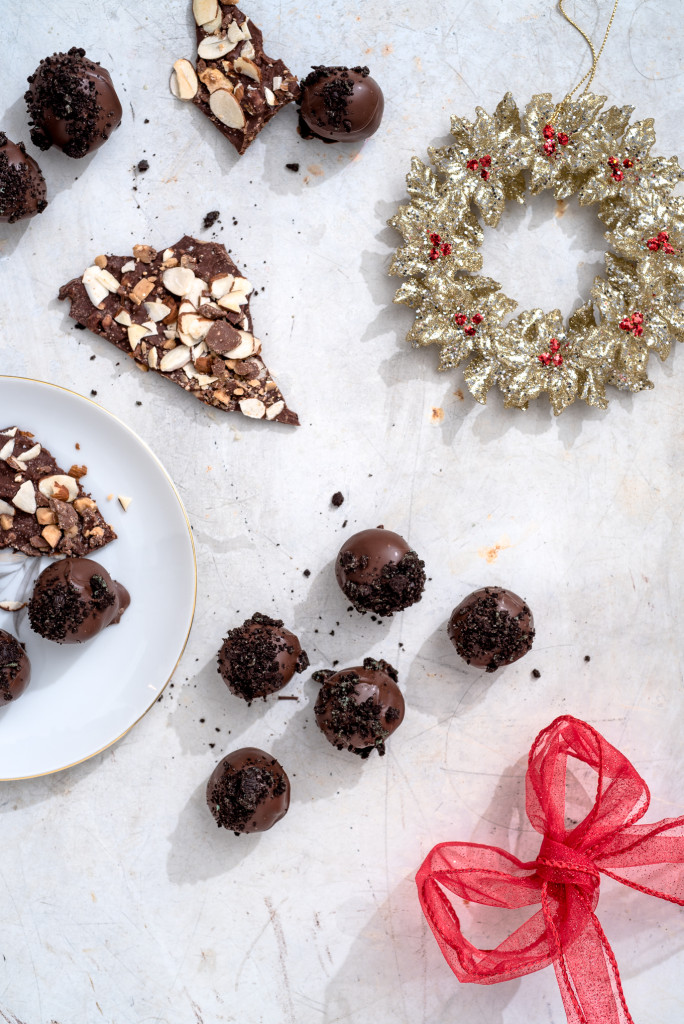
Mint Chocolate Truffles with Oreo + Coffee Almond Bark

Bham-Mag-Christmas-2017-026

Tis the season of edible holiday treats, and on Luv Cooks, we have GOT YOU.

I mean, to me, there is no better way to show love to those that you love than to give something handmade, chocolate, and coffee-centric.

Bham-Mag-Christmas-2017-013

Let me begin with these truffles. I like truffles that are decidedly dark. Rich, yes- but not too sweet, just dark enough to satisfy a chocolate craving without sending me into a sugar headache. We use a 90% dark chocolate bar here, add in semi sweet chocolate to balance the flavor, and a bit of a dark chocolate mint bar and mint extract. Topping them with crushed Oreo Mint thins keeps the truffles fun and holiday-esque! They do take a bit of extra time for the truffle to set, but I promise they are worth it!

Also, PRO TIP alert: Use a toothpick around the base of the truffles to prevent the chocolate from pooling. (I know, I know, every truffle maker’s nemesis, those pesky chocolate pools.)

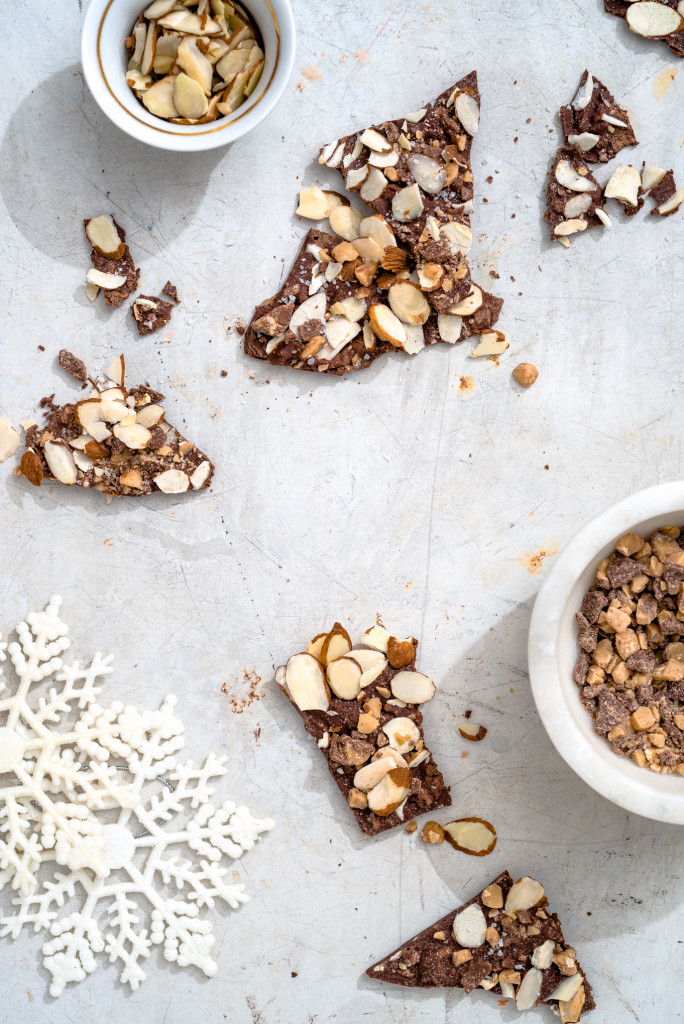
Ohhh, and this coffee almond bark. It reminds me a bit of my wedding day ice cream- dark chocolate, Heath bar, and flaky sea salt. Divine. The addition of espresso powder deepens the chocolate flavor and you will be LUCKY if you can keep this stuff around for longer than it takes to set on the kitchen counter.

Both of these recipes are PERFECT to make ahead (you could start the truffles, toast the almonds, make the almond bark, then come back to dipping the truffles) and put in bags to hand out to people that you deem worthy.

CHRISTMAS TREATS HERE WE COME!

Bham-Mag-Christmas-2017-041

Coffee Toffee Dark Chocolate Almond Bark

The addition of espresso powder to the dark chocolate in this bar makes for a rich, satisfying treat. Paired with crumbled toffee pieces and toasted sliced almonds, good luck keeping this around for more than the time it takes to set on the kitchen counter!* (I apologize for using this joke twice for those who read our full post, hah!) 

Yield: Varies depending on preferred piece size

What You Will Need:

  • 1/2 cup sliced almonds
  • 5 ounces semisweet chocolate
  • 3 ounces dark chocolate morsels
  • 3 ounces Heath bar crumbles plus 1 ounce crumbled Heath bar for topping
  • 1/2 to 1 tsp espresso powder, depending on coffee preference
  • Flaked or coarse sea salt, for sprinkling

What You Will Do:

  1. Prepare a baking sheet with a baking mat, like a Silpat, or wax paper.
  2. Roast nuts in skillet on medium heat until toasty. Remove to plate to cool.
  3. Melt chocolate (except Heath bar) for 30 seconds in glass bowl in the microwave.
  4. Stir with rubber spatula.
  5. Microwave 30 more seconds; add 3 ounces Heath bar. Microwave 15 seconds; stir. Microwave 15 seconds more. Stir until smooth with only toffee chunks remaining.
  6. Stir in espresso powder until dissolved.
  7. Using a rubber spatula, spread chocolate mixture evenly onto baking mat (or wax paper) on baking sheet.
  8. Top with almonds and additional 1 ounce Heath bar.
  9.  Sprinkle lightly with sea salt and allow to cool at room temperature. Once cooled, break into pieces and enjoy!

Bham-Mag-Christmas-2017-026

Mint Chocolate Truffles with Oreo Cookie Crunch

If there ever was a time to indulge in a truffle, it is the holidays. This version is decidedly darker, more chocolatey and less sweet than a premade version, but gets a childlike nod with a topping of mint-flavored Oreo cookie. These are also perfect for wrapping in bags and gifting to the ones you love. ***Make sure you set aside time for this mixture to cool in the fridge since it is a vital step!

Yield : 44 truffles

What You Will Need:

  • 8 ounces 90% dark chocolate chocolate
  • 7 ounces semisweet chocolate
  • 1 ounce mint dark chocolate bar, broken into pieces
  • 1 14 oz can sweetened condensed milk
  • 1/2 to 1 tsp peppermint extract, depending on preference
  • 12 ounces dark chocolate melting wafers, melted
  • 1⁄2 cup Oreo Thin cookies, mint flavor, crushed

What You Will Do:

  1. Melt all chocolate (except for melting wafers) in a large glass bowl over simmering water.
  2. Once chocolate is about halfway melted, add condensed milk. Stir until all chocolate melts and the mixture resembles the texture of marshmallow.
  3. Carefully take the bowl off heat and stir in mint extract.
  4. Cover bowl with plastic wrap and refrigerate for at least two hours.
  5. Line a large baking sheet with parchment paper.
  6. Take truffle from fridge and allow to come to room temperature. The texture is perfect when you can easily scoop it into balls. If needed, you can reheat it at 15 second intervals in the microwave until softened.
  7. Once rolled into balls, put truffles on parchment-lined baking sheet. Place sheet in freezer for about 10-15 minutes to firm up.
  8. Melt dark chocolate in a glass bowl in the microwave for 30 second intervals, stirring after each session, until smooth.
  9. Once ready, use a slotted spoon to dip truffles into melted chocolate. Move to baking sheet, then sprinkle with Oreos while the chocolate is still melty so the Oreos will stick.
  10. Allow to cool on parchment lined baking sheet.


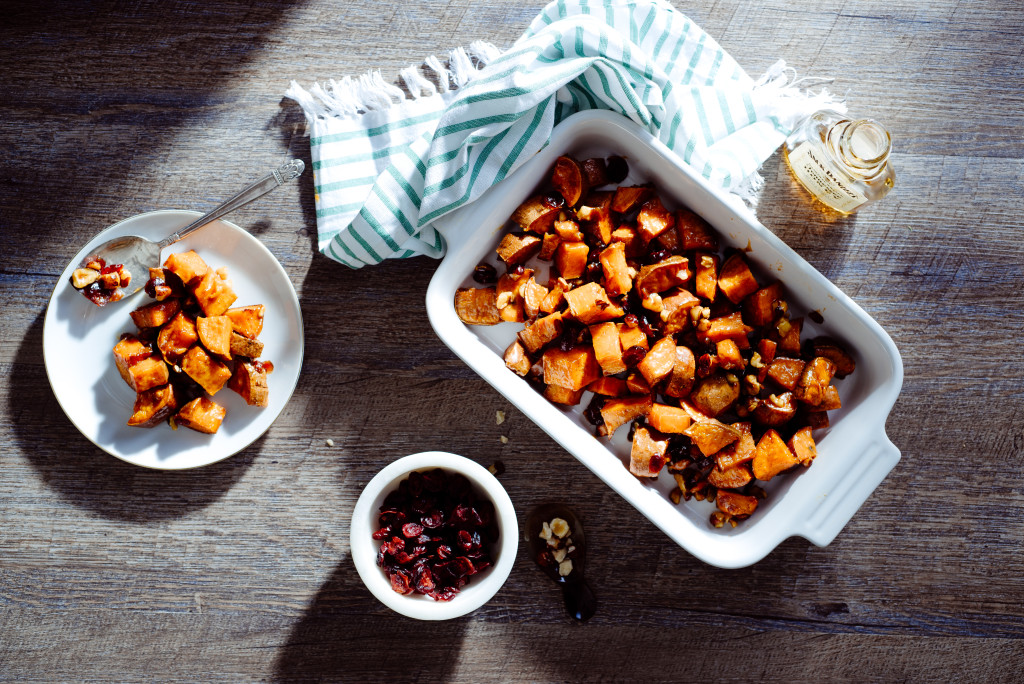
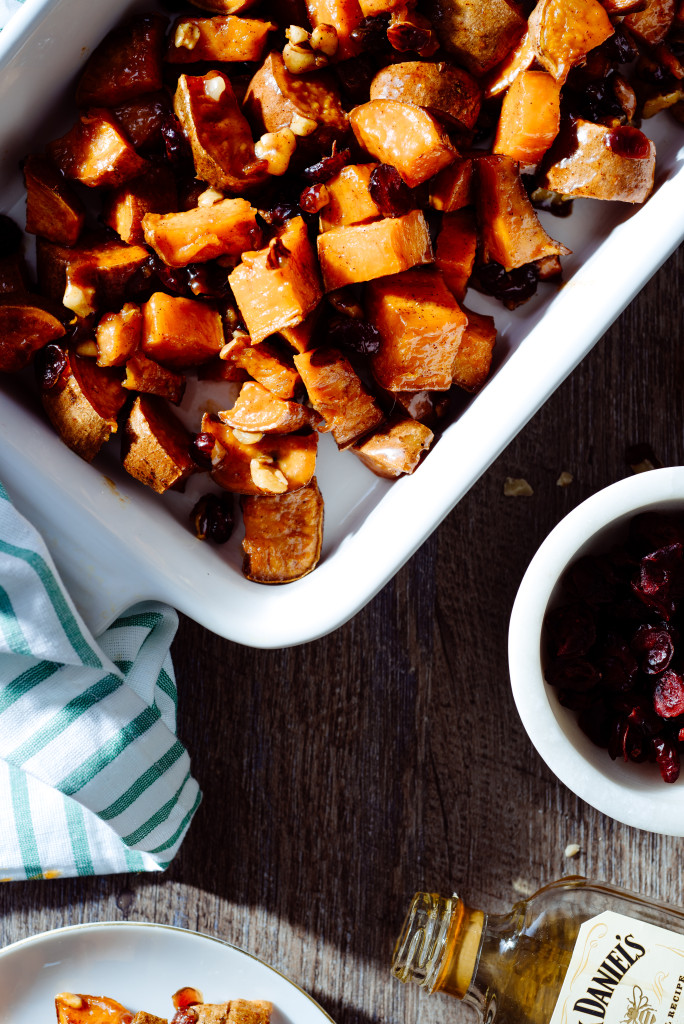
Maple Syrup and Whiskey Sweet Potatoes with Hazelnuts

Cranberry-Turkey-Sweet-Potatoes-10

Thanksgiving is almost here!! YAYY!!

Like I posted Monday, I know how stressful and intimidating it can be to plan an ENTIRE Thanksgiving meal. So, if you are like lots of people I know, bringing a side dish to a meal is a perfect way to bless a host or hostess. Or, use it to lighten your own cooking load a bit!

Cranberry-Turkey-Sweet-Potatoes-7

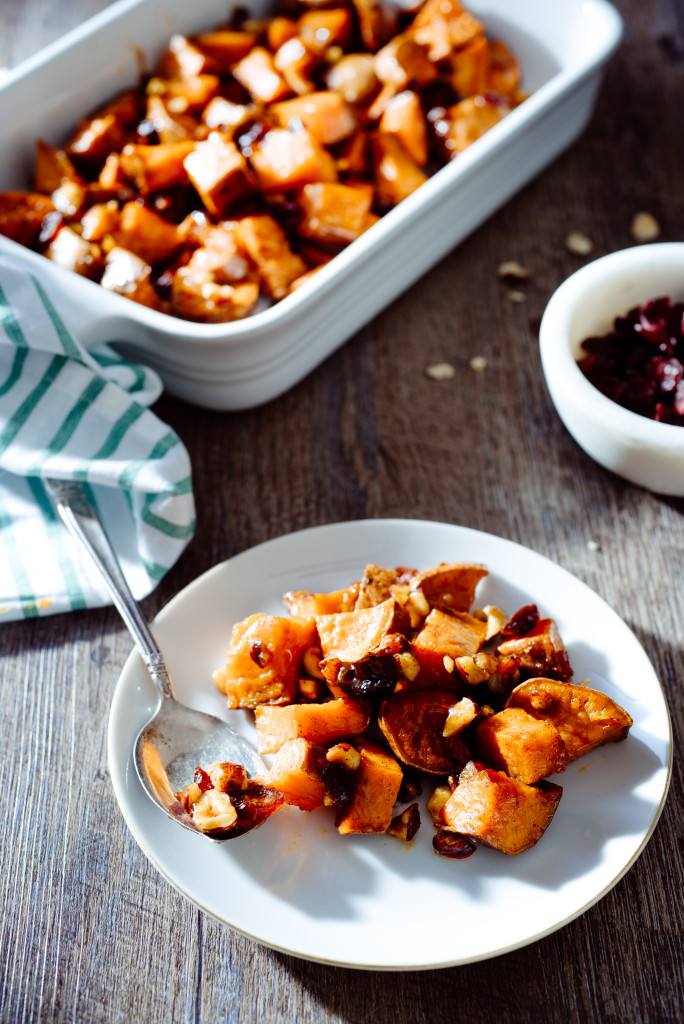
Today we’re featuring an easier version of your typical sweet potato side. In fact, this is one of the tastiest sweet potato dishes I’ve ever developed, and I CAN’T WAIT to share it with you!


I know you are busy, so without further ado- grab that high quality maple syrup, a small bottle of honey whiskey, and get going! You can even go ahead and dice the sweet potatoes, and soak the cranberries, in advance for Thursday.

LOVE Y’ALL!

Cranberry-Turkey-Sweet-Potatoes-9

Honey Whiskey Sweet Potatoes with Dried Cranberries
Whiskey is a perfect complement to any holiday gathering, and combining honey whiskey with roasted sweet potatoes, dark brown sugar, and dried cranberries highlights the depth a tart cranberry can bring to a side dish. Be warned–these potatoes are addictive, so if you want to have leftovers the next day, make two batches! You can also find the full recipe on Birmingham magazine’s page!

Yield: 6 servings

What You Will Need:

  • 2.25 pounds sweet potatoes, cut into large wedges (about three large)
  • 1 tablespoon olive oil
  • 1/2 teaspoon salt
  • 4 tablespoons salted butter
  • 1/2 cup packed dark brown sugar
  • 1.25 ounces honey whiskey (like Jack Daniel’s Original Recipe Tennessee Honey)
  • 1 teaspoon cinnamon
  • 1/4 cup chopped hazelnuts
  • 1/4 cup dried cranberries, soaked in hot water for five minutes and drained

What You Will Do:

  1. Preheat oven to 450 degrees. Line a rimmed baking sheet with heavy duty aluminum foil. Spray foil with non-stick cooking spray.
  2. Toss sweet potatoes with olive oil and salt in a large bowl. Spread onto baking sheet.
  3. In a small saucepan over medium heat, melt butter, brown sugar, honey whiskey, and cinnamon. Bring to a boil, then cook, whisking constantly, until thickened (about 4-5 minutes). Remove from heat to cool a bit.
  4. Once syrup is made, bake potatoes for 12 minutes. Remove from oven and lightly stir, then put potatoes back in to roast for 12 more minutes.
  5. Remove from oven again, and pour whiskey syrup, cranberries, and hazelnuts onto potatoes. Toss gently with a rubber spatula.
  6. Return to oven to bake potatoes for 8 more minutes.
  7. After removing from oven, toss gently with a spatula with any remaining syrup to combine. Let cool for a few minutes, then serve.

Tips:

  • Using heavy duty (not regular) aluminum foil for this recipe helps prevent the whiskey syrup from sticking to the pan.
  • If you want more of a salty and sweet combo, try sprinkling the finished sweet potatoes with kosher salt.
  • Soaking dried cranberries in hot water softens their texture in roasted dishes like this. If you like a firmer cranberry, feel free to leave them unsoaked.
  • Honey whiskey adds an extra holiday sweetness to this dish. If you prefer a less sweet flavor, you could substitute bourbon instead.
  • Watch the syrup carefully (and whisk it constantly) as it boils. This keeps all of the sugars from sticking to the bottom of the pan.


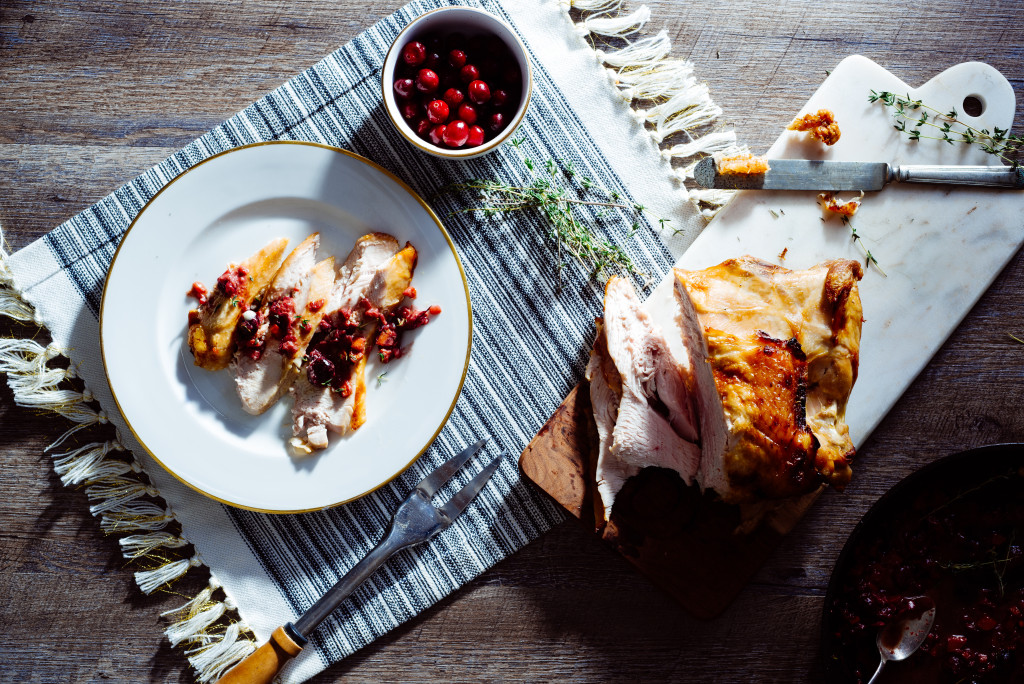
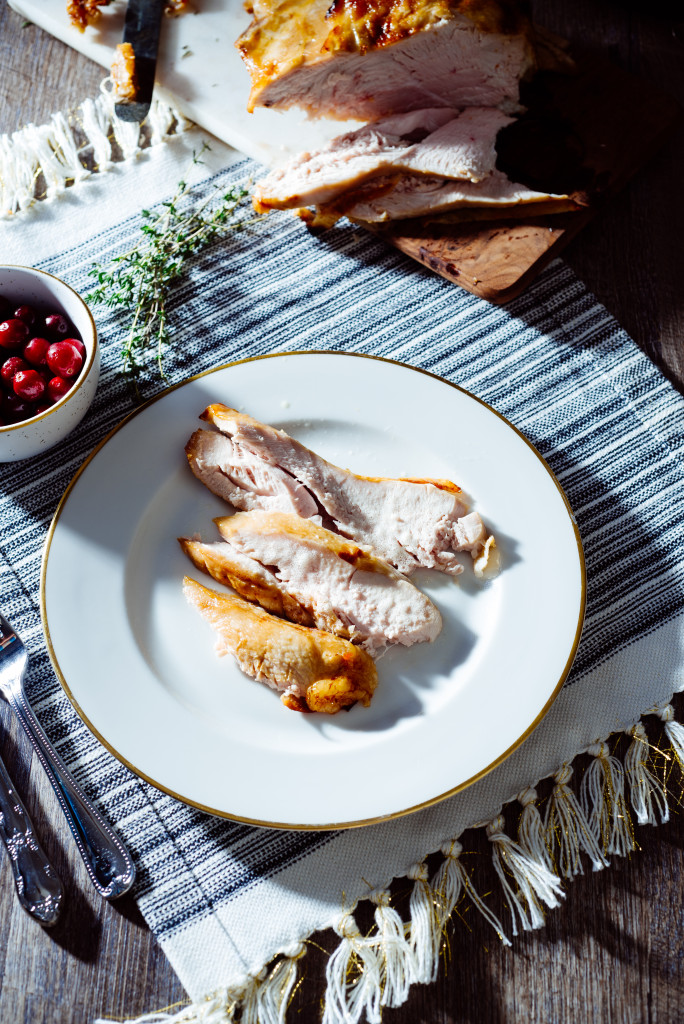
Dry Brined and Roasted Turkey Breast with Cranberry Pan Sauce

Cranberry-Turkey-Sweet-Potatoes-3

Lovelies!!

It’s the big week of Thanksgiving and at Luv Cooks I am ABUZZ with all the fun cooking that is about to go down around me. From turkeys to taters to desserts with my mother-in-law, oh my gracious how FUNN!

BUT I also realize that it can also be super stressful and intimidating to even begin thinking about cooking a huge meal like Thanksgiving. So, I’ve landed on sending you guys easier versions of the typical whole shebang– and we will start with this roasted turkey breast.


Cranberry-Turkey-Sweet-Potatoes-1

The beautiful thing about roasting a turkey BREAST as opposed to a whole bird is that the cooking time is shorter, the process is easier, the cost is less, and all you have to do is set aside some time ahead to salt and dry-brine the bird ahead of time.

Cranberry-Turkey-Sweet-Potatoes-2

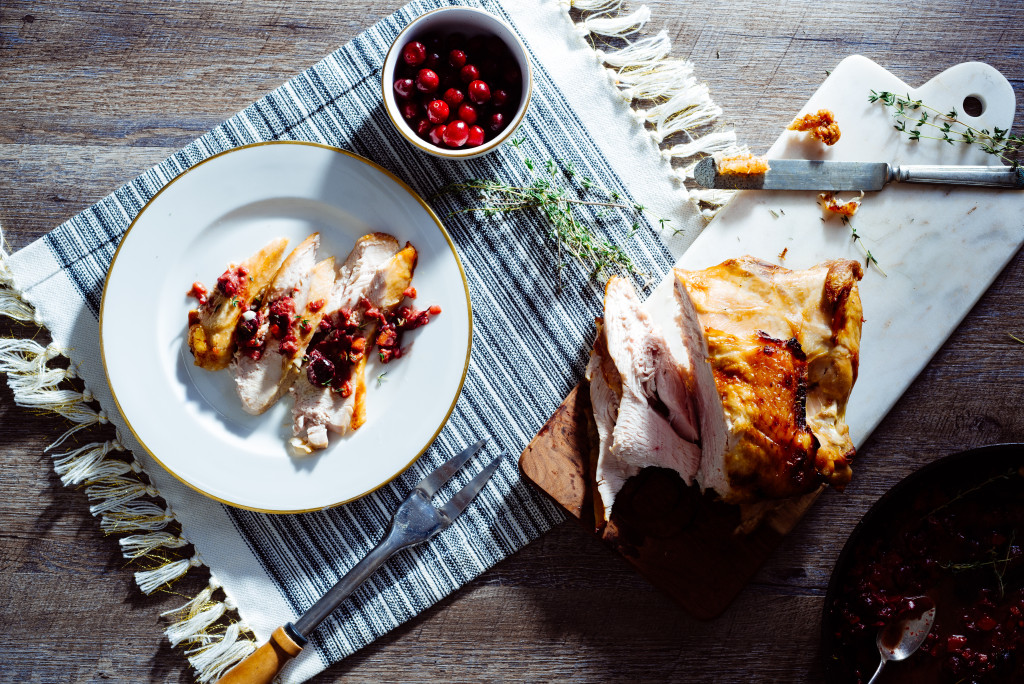
And what I also love about this recipe is that you use the pan drippings from the turkey in the cranberry pan sauce, tying all of the flavors together. If your local supermarket doesn’t have whole cranberries, they should be in the frozen fruit department!

So go ahead and buy that turkey breast, keep it in the fridge, and on Wednesday salt/sugar it up! And make sure you don’t cover the turkey after you salt it (also called dry-brining); it needs to breathe in the fridge to get that crispy skin!

Cranberry-Turkey-Sweet-Potatoes-5

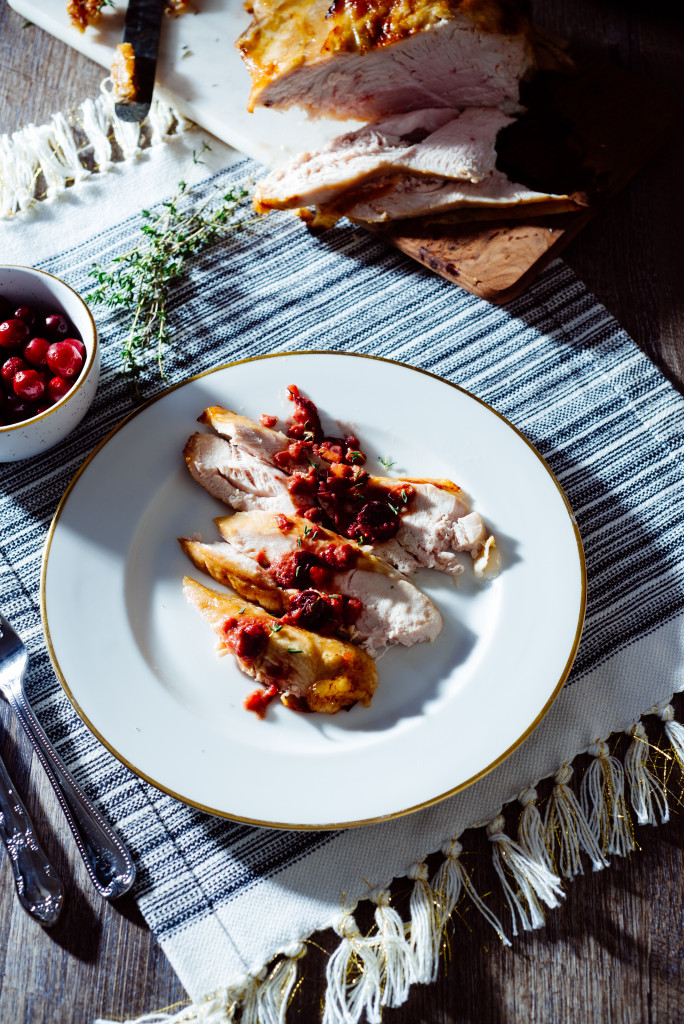
Roasted Turkey Breast with Thyme and Cranberry Pan Sauce
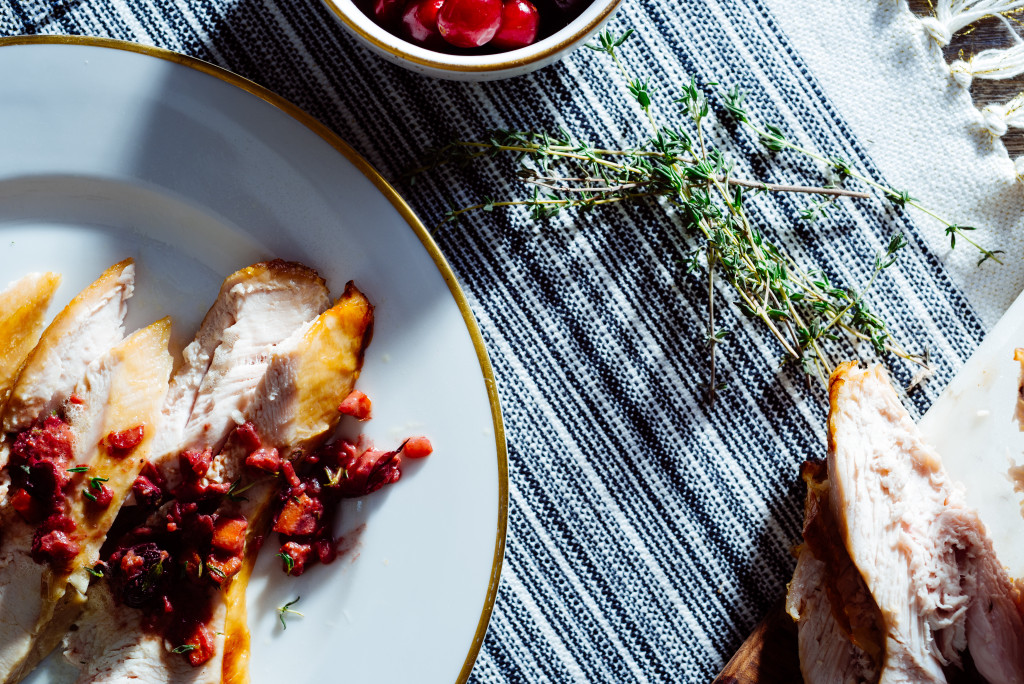
Dry-brining this turkey breast overnight is an extra step, but getting beautifully-crisp skin and tender breast meat is well worth the effort! Using the meat drippings in the pan sauce along with whole cranberries creates even more bright flavor for a Thanksgiving mainstay. You can also see this full recipe in Bham mag!

Yield: 4 hearty portions or 6 light portions

What You Will Need:

  • 1 1/4 teaspoons salt, divided
  • 1 teaspoon dark brown sugar
  • Around 2.2 pound bone-in turkey breast half, patted dry
  • 1 tablespoon olive oil
  • 1/4 cup finely-chopped sweet onion
  • 1/4 cup diced carrot
  • 1/2 cup whole, frozen cranberries
  • 1/2 cup white wine
  • 1 teaspoon fresh thyme leaves
  • 2 tablespoons salted butter
  • 1 to 2 teaspoons Dijon mustard, depending on preference
  • Salt and fresh cracked pepper, to taste

What You Will Do:

  1. Combine 1 teaspoon salt and brown sugar in a small bowl.
  2. Run your fingers under turkey skin to loosen it from breast meat.
  3. Rub salt and sugar mixture under turkey breast skin.
  4. Place turkey on wire baking rack over 9-by-13-inch glass casserole dish and put in fridge overnight. Do not cover turkey.
  5. Remove turkey from fridge; preheat oven to 450 degrees.
  6. Rub turkey with 1 tablespoon olive oil and lightly salt with remaining 4 teaspoon salt.
  7. Put turkey in oven on rack over casserole dish.
  8. Bake turkey for 35-40 minutes, or until meat registers 165 degrees. Check temperature at 30 minutes; if top is becoming too brown, cover with aluminum foil.
  9. Remove turkey from oven; tent with foil to rest while you prepare the pan sauce.
  10. Working carefully, gently pour 2 tablespoons meat/oil juices from baking dish into saute pan. Bring heat to medium, and add onion, carrot, and cranberries. Saute until softened, stirring occasionally, about 5-6 minutes.
  11. Once berries begin to burst and onion is softened, add cup white wine. Scrape up meaty bits that may have developed in the pan; add thyme leaves and stir until much of the wine evaporates, about 1 minute.
  12. Remove sauce from heat; whisk in salted butter and Dijon mustard. Season with salt and pepper if desired. Serve with turkey.

Tips:

  • A 1-cup serving of whole cranberries contains only 50 calories, 4 grams of sugar, and almost 5 grams of fiber.
  • Dry-brining the turkey helps to season the bird more deeply and create a crispier skin. The turkey can be brined for up to 24 hours, so it’s a great step to do ahead of time.
  • When seasoning the turkey after dry-brining, go lighter on salting the skin since the bird has been pre-salted. Also, make sure you leave room for the turkey breast to “breathe” in the fridge; covering it with foil or plastic wrap inhibits this process.
  • Oiling the skin of the turkey breast keeps it moist and creates a more even, beautiful browning effect, perfect for the grand presentation moment at the table!

Five Thanksgiving Foods to MAKE AHEAD (like, this weekend!)

Cranberry-Turkey-Sweet-Potatoes-4

It’s Friday and Thanksgiving is THURSDAY!

This means that it’s time to start prepping how you can LOVE ON some folks next week.

I’ve researched, I’ve listed, and I believe I have compiled (and explained- check out my FULL You Tube video below!) FIVE dishes YOU can make ahead of time to ORGANIZE your week so it’s fun and fabulous and focused around those beautiful friends at your table (and you aren’t having a come-apart at the workload).


The easiest way for me to organize things (and maintain my sanity) is to list it out. HUGE shout out to these articles by Williams Sonoma, The Kitchn, and Ree Drummond for being AMAZING resources for this list.

Here are my TOP FIVE THANKSGIVING FOODS TO MAKE AHEAD:

Pie-Party-00012

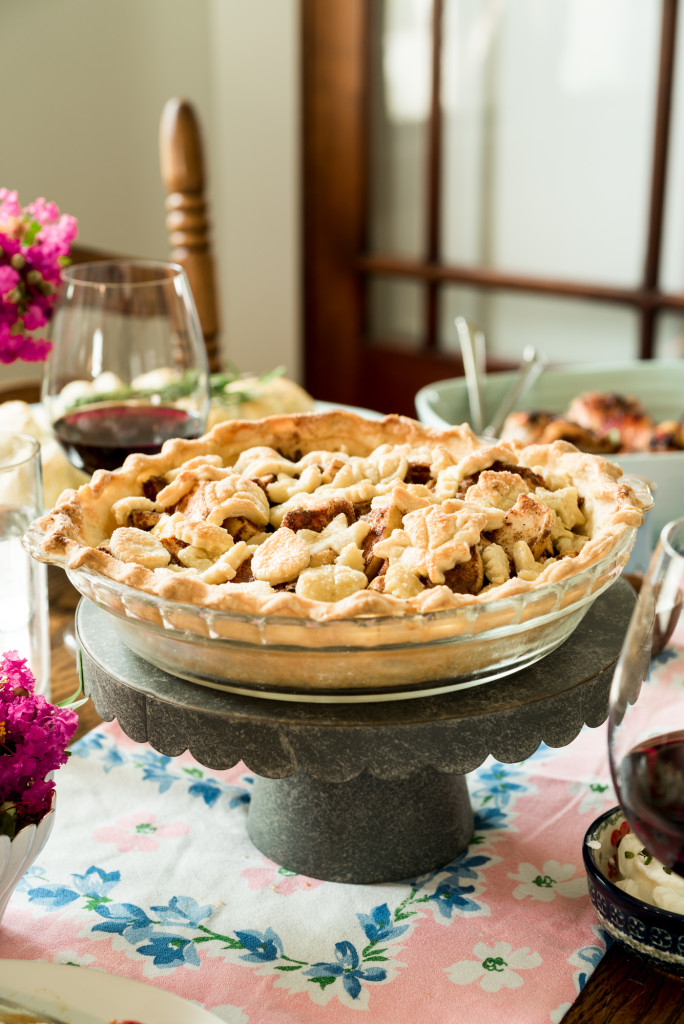
  1. Pie crust! Go ahead and make that homemade pie crust! All you have to do is put it together by hand, fork, or the food processor; form it into a disc, wrap it with freezer wrap or aluminum foil, and freeze it. OR you can form the dough into your pie pan, wrap it tight in aluminum foil, and freeze it. OR you can make your pie ahead of time (dough + filling) and freeze it as a whole shebang! Then defrost the pie for a few ours and put it in the oven to bake.

(Click here for the ultimate pie crust from Abby Jone’s rosemary pear and bourbon caramel pie)

**Bonus points for making it today, you have earned a MVP trophy already.

2. Mashed Potatoes! Did y’all know that the fat in dairy  actually protects your favorite mashed potatoes in the freezer? So use ALL the cream and butter you normally would to make sure your potatoes freeze well. In fact, if you only use broth, they probably won’t last. So, make your favorite recipe, let them cool, then put them in a freezer safe bag, smoothed out and laid flat. This article by The Kitchn does an amazing job explaining the process!!

3. Homemade ROLLLS!! Being honest, normally if I was having people over I would not be serving homemade rolls. BUT for Thanksgiving, I love these small homemade touches to a meal that make people feel like it’s a grand event. To me, homemade rolls qualify! All you need to do is make your roll dough, let it rise, form it into rolls, then place them on a baking sheet and pop them directly into the freezer. They should last a month! Love these Soft and Tender Dinner Rolls!

Cranberry-Turkey-Sweet-Potatoes-54. Cranberry Sauce! The beautiful thing about cranberry sauce is that you it tastes even better and I believe may get more jiggly over time. So either go ahead and keep it in the fridge (covered) for a few days, OR put it in the freezer and give it a day to dethaw.

This amazing casserole by Light in the Loft House looks incredible!

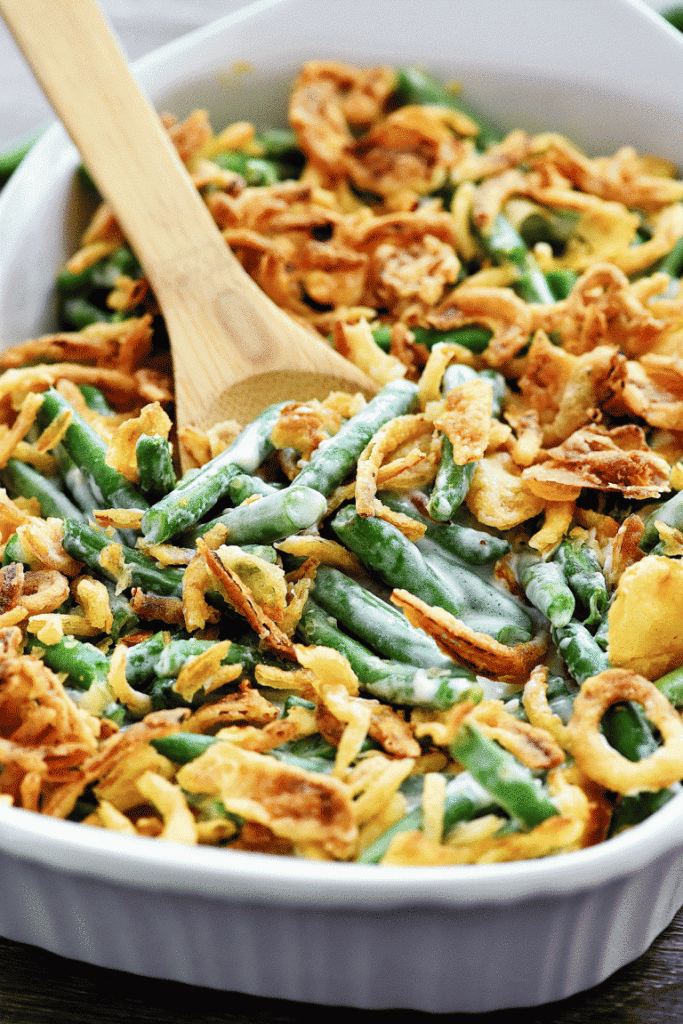
5. Green Bean Casserole! You can go ahead and make the base of your casserole, then pour it into your baking pan and put it in the fridge, covered with foil. You can keep it in the fridge for three days. Wait to top it with crispy onions until you are ready to bake! I dig this The Best Green Bean Casserole by Light in the Loft House!

Happy weekend prepping lovelies!-C

The Craziest Fall Cauliflower Recipes from the Internet

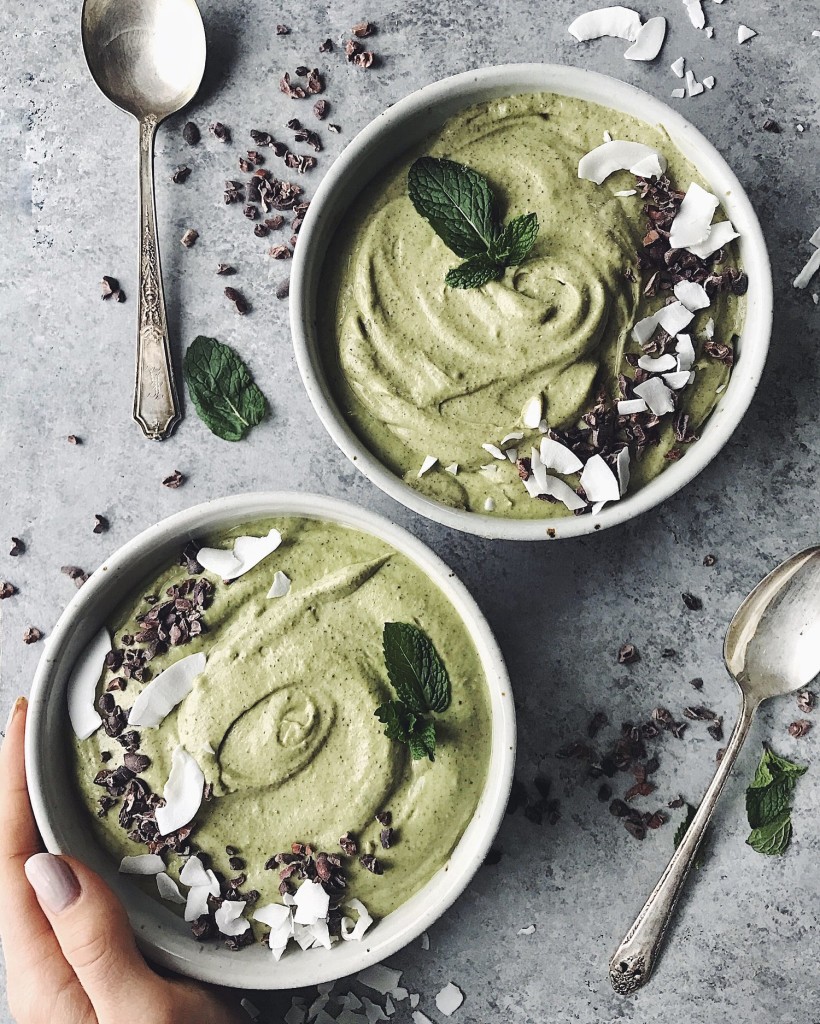
Lee from America‘s mint chocolate chip cauliflower smoothie bowl!

So, you think you know cauliflower?

I thought I did too. I mean, we posted some pretty great recipes this month-from vegan cauliflower tacos to dark chocolate cauliflower brownies!

But y’all- I scoured the internet for this month’s recipe round up and was BLOWN AWAY by the creativity of all of these fabulous food bloggers below! Check out some of the most fun recipes I found:

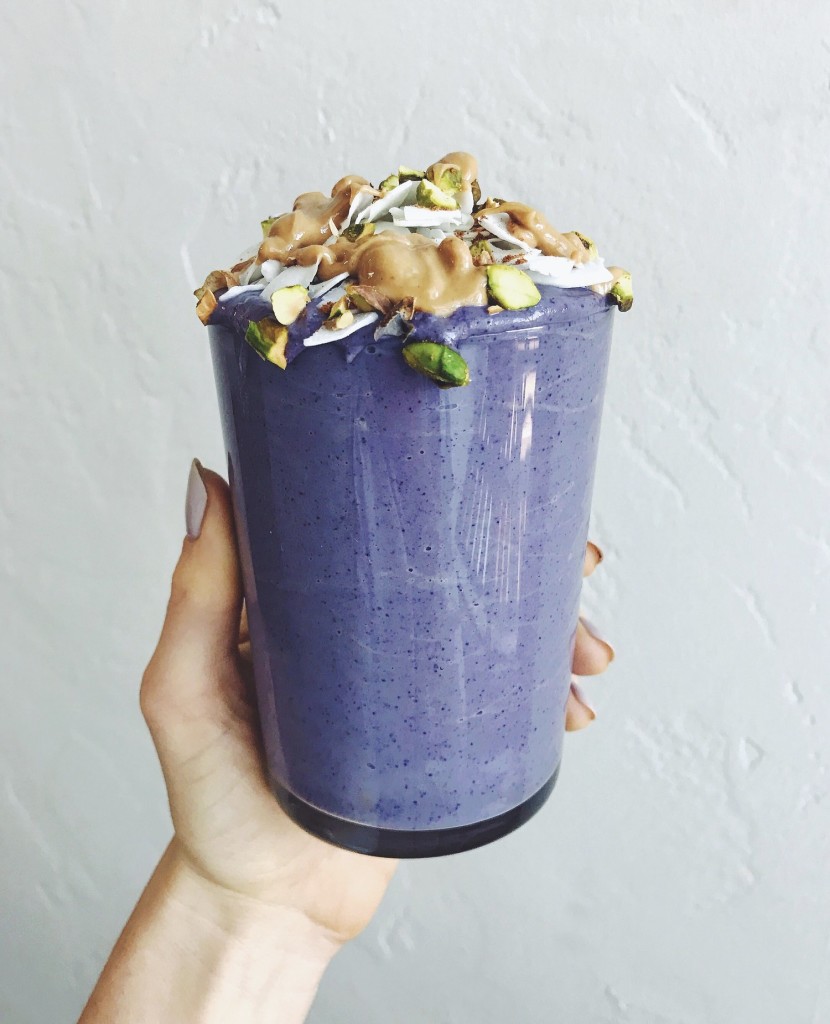
Cauliflower Blueberry Morning Smoothie

Cauliflower Blueberry Smoothie by Lee From America

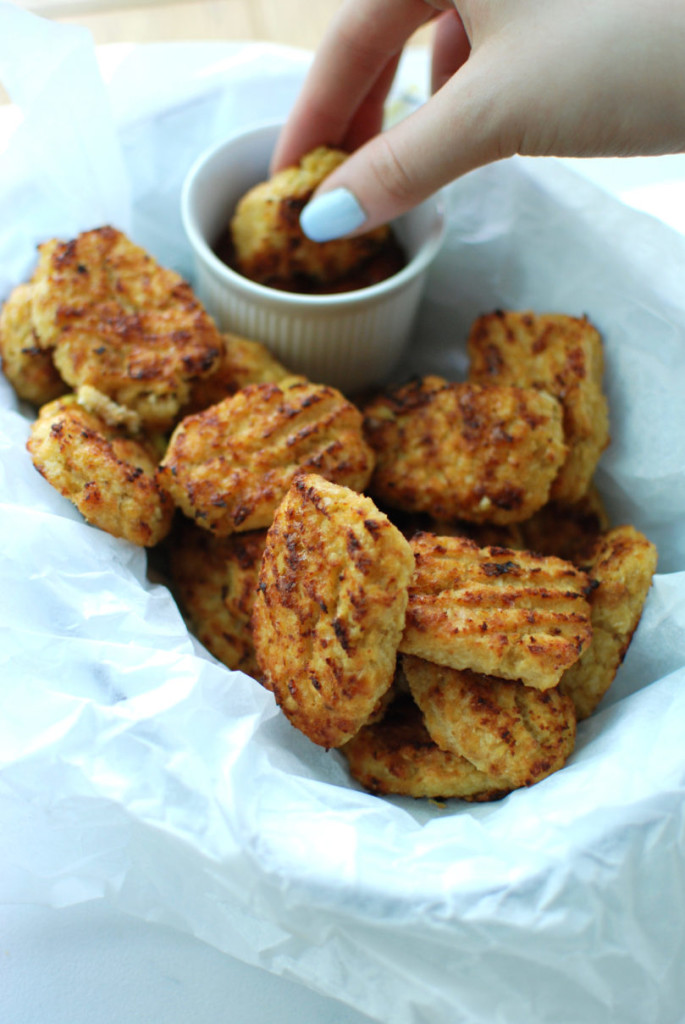
Pork Scratching

Pork Scratching Cauliflower Nuggets by Eighty 20 Nutrition

Cauliflower Kedigeree

Cauliflower Kedgeree by Fresh Planet Flavor **hint, it involves Indian food**

Mashed-Cauliflower-Breakfast-Bowl_2-828x1024

Mashed Cauliflower Breakfast Bowl by Grass Fed Salsa

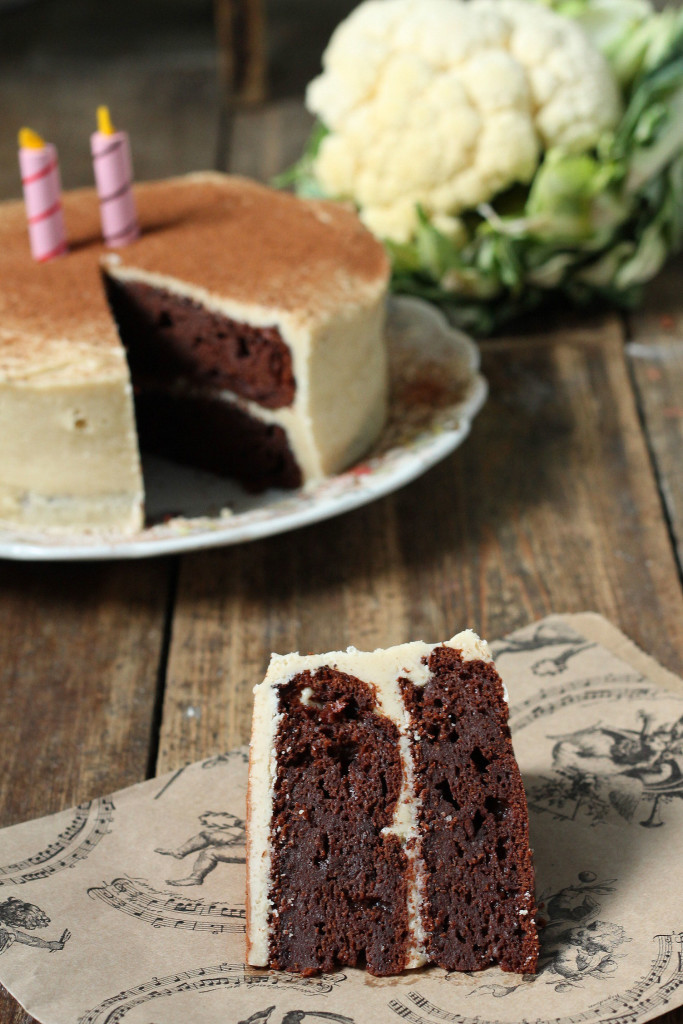
Chocolate Cauliflower Cake

Chocolate Cauliflower Cake with Salted Cinnamon Caramel Icing by Veggie Desserts

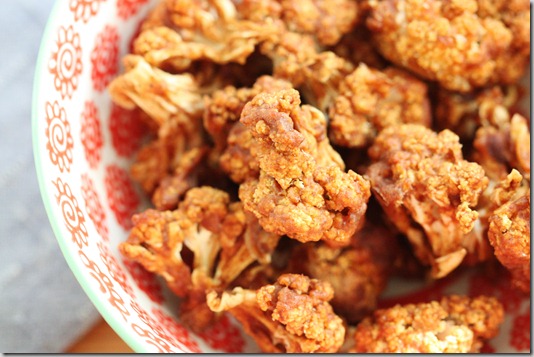
Cinnamon Cauliflower!

Cinnamon Caramelized Cauliflower by The Full Helping

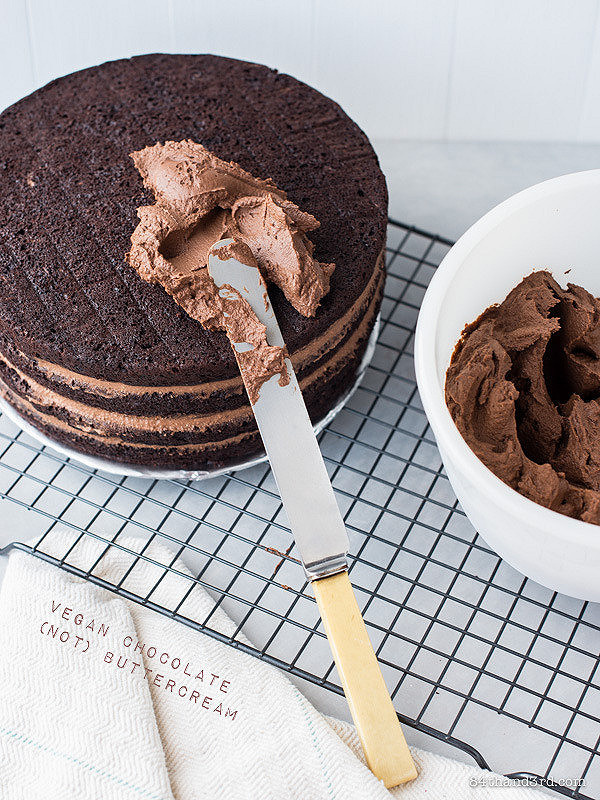
Chocolate Buttercream

Vegan Chocolate Buttercream (made with cauliflower!!) by 84th and 3rd

Here’s to a weekend full of cauliflower craziness. Let me know if you try one of these recipes in the comments below!

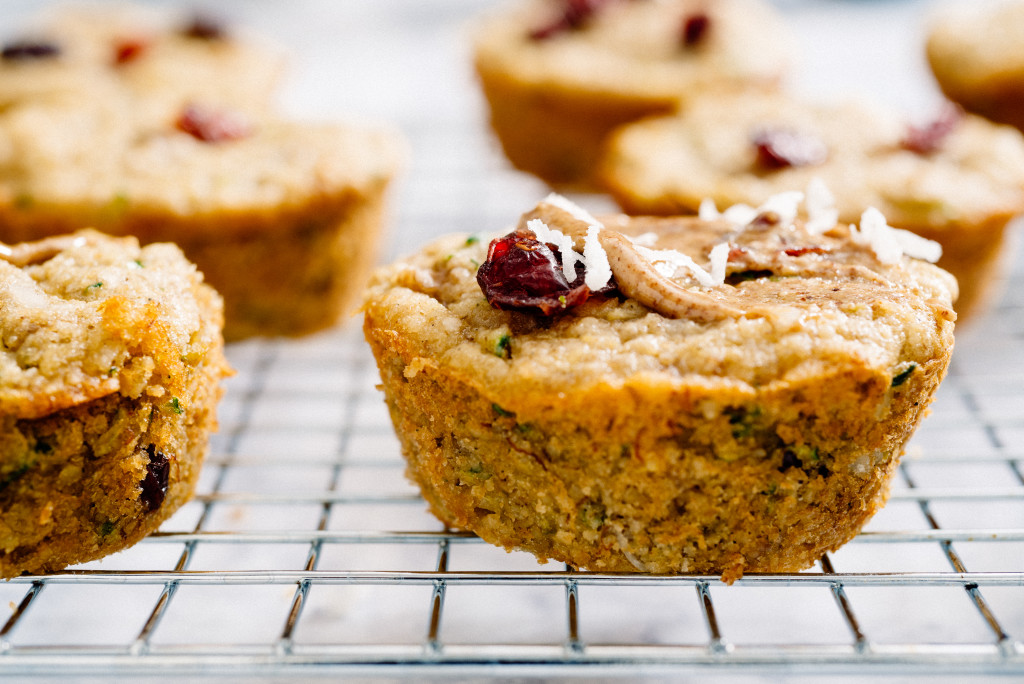
Flourless Zucchini Cranberry Coconut Muffins

Zucchini-Muffins-3

I don’t know about you guys, but I am a HUGE fan of muffins. Large and puffy, small and bite-size, medium and poppy seed with lemon glaze- sign me UP for a muffin.

The great thing about muffins is that you can make them ahead of time, enjoy them with coffee and really never have to convince anyone to eat them. So there’s that. Which is especially handy if you are trying to feed the kids! Especially since this recipe doesn’t have flour, even the gluten-free among us can participate!

Zucchini-Muffins-5

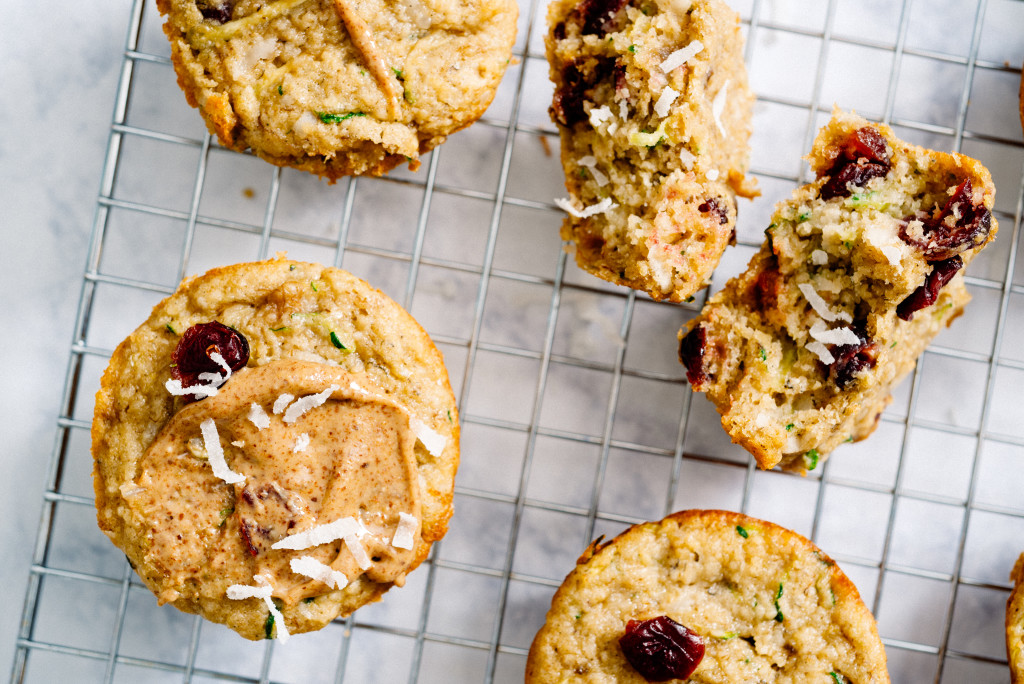
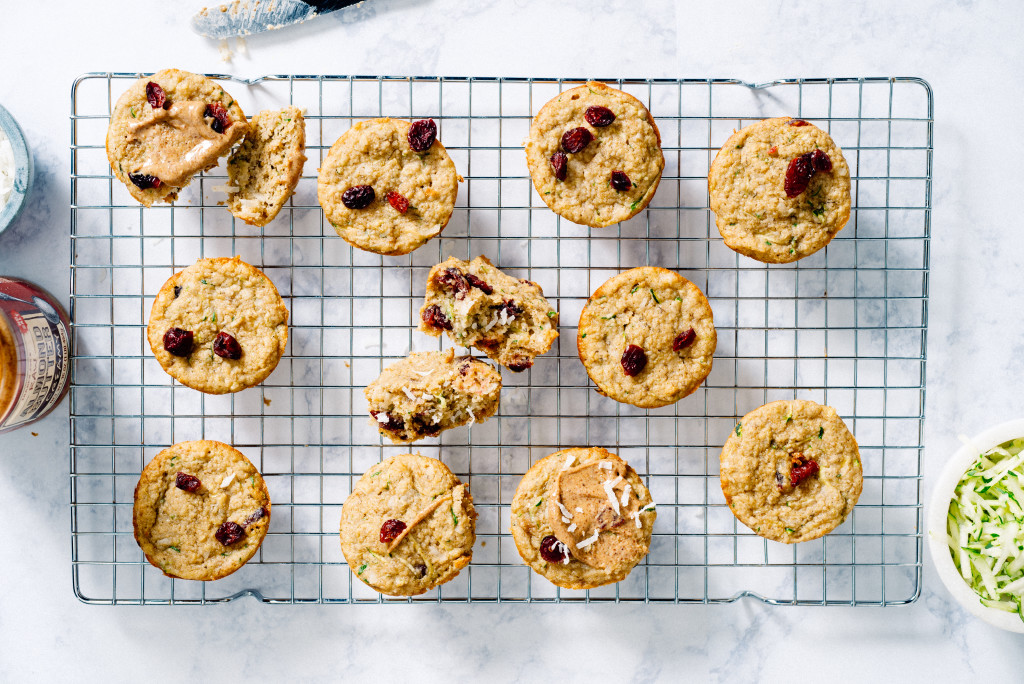
Taking our cues from this month’s focus on all things zucchini, these babies are one of my favorite back-to-school baking recipes. For this one, we use oats to give the muffins stability, instead of traditional white flour. Greek yogurt and coconut oil keep things moist, as does fresh zucchini! Shredded coconut is thrown in with dried cranberries, and I think they are an A+ 😉 WINK!

Zucchini-Muffins-2

So here’s to a weekend full of muffin bliss (and eating your greens without holding your nose)…

Zucchini-Muffins-4

Flourless Zucchini Coconut Cranberry Muffins (Inspired by Chelsea’s Messy Apron!)

These easy-breezy zucchini muffins are simple to make and easy to prepare ahead. Chelsea did an amazing job coming up with the base ratio! Just make sure you leave time for the shredded zucchini to drain a bit, it helps keep the moisture ratio right when you go to make the batter!

  • 1 cup and 1/2 oat flour blended oats** (You can also do 3/4 cup oat flour plus 3/4 cup all purpose flour if you need)
  • 1 teaspoon cinnamon
  • 1/4 teaspoon ground cardamom
  • 1 1/4 teaspoon baking powder
  • 1/2 teaspoon baking soda
  • 1/4 teaspoon salt
  • 1 large egg
  • 1 teaspoon vanilla extract
  • 1/2 cup plain, full-fat Greek yogurt
  • 1/3 cup coconut oil measured when melted
  • 3 tablespoons very ripe banana ~1/2 large
  • 1/4 cup + 2 tablespoons light brown sugar lightly packed*
  • 1 1/2 cups lightly packed grated zucchini, drained on paper towels for at least 10 minutes
  • 1/4 cup dried cranberries
  • 1/4 cup shredded coconut

What You Will Do

1. Preheat an oven to 350; grease a 12-cup muffin tin with cooking spray.

2. Whisk together oat flour, cinnamon, cardamom, baking powder, baking soda, and salt.

3. In a large bowl, whisk together egg, vanilla, yogurt, coconut oil, banana and brown sugar until combined.

4. Stir in zucchini, cranberries, and coconut.

5. Pour batter evenly (about 1/4 cup at a time) into greased muffin tin.

6. Bake for 16 to 18 minutes, or until a knife inserted into muffins comes out clean. Allow muffins to cool for a few minutes, then gently move them to a wire rack to cool.

**To make oat flour, all I did was pour a heap of oats into the Vitamix and pulse on high until it looked like flour. I am almost positive you could do this in a food processor too!


**

How to use leftover PRODUCE + Summer Corn Succotash!

July-2017-Bham-Mag-Corn-069

Hey WOW it’s July and WOH there is some heat happening in Tennessee!

I liken going outside to feeling like your tonsils are being strangled by a hot sauna while someone sets a steamy, hot cast iron skillet above your face.

It’s weird; but growing up in the South, oddly familiar.

July-2017-Bham-Mag-Corn-084

And of course, I am doing all I can to stay inside near an air conditioner for the better three fourths of the day. I find that a run with our dog Bigsby in the morning also fulfills about 200% of my outdoor quotient for the week.

And because of my avoidance of anything outdoorsy until September, this also means that a lot of the recipes I’m cooking these days revolve around the things I have scrounged around from food shoots or indoor trips to the grocery store.

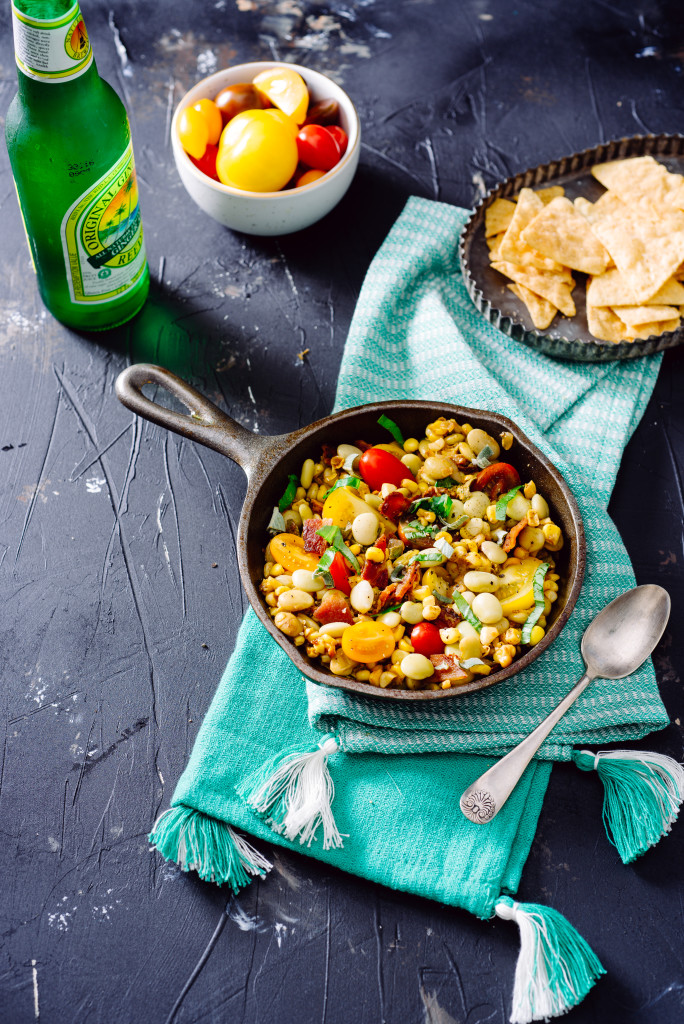
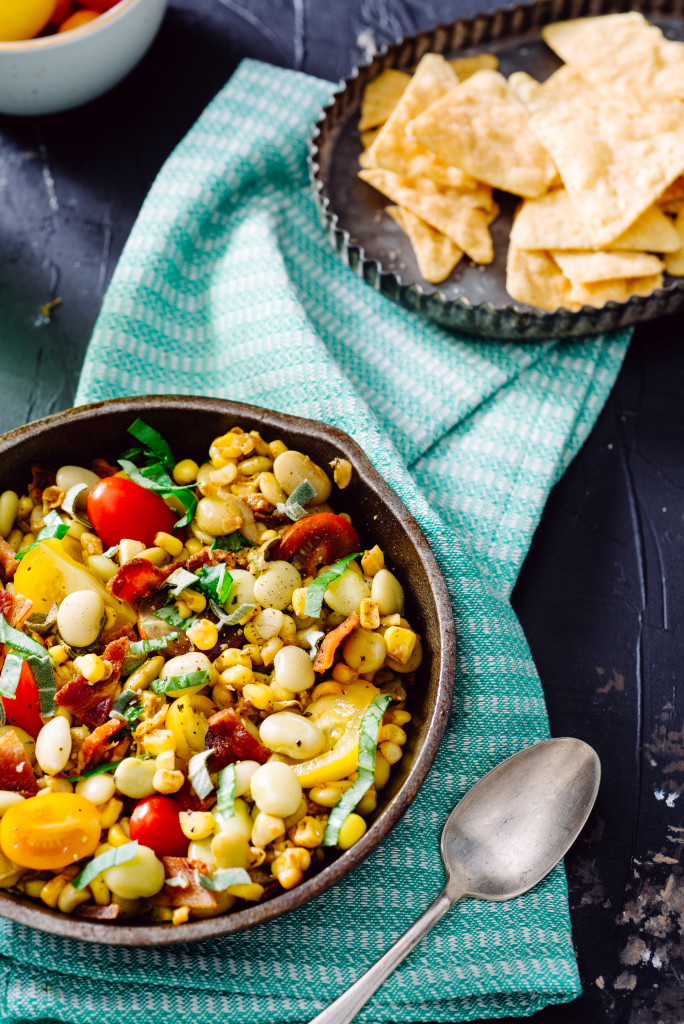
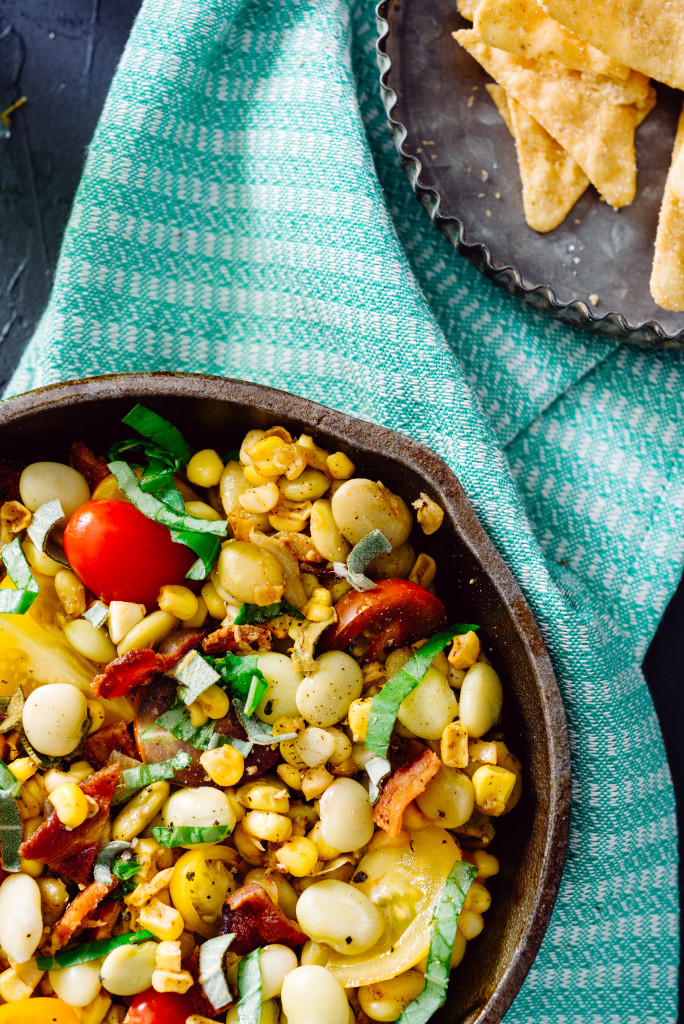
Like this delicious succotash Jake and I shot for Birmingham magazine this month. I am a complete sucker for corn and bacon, and this sweet corn version with bacon and sage is soooo good. As in, my mouth is watering thinking about it. Plus, you don’t even have to go outside to cook it! No grills! Just an indoor heat source and cast iron skillet to fry bacon is all you need.

And speaking of leftovers, this week’s video is ALL about what to do with leftover produce. As in, avocados, brown bananas, and sweet potatoes! PRAISE for getting creative and bringing FUN back to your leftoverzzzz (with a Z of course).


And as promised, the links I mentioned above for some creative leftover inspiration:

Frozen avocados: Just blend the avocado fruit with a bit of lemon in a food processor. Pour into ice cube trays and freeze! Can be thawed to use in salad dressing, guacamole, and smoothies! Just don’t eat by itself- it will be watery and not taste the same!

Banana recipes:

Cookies: Banana Chocolate Chip

Pancakes: Healthy Banana Pancakes

Muffins: Whole Wheat Banana Muffins

Banana/Quick breads: Coffee Cake Banana Bread and Strawberry Banana Bread 

Banana “Fro yo”: Peanut Butter Frozen Yogurt

Sweet Potatoes: Stuff them! Bake them whole, doused in olive oil with a bit of sea salt and wrapped in aluminum foil, in a 450 oven for about 45 minutes to an hour, depending on the size of your tater. Let cool for 15 minutes; slice open, and fill with: turkey pepperoni, cheese, marinara sauce, basil; or black beans, ground turkey, cheddar cheese, and salsa. Combos are endless! Put back in oven on baking sheet to melt cheese if desired.

Sweet potato baked goods: Cinful Sweet Potato Cookies and Healthy Sweet Potato Breakfast Brownies

And this week’s corn recipe! Which you can also find here!

July-2017-Bham-Mag-Corn-085

Fresh Corn, Bacon and Sage Succotash

This easy breezy summer side is perfect for a hot day because you don’t have to go outside to cook ANYTHING and it’s just as tasty indoors with a glass of cold, cold iced tea. Serve with tortilla chips if you like:) 

What You Will Need

  • 3 slices center-cut bacon
  • 1 tsp olive oil
  • 1/2 cup sweet Vidalia onion, diced
  • 2 cloves garlic, sliced
  • 1 tsp chili powder
  • 1/2 tsp plus ¼ tsp salt
  • 1/4 tsp pepper
  • 4 ears fresh corn, shucked and kernels removed for cooking
  • 1 15.25 ounce can lima beans, rinsed and drained
  • 1 tablespoon chopped fresh sage
  • 1 tablespoon chopped fresh basil
  • 1 pint organic heirloom cherry tomatoes, halved

What You Will Do

  1. Cook three pieces bacon in a cast iron skillet on medium low heat until done and crispy; remove and drain on paper towels. Drain all but 1 tablespoon grease.
  2. Add olive oil, sweet onion, garlic, chili powder, ½ teaspoon salt and ¼ teaspoon pepper; heat until onion is softened, three minutes.
  3. Add corn and lima beans and cook 6 to 11 minutes on medium low heat, depending on how crunchy you like your corn. It should be crisp-tender and cooked through.
  4. Allow corn mixture to cool. Chop bacon.
  5. Stir in chopped bacon, sage, basil, ¼ tsp salt, and cherry tomatoes to corn mixture. Taste; season with more salt and pepper if desired.
  6. Serve succotash immediately or store in the refrigerator.